)
)
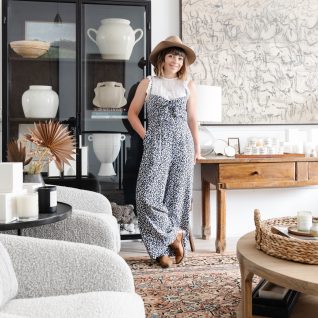


Our fireplace & built in shelving project is coming to a close, there are just a few small finishing details that need to be completed but nothing significant enough to stop me from sharing this view! Today I’m going to walk you through everything we did to renovate this formerly drab space. If you’re new to this project, go catch the introduction to this space here.
The very first thing we did was meet with our contractor who has already done a lot of work in our house already, which is always nice because we were very familiar with his quality and work product and really wanted him to take this job. We met with him and proposed our ideas: built-in shelving, flush TV, & modern mantle. IF you’re planning to start project like this, or anything really, in your home, I definitely recommend coming prepared to the initial meeting. Contractors aren’t designers and typically need a final design to execute against, and if you don’t have your design somewhat figured out before meeting with a contractor, chances are your project will take longer and potentially cost you more $. Coming prepared to the initial meeting also helps the contractor write up an accurate bid, project out more accurate labor and materials costs, and really gain a clear understanding of what you as the client are looking for so he can deliver without errors or changes.
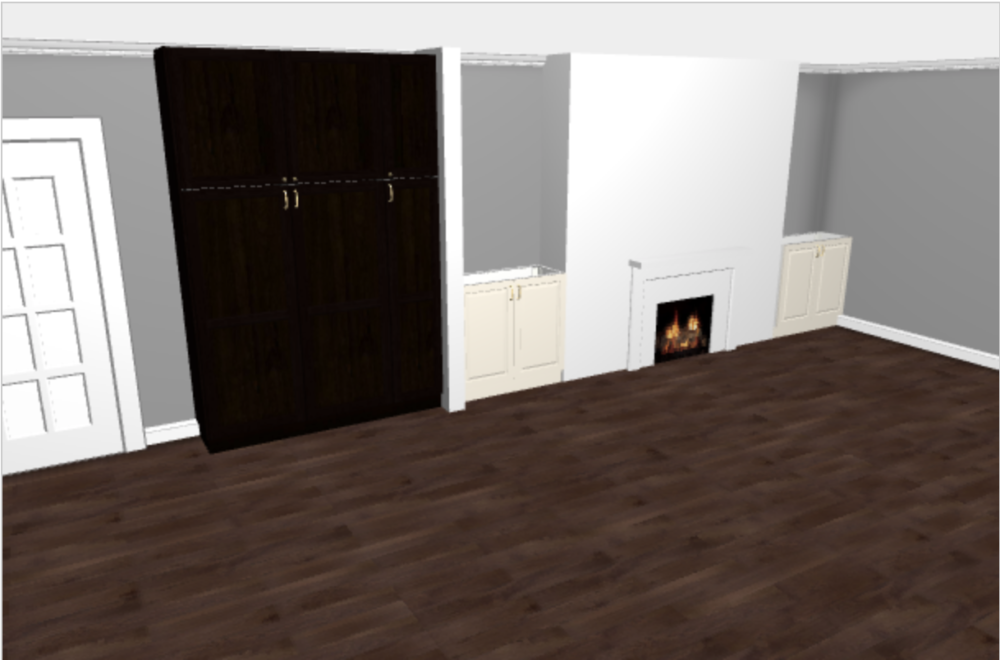
I had sketches and drawings to share, but actually the most helpful item I shared was a quick 3D plan I did using IKEA’s Home Planner. It’s free and so easy to use, and an excellent option for the average homeowner to translate the finishing product into a visual design. Also, we were using SEKTION base cabinets for the built in shelving, so using IKEA’s Home Planner just made sense since we were using one of their products. Oh, the big black thing below will be our built in pantry – more on that soon!
Day one of demo began with removing the brick facade off our old fireplace. They were in pretty bad shape, so our contractor rebuilt them using more durable materials.
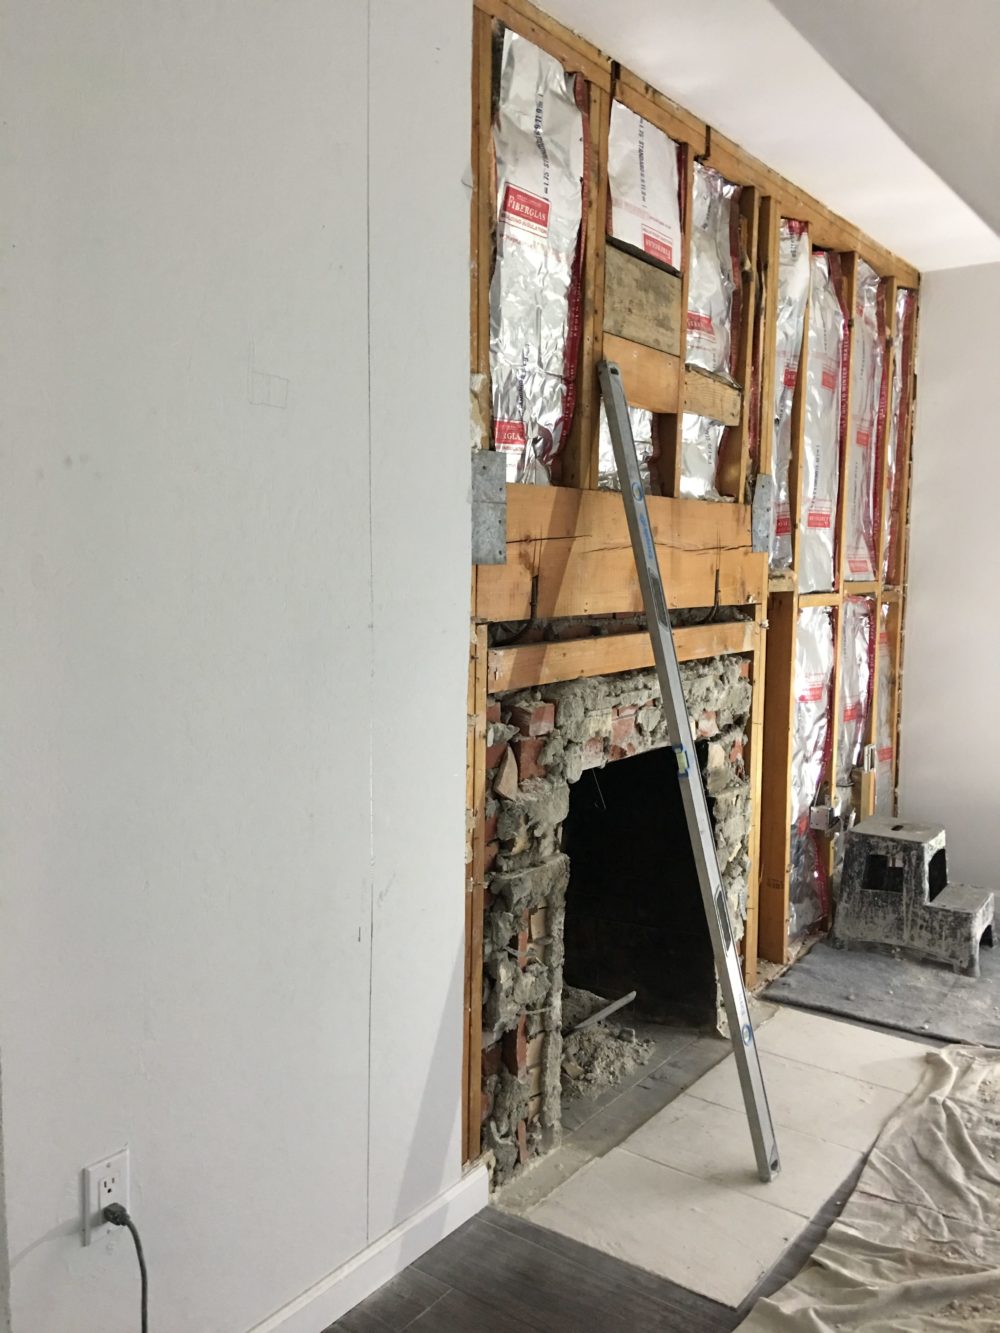

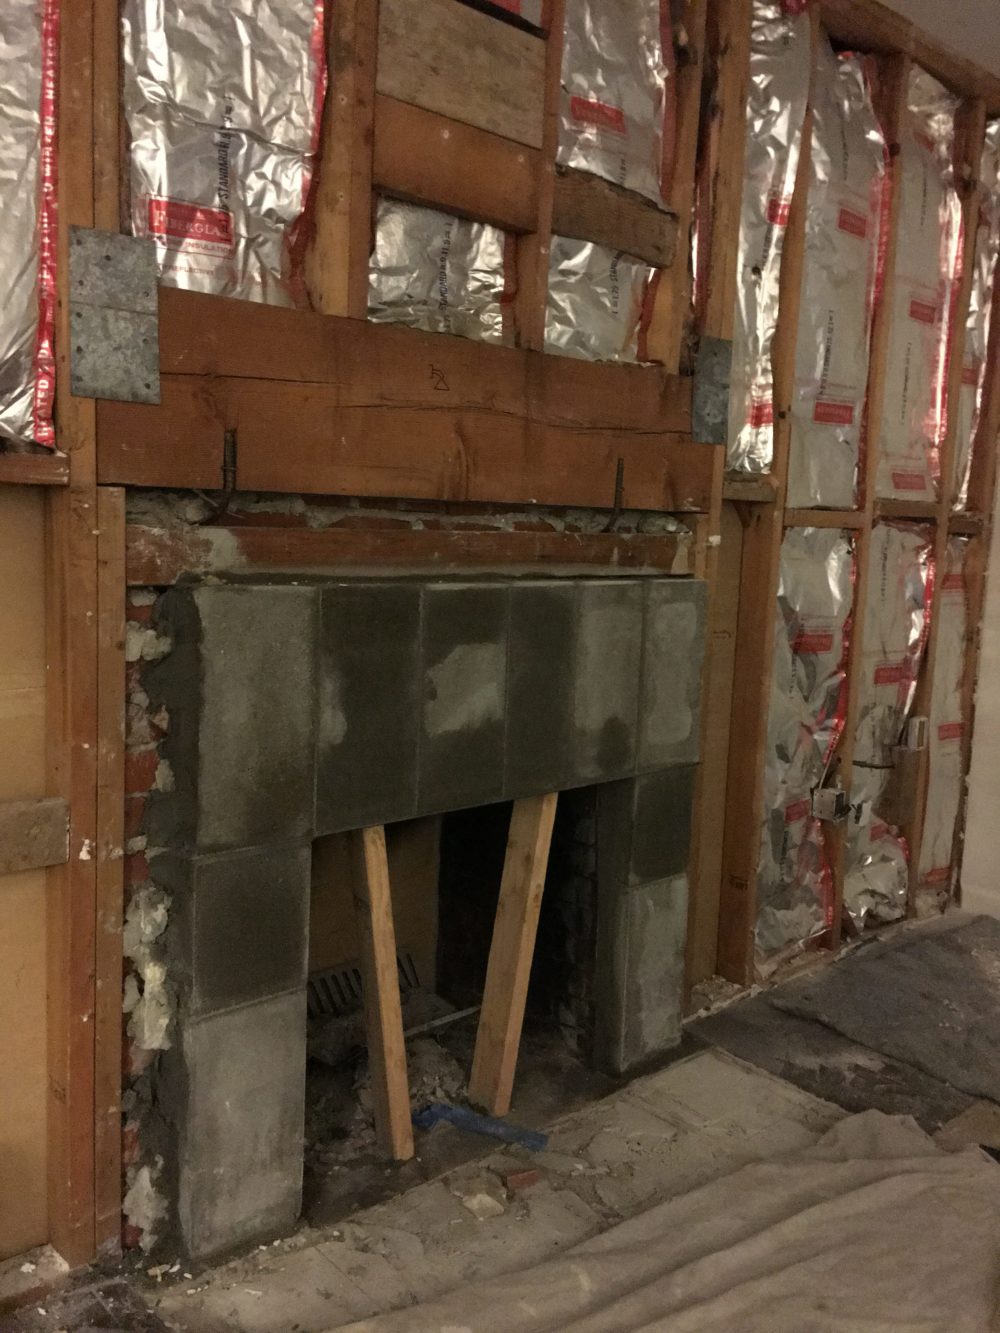
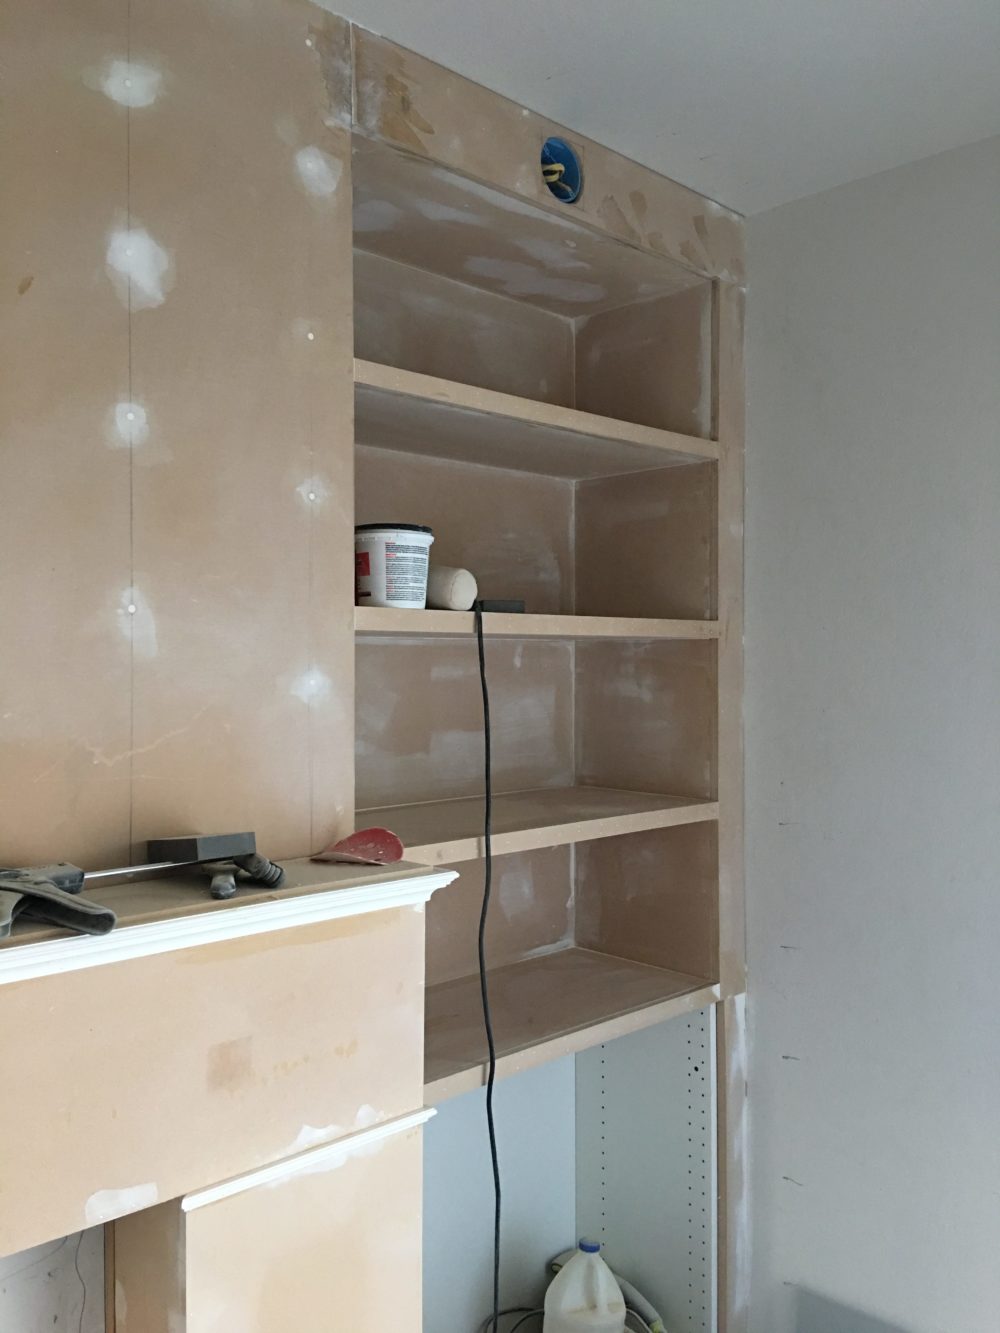
Much, much better! The next step was framing out the interior of the extended firebox & wall. We extended this section forward about 18″ finished into the living room, which is how we got the shelving to look built in.
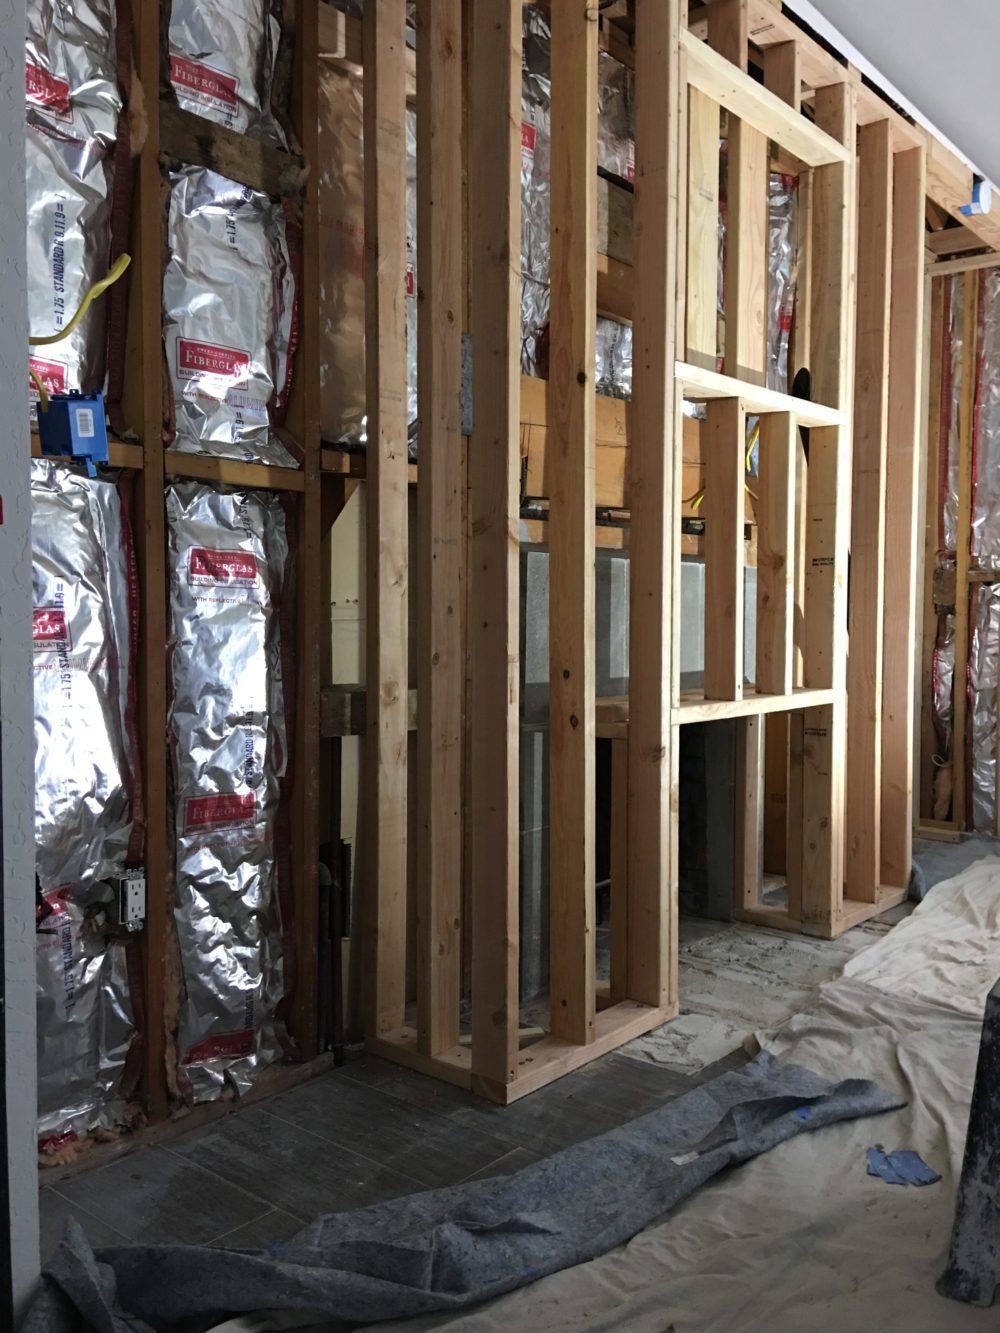
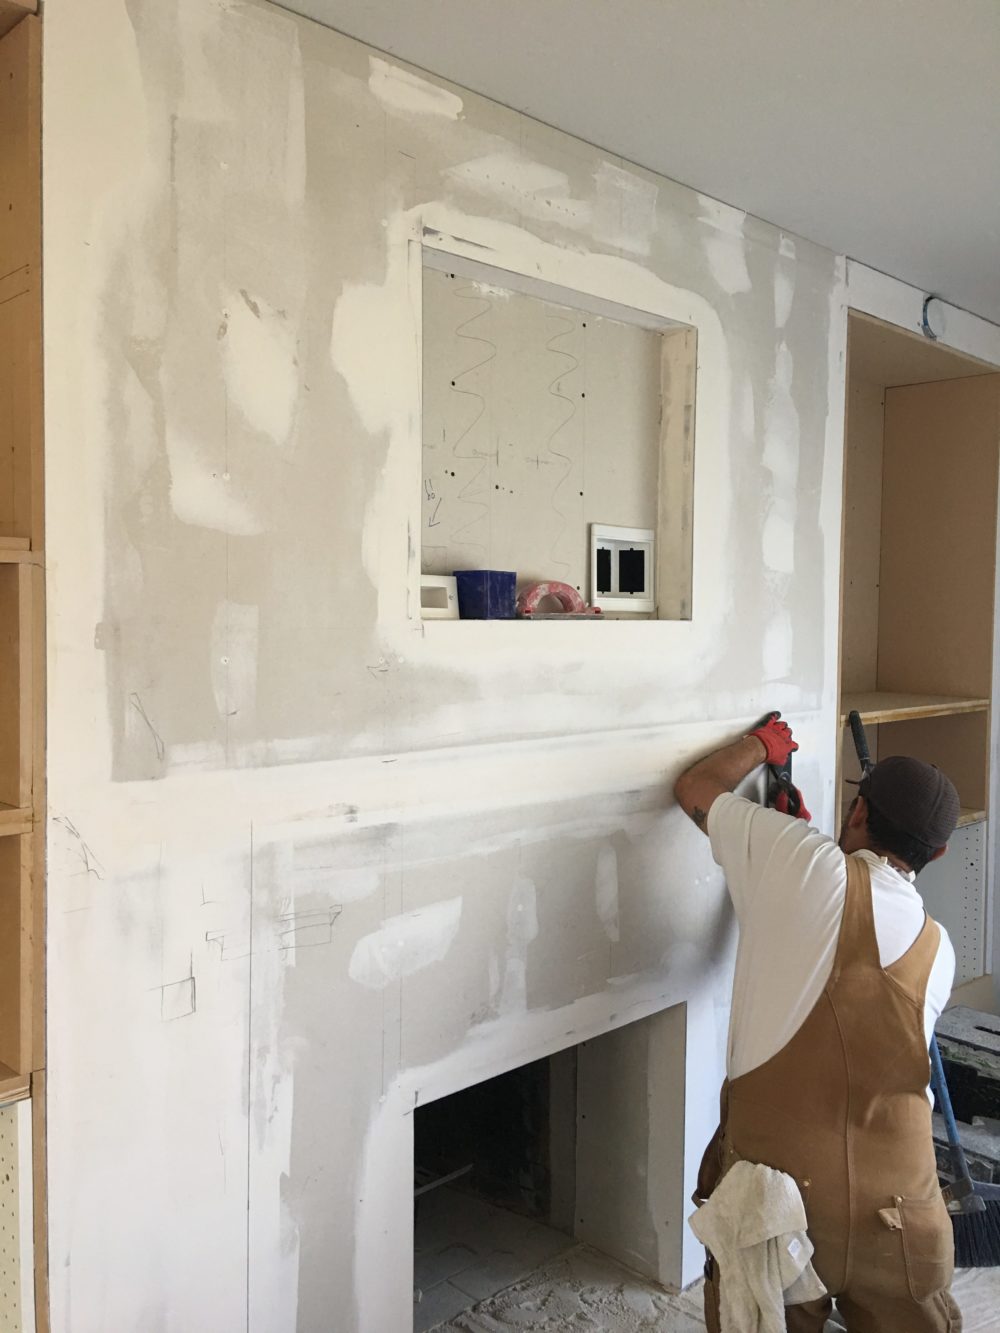
One of the tricky parts of this project was the recessed cubby behind the TV. We wanted our TV to be flush with the wall, and planned for all electrical, HDMI, & TV mount to be built behind the TV inside this cubby. For extra strength when hanging the TV, our contractor laid flat studs which would be used to mount the TV. Laying them flat added extra strength, if that makes sense, not really sure how better to explain that..
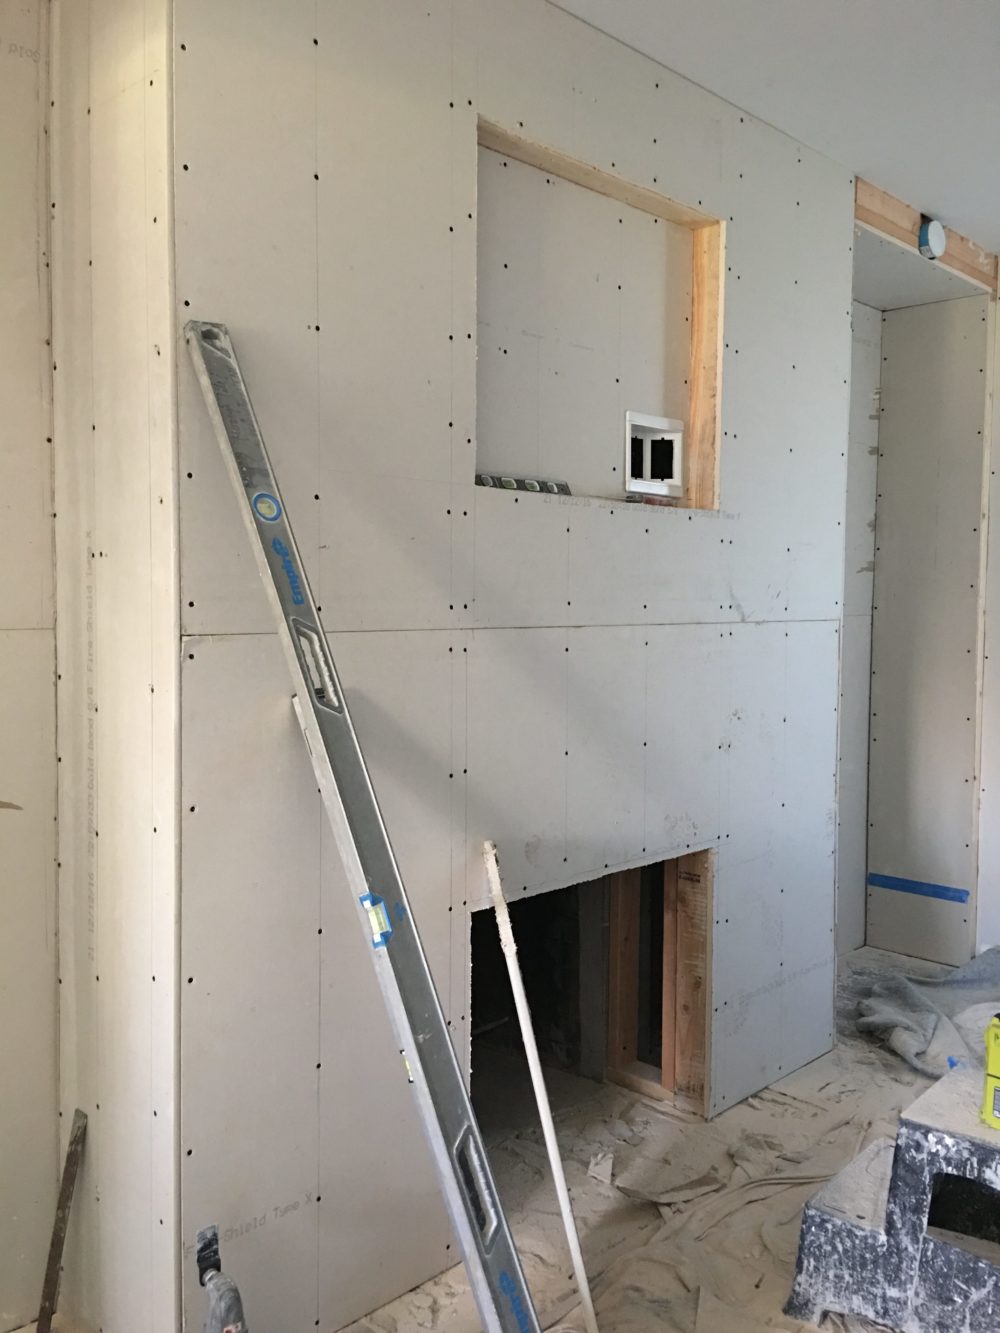
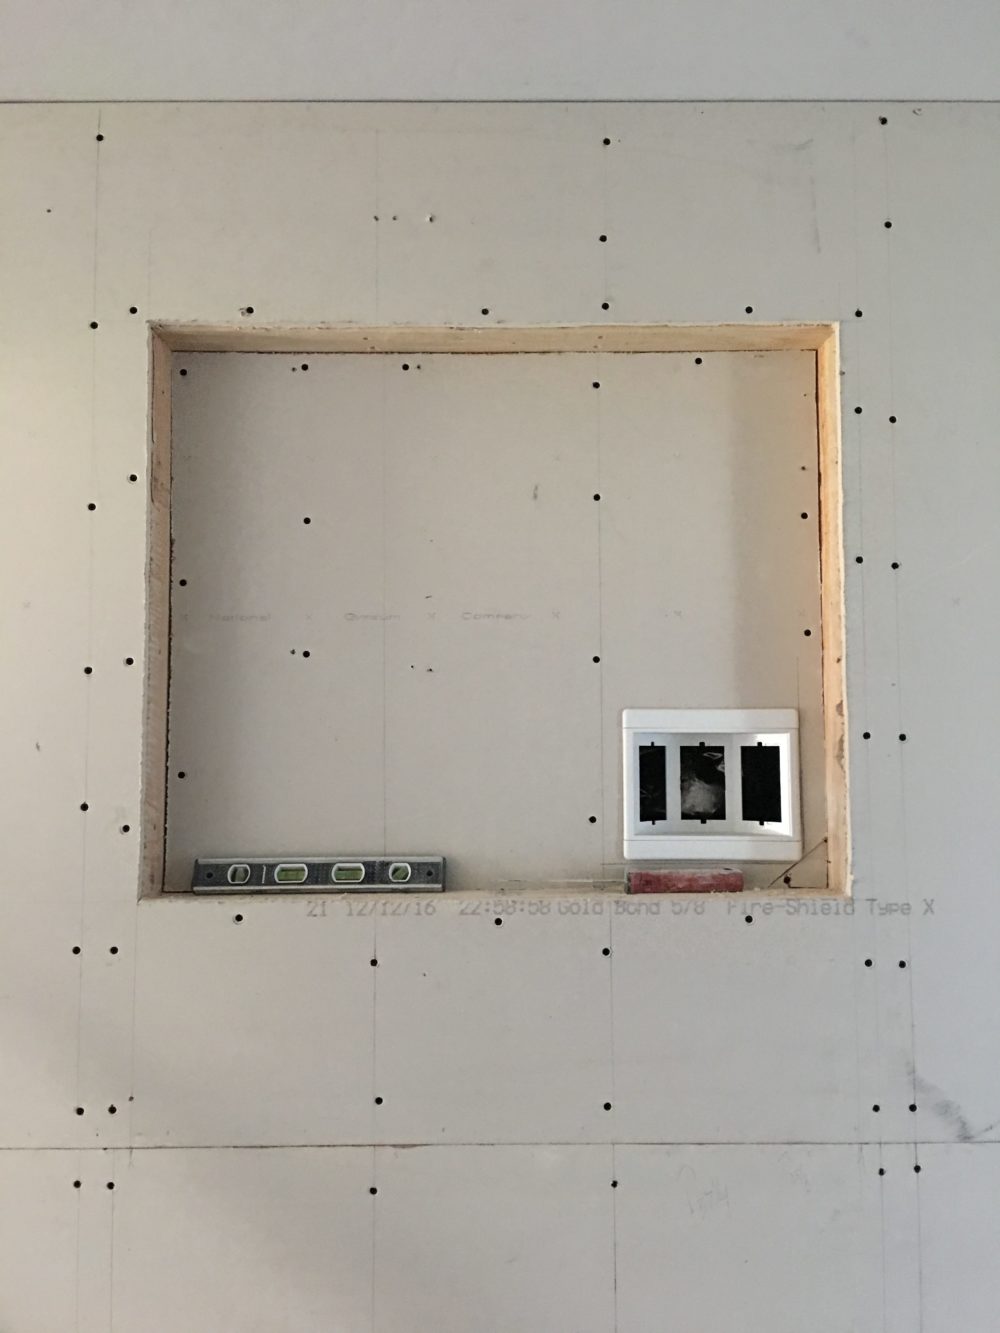
The next step was laying the drywall over the studs. You can see better how the cubby was coming together below. We added one more electrical outlet to the bottom left of the cubby, not yet pictured. OH! One very important thing we did was add a PVC pipe as a tunnel behind the right most outlet of the cubby, which feeds down behind the wall into the lower right cabinet. We did this so we could use our Playstation and other TV electronics but hide them inside our cabinet without seeing cords. We chose a PVC pipe because it is wide enough to feed a bunch of cords. I think we currently have 4 HDMI cables going through it right now!
Once all the drywall was up, our contractor taped & mudded the seams to smooth everything out. This happened to be a great time to figure out the exact measurements of the mantel and stone surround. Surprisingly, we spent a lot of time figuring this part out! I wanted the mantel and surround to take up the space as 50/50 as possible. I was somewhat restricted by how tall we could make the mantle due to the size of the TV + sound bar my husband wanted to use. The tops of both the mantel and stone ended up slightly smaller than the sides… hopefully you’re still with me! Measurements are totally boring, I know, but in case you were curious, we were able to get the sides to be 13″ each mantel & stone, and the top 12″ each mantle & stone.
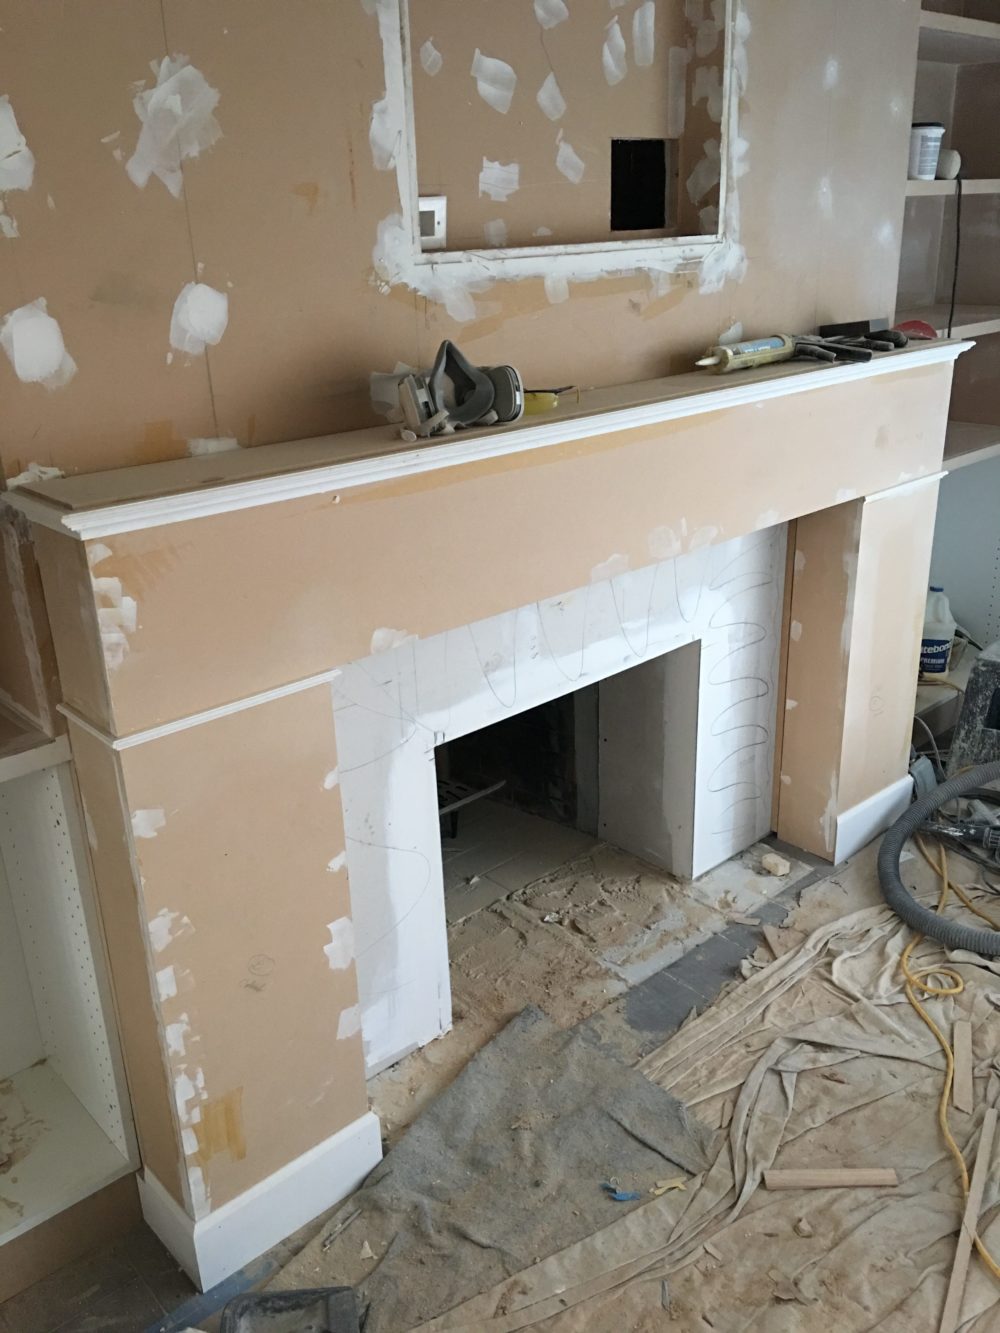
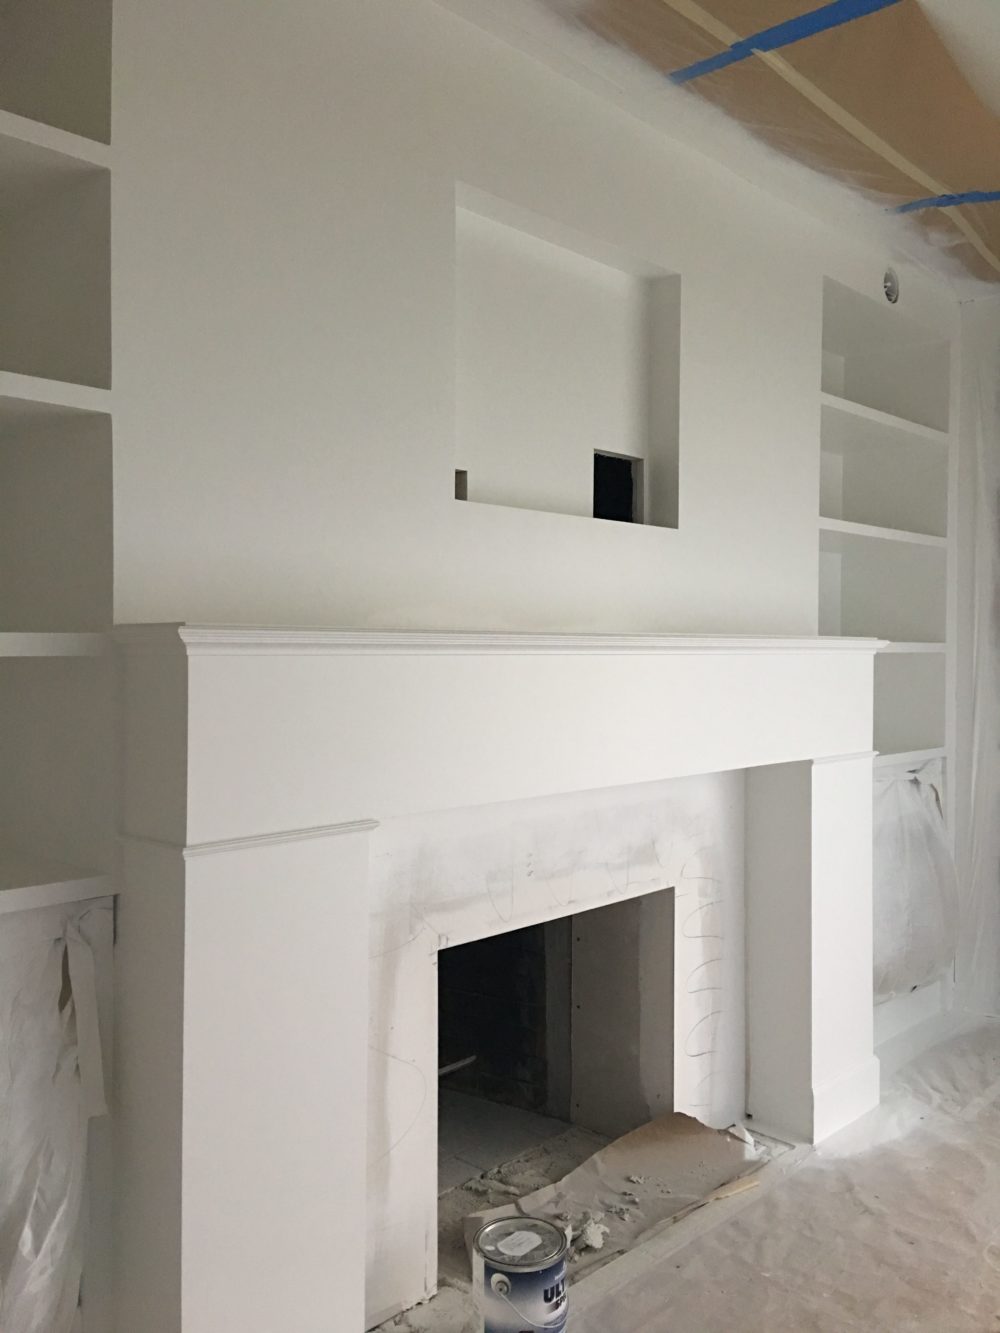
The next phase was laying the MDF sheets on top of the drywall. We chose MDF because it is smooth and would give us a clean seamless finish. You could also use plywood sheets here, but that would have been a lot more expensive for essentially the same look.

After all the MDF was up, our contractor puddied and sanded all seams and nail holes. You can really start to see it take shape here!
Constructing the mantel was probably the thing that surprised me the most. Our contractor made our mantle from scratch, using about a sheet and a half of MDF, and trim! That’s it! Our mantle materials cost us less than $100 yet looks so much more expensive.
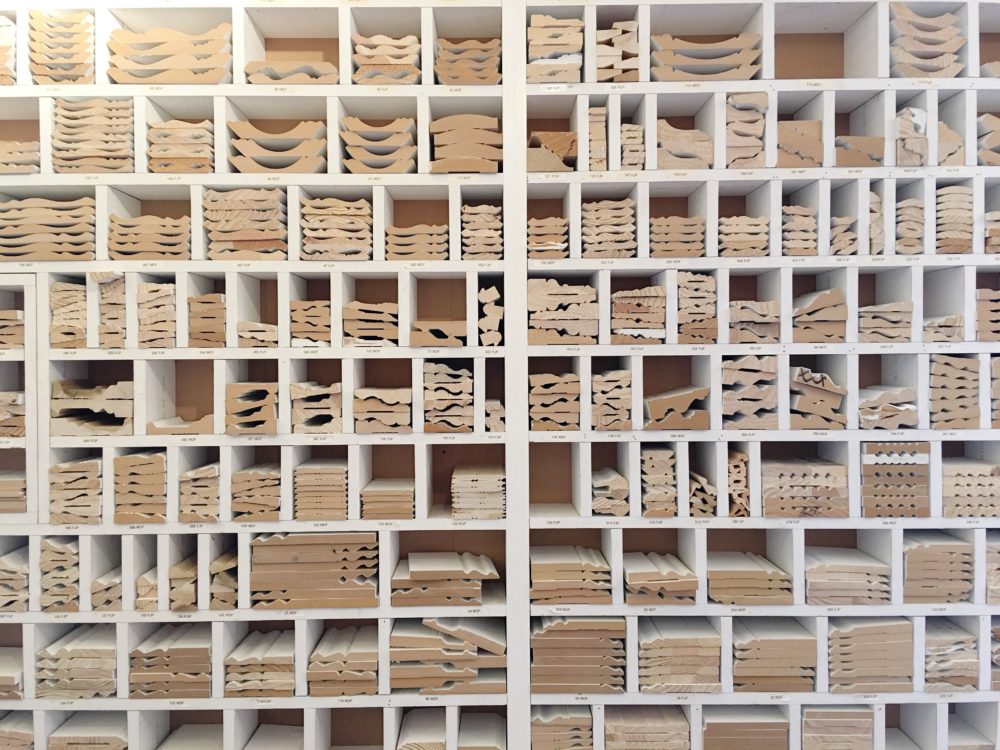
We went to our local moulding shop to pick out the mantel trim. We were overwhelmed with the selection, this was just one of the walls of trim we had to choose from.
We spent some time testing out trim combinations. I wanted something fairly simple and clean, not too ornate. We decided on the combination below: 1/8″ MDF top piece (recessed roughly a 1/4″ from the edge) + front edge trim + lower 90-degree curved trim.
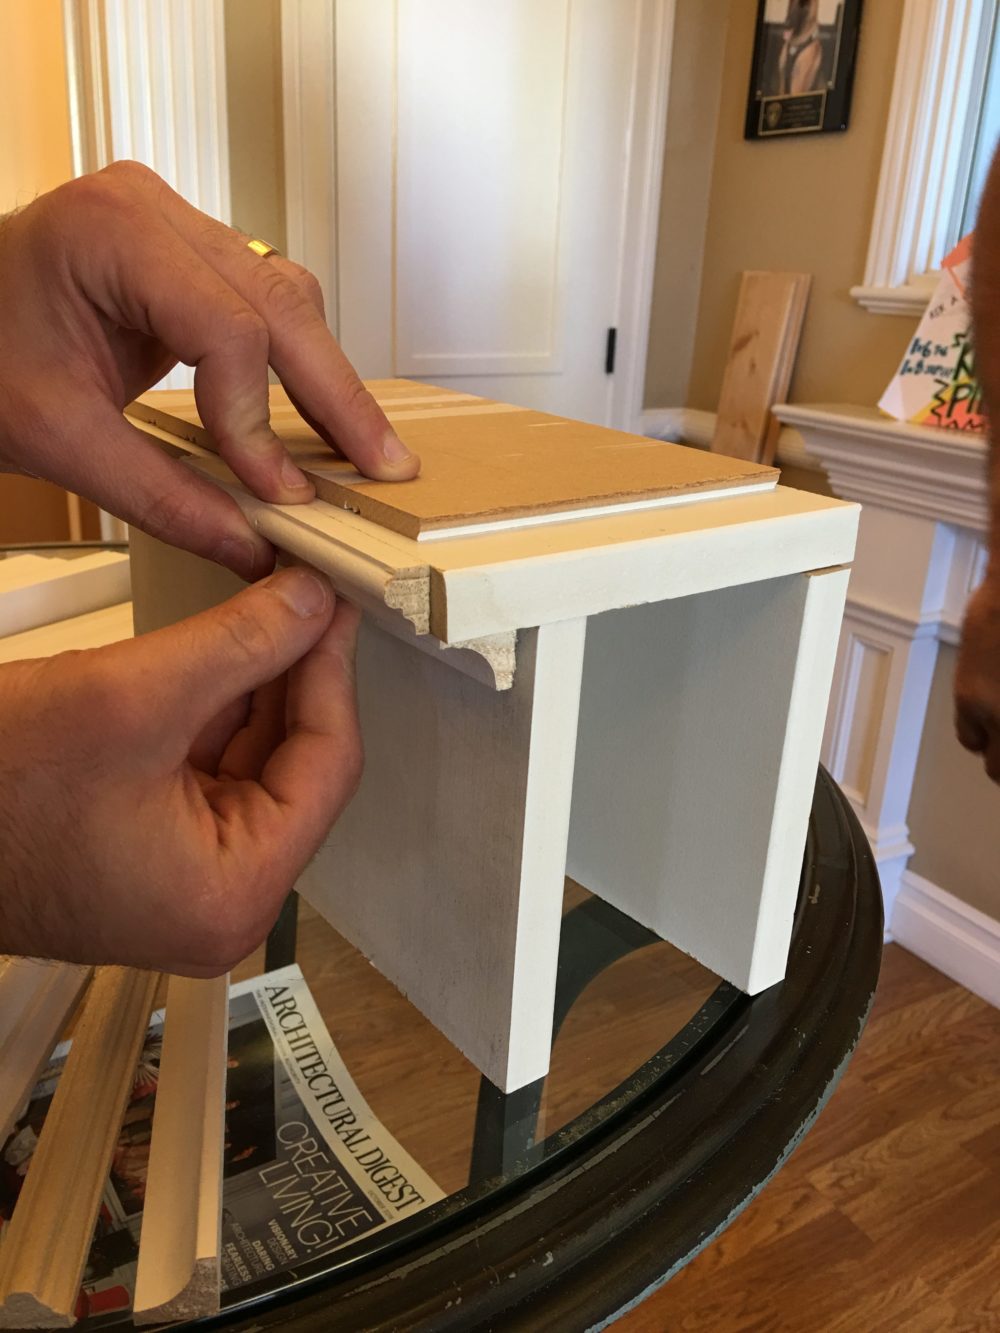
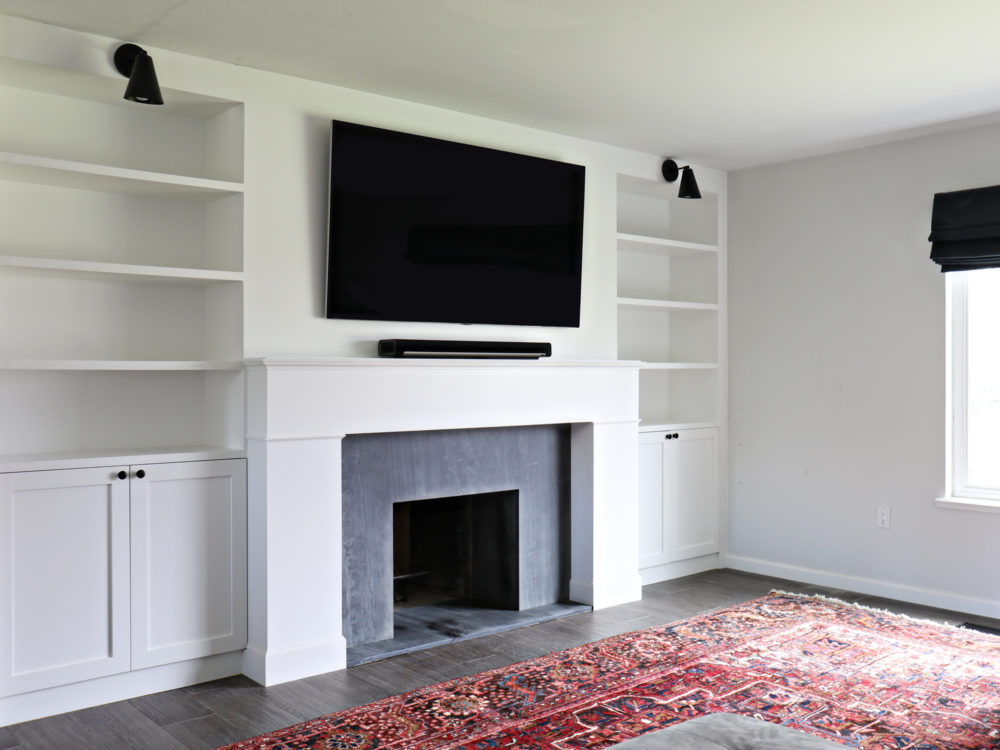
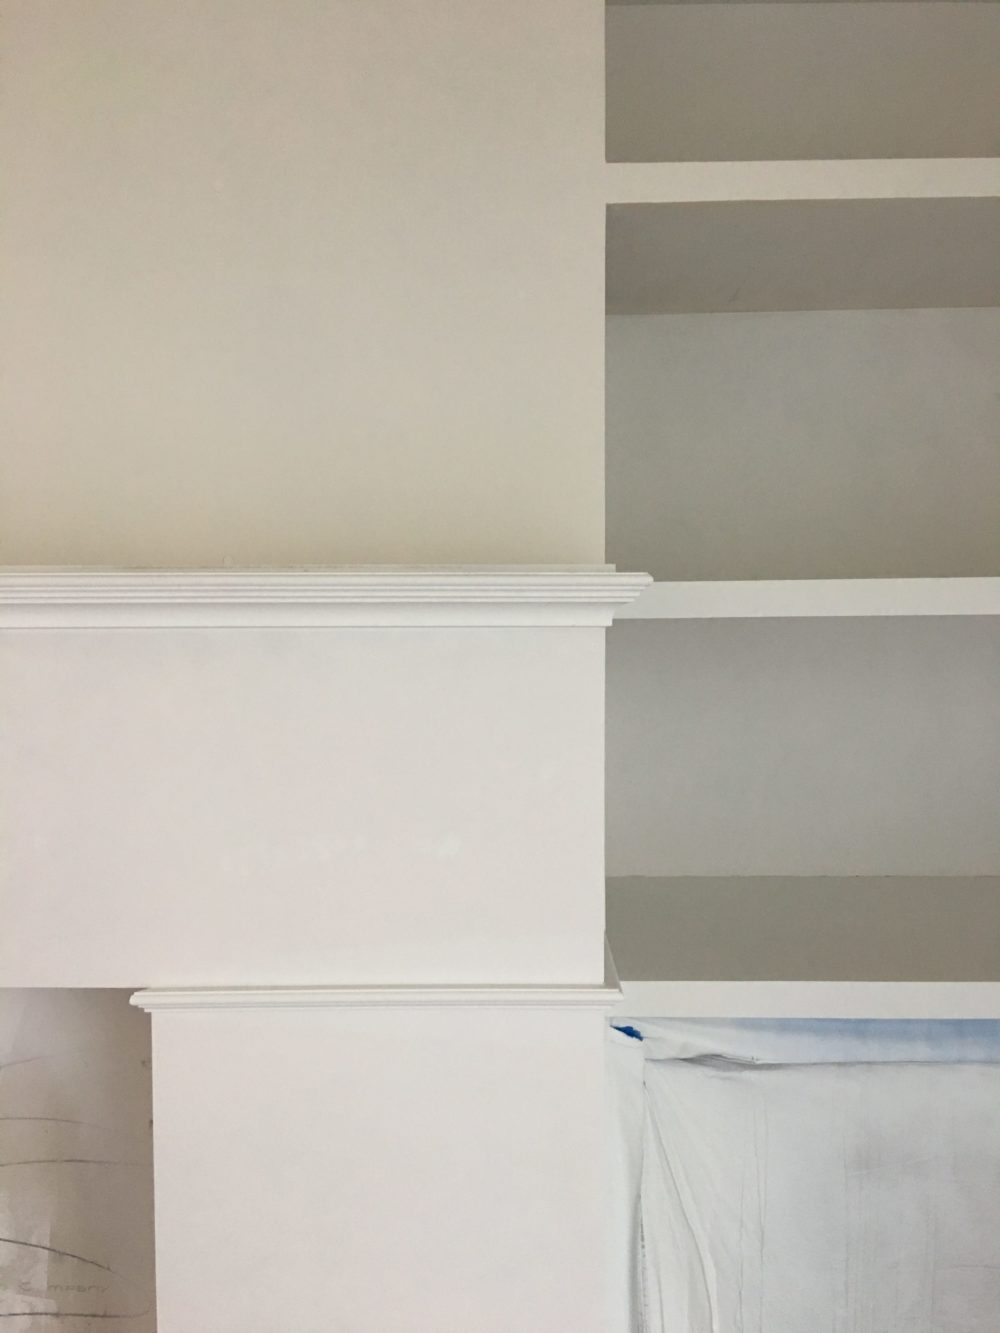
Below is how the mantel trim looks finished. We had the finished trim return into the shelves so you could see the trim from the side view.
Everything got 2 coats of primer and 2 coats of paint, with lots of sanding between each coat. We painted everything in Benjamin Moore Super White.
Let’s talk about the stone next time, this post is already long enough! Feel free to drop any questions about this project in the comments below.
Sources: sconces | rug (vintage) | cabinet doors | cabinet hardware | soapstone

Can you give us the name of your contractor? I also live in California.
Hey Sheri! Send me an email to brittanymakes@gmail.com and I’ll forward you his contact information.
If it’s not too personal of a question, could you share the cost of the project?
Absolutely! I was thinking of wrapping all this information into another post. I’ll get to work on it!
Looks great! Do you have info about how you added the Ikea cabinets and shelves, as well as any photos of the PVC pipe you mentioned for the cords?
Absolutely! I’ll dedicate a post to the shelves/cabinets and talk more about them. Stay tuned for that!
Did you guys remove the hearth and is that up to code? I just purchased a townhouse in CO with a woodturning fireplace and the previous owner removed the hearth to make way for wood flooring. I’m having to add one BACK in to bring the place back up to code & allow for safe fires!
Hi, I wondered how your Zebra rug that you made held up.
Hi, We wanted to do built-ins around our (real) fireplace too! Ours currently looks similar your before picture. It looks like you added the brick/surround to come out further from the wall than it originally was. Will you still be able to use the fireplace? One thing we were struggling with is the depth of the cabinets/shelves and how we could “extend” the fireplace to come out further than the built-ins.
Looking forward to your follow-up post!
Rose
Yes! We extended everything forward about 15″ (basically to account for the depth of the lower cabinets). We can still use the fireplace, it’s just extra deep now, which isn’t something that bothers us. We used IKEA kitchen lower cabinets for the cabinet boxes, and they come standard at 15″. You could probably use their upper cabinets too, the smallest depth they sell is 12″ I believe, which wouldn’t make it as deep, but still deep… total preference!
that’s very helpful – thanks! can’t wait to see it styled out.
Hi there! I just found your blog. I love this TV, fireplace and shelving built in unit! Just curious, why did everything get drywalled only to be covered in MDF?
Great question! the drywall is fireproof, so we needed that layer since we were working on a fireplace. The MDF has a much smoother surface than drywall, it’s what we chose to put as the top layer for a smooth finished surface as well as used for the shelves. our goal was smooth and seamless, which is what MDF gives us.
Looks great! I used ikea cabinets to create built in cabinets and shelves around my fireplace. We used ikea wood shaker doors on the base cabinets. We just prepped the doors well and painted them, they have held up great. We made the upper shelves out of mdf.
Gorgeous room! I love this rug! Do you ever list large rugs similar to this one to your shop (9×12 or slightly larger)?
Absolutely! They’re harder to come by, but I’m always on the hunt for them! I have a 8x11ish (slightly larger) that will be listed soon :)
HI! the renovation looks great! We’re in the process of doing the same, but I was wondering if you ever did a post on selecting the soapstone to go around the fireplace. I love that look but have always wondered what the material is and how it gets installed. Thanks!
Hi Hope! I haven’t written a post about selecting & installing the soapstone yet (I need to!), but I can give you some quick info. We found a remnant at a local stone yard, it was the size of about half a slab. We had pre-measured the exact measurements we needed for the surround before searching for a remnant, and lucked out in finding one that basically fit just perfectly. We had to provide the measurements to the fabricator, and taped out how this would look on the soapstone to determine placement of each piece (ie, the face of the fireplace, the hearth, etc). There was a vein running through the remnant we found, which we loved but didn’t want it placed front and center so deciding on the specific placement of the face of the fireplace was most important to me. Our contractor handled the installation of the stone, but it basically took 3 guys and a full day to get it in there. Typically fabricators also offer installation services but it comes with a fee. hope this helps!