)
)


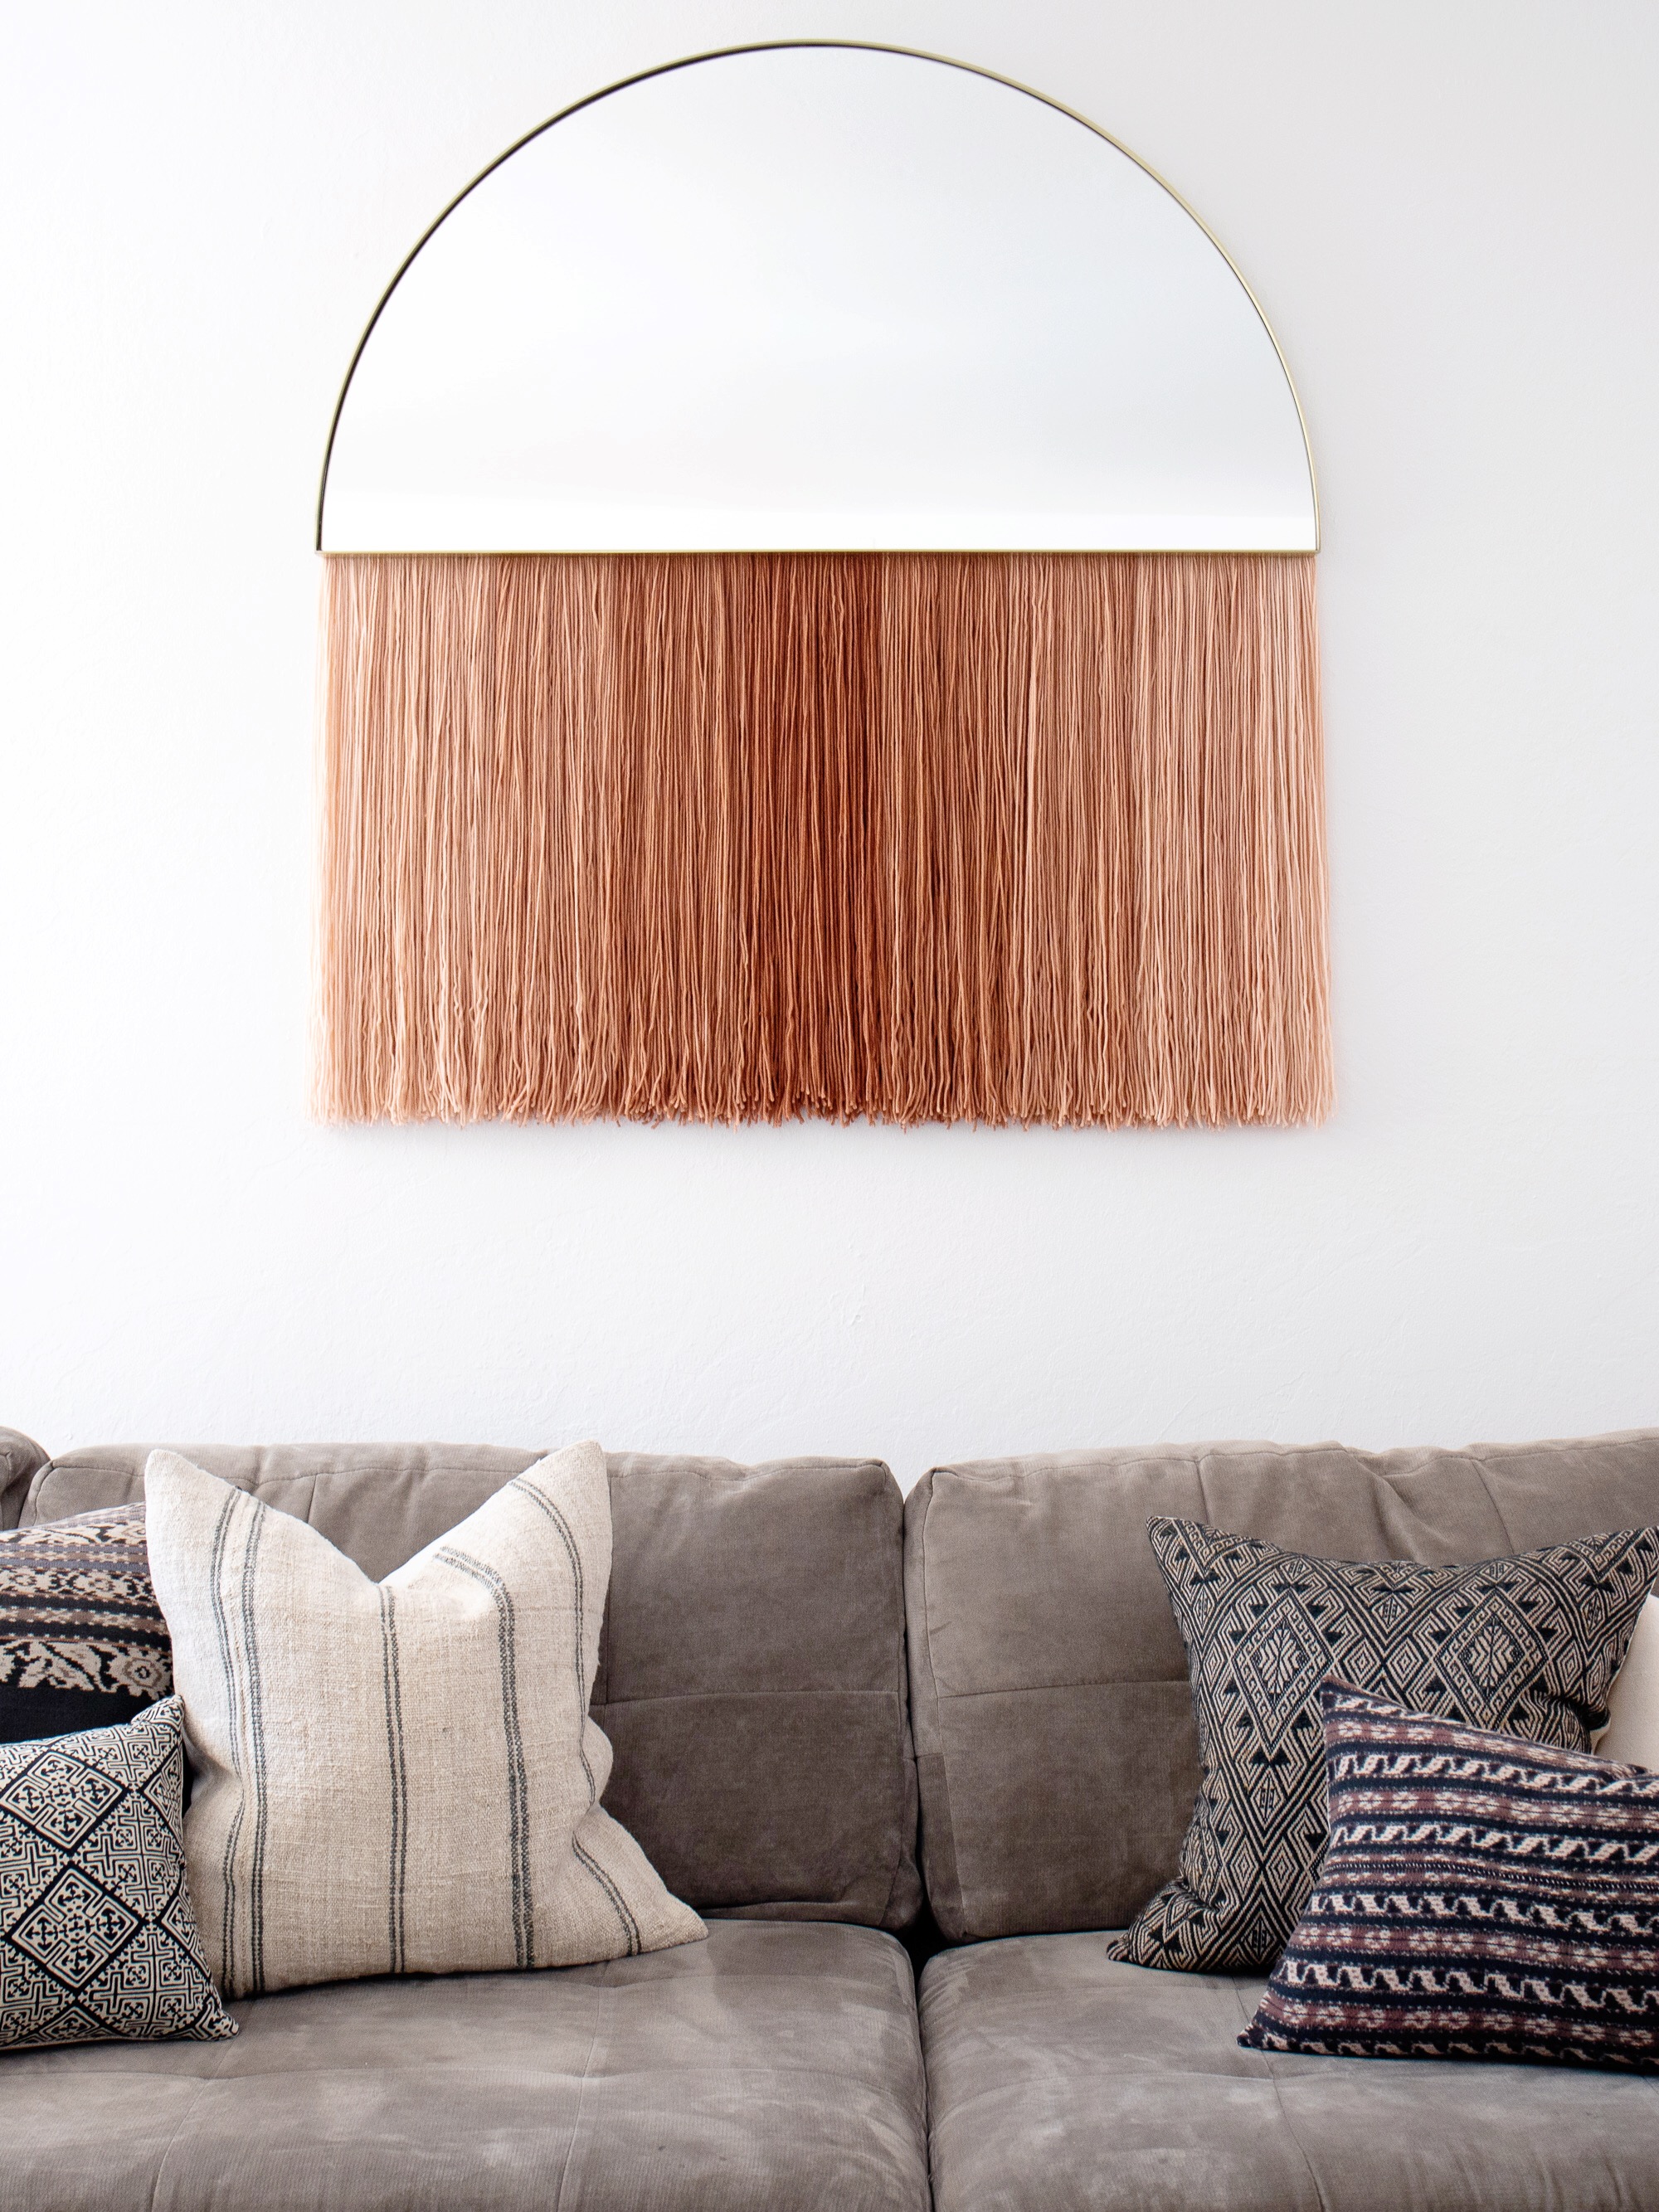
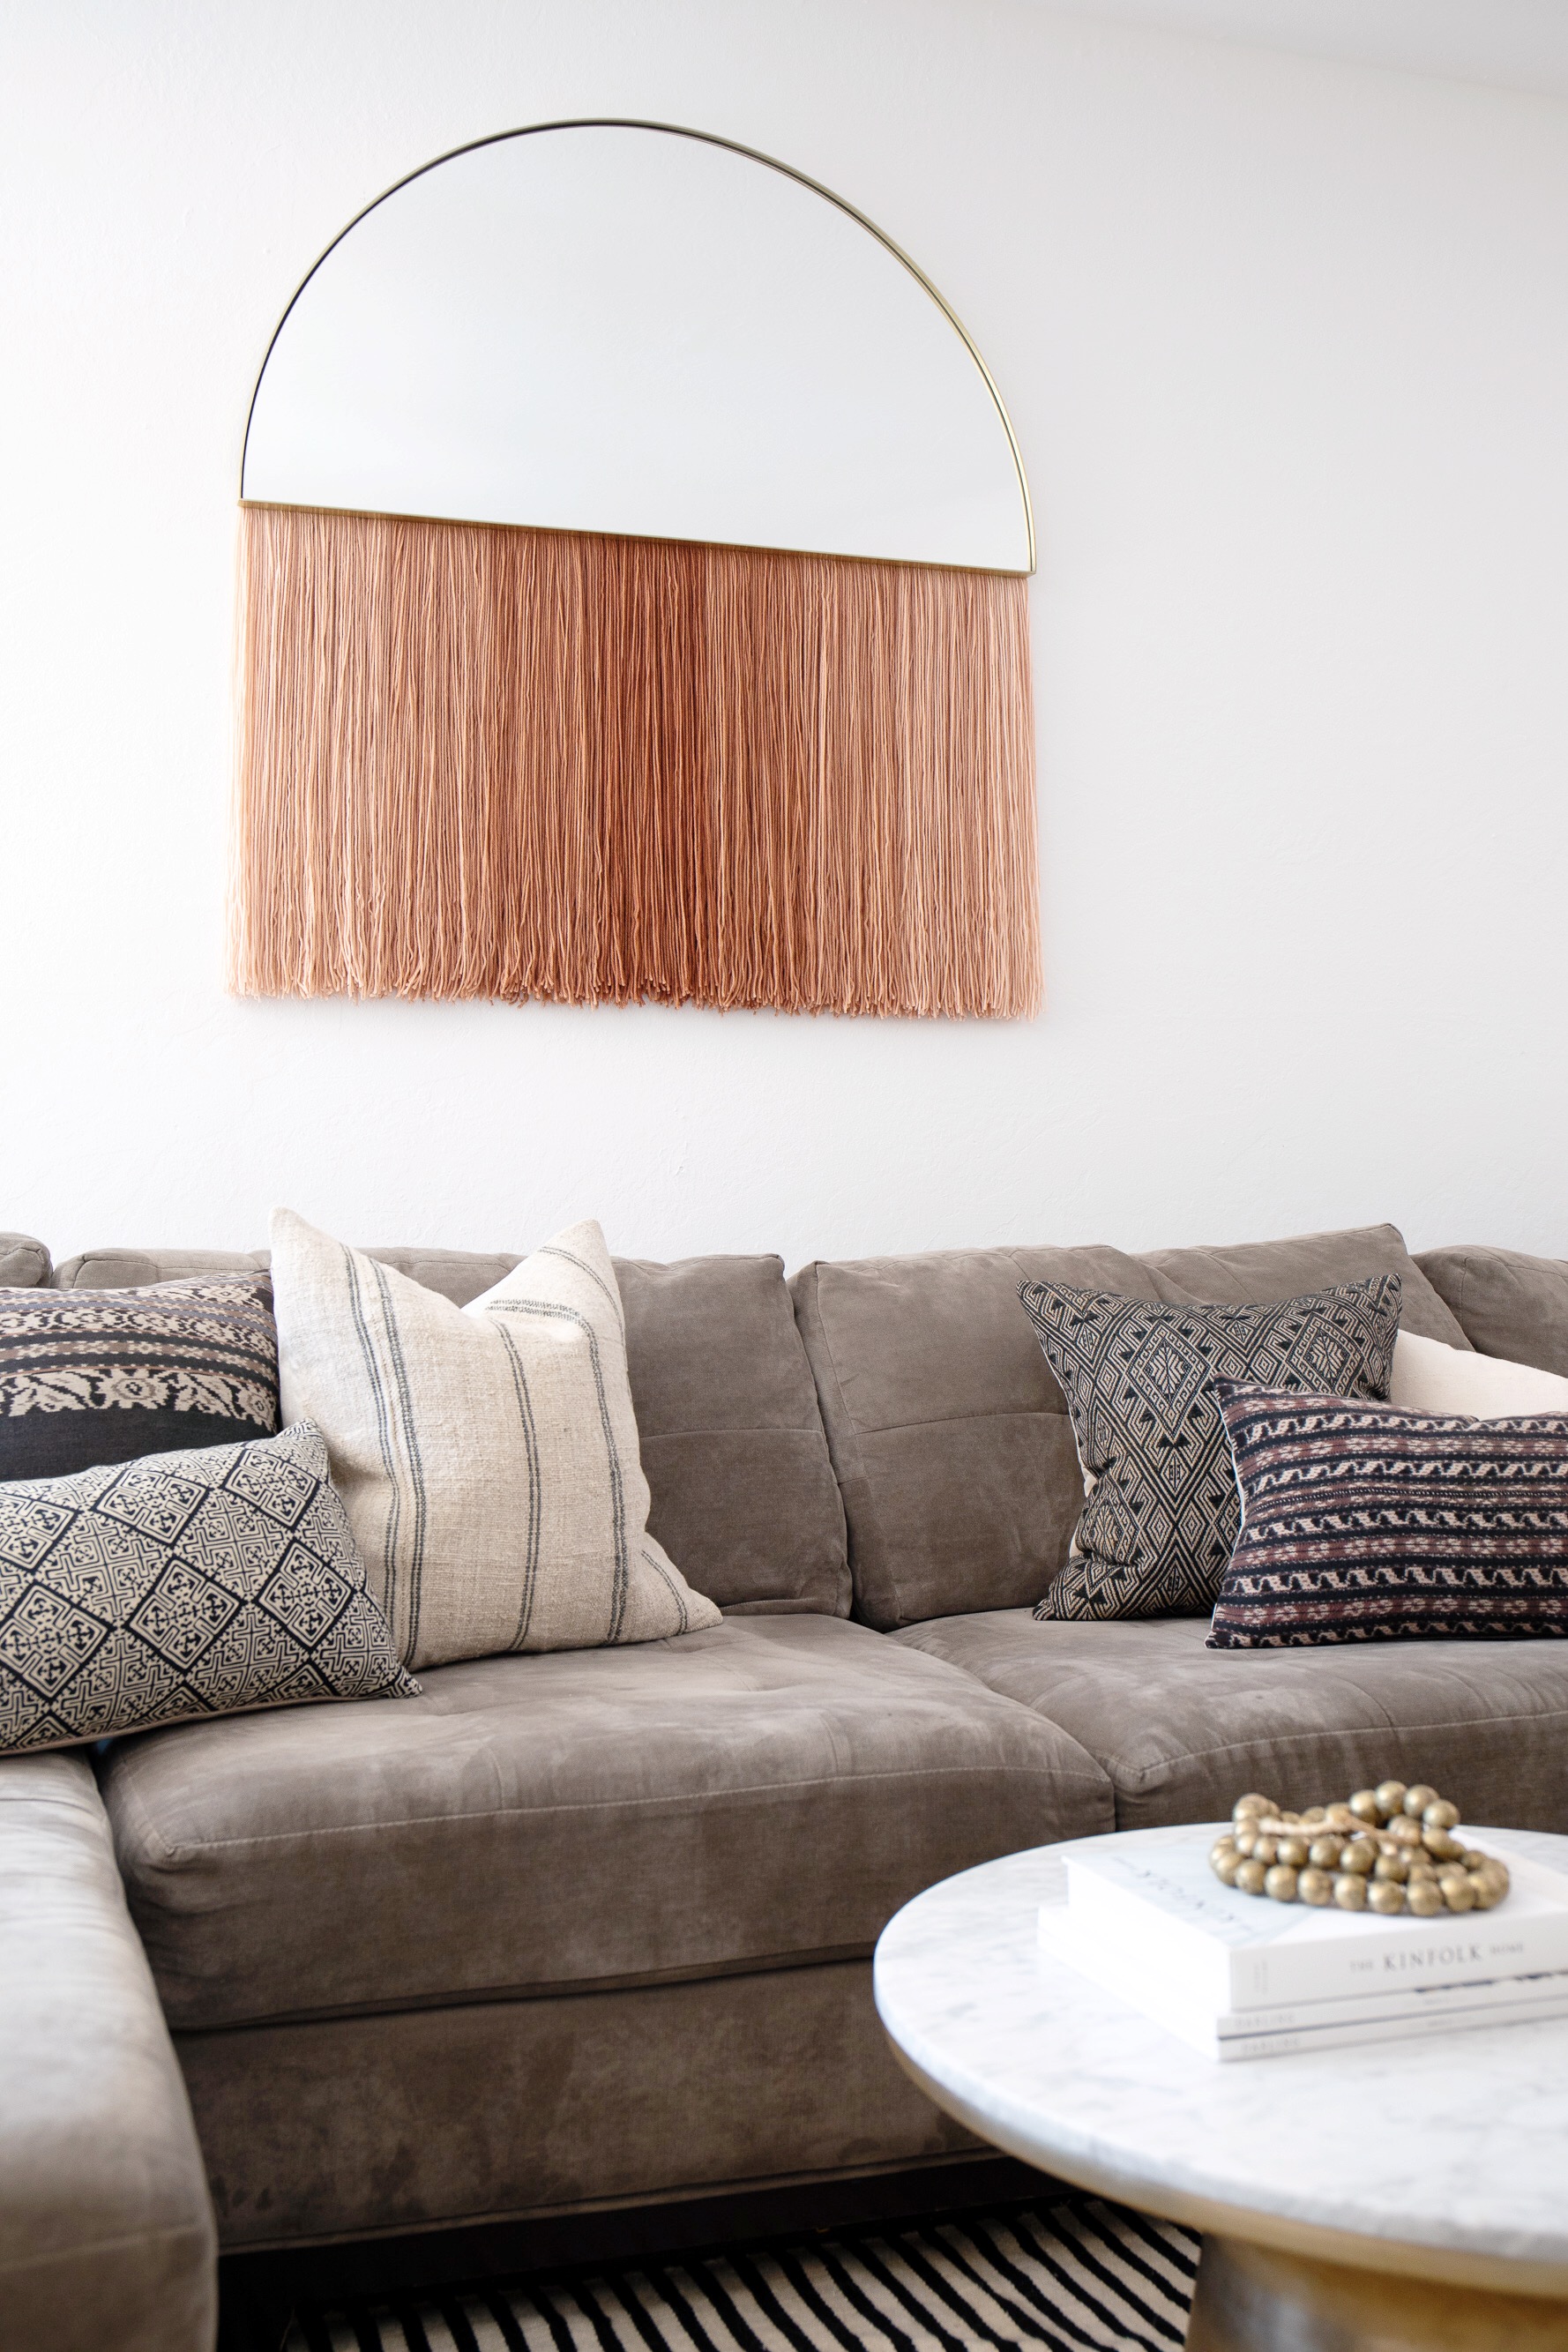
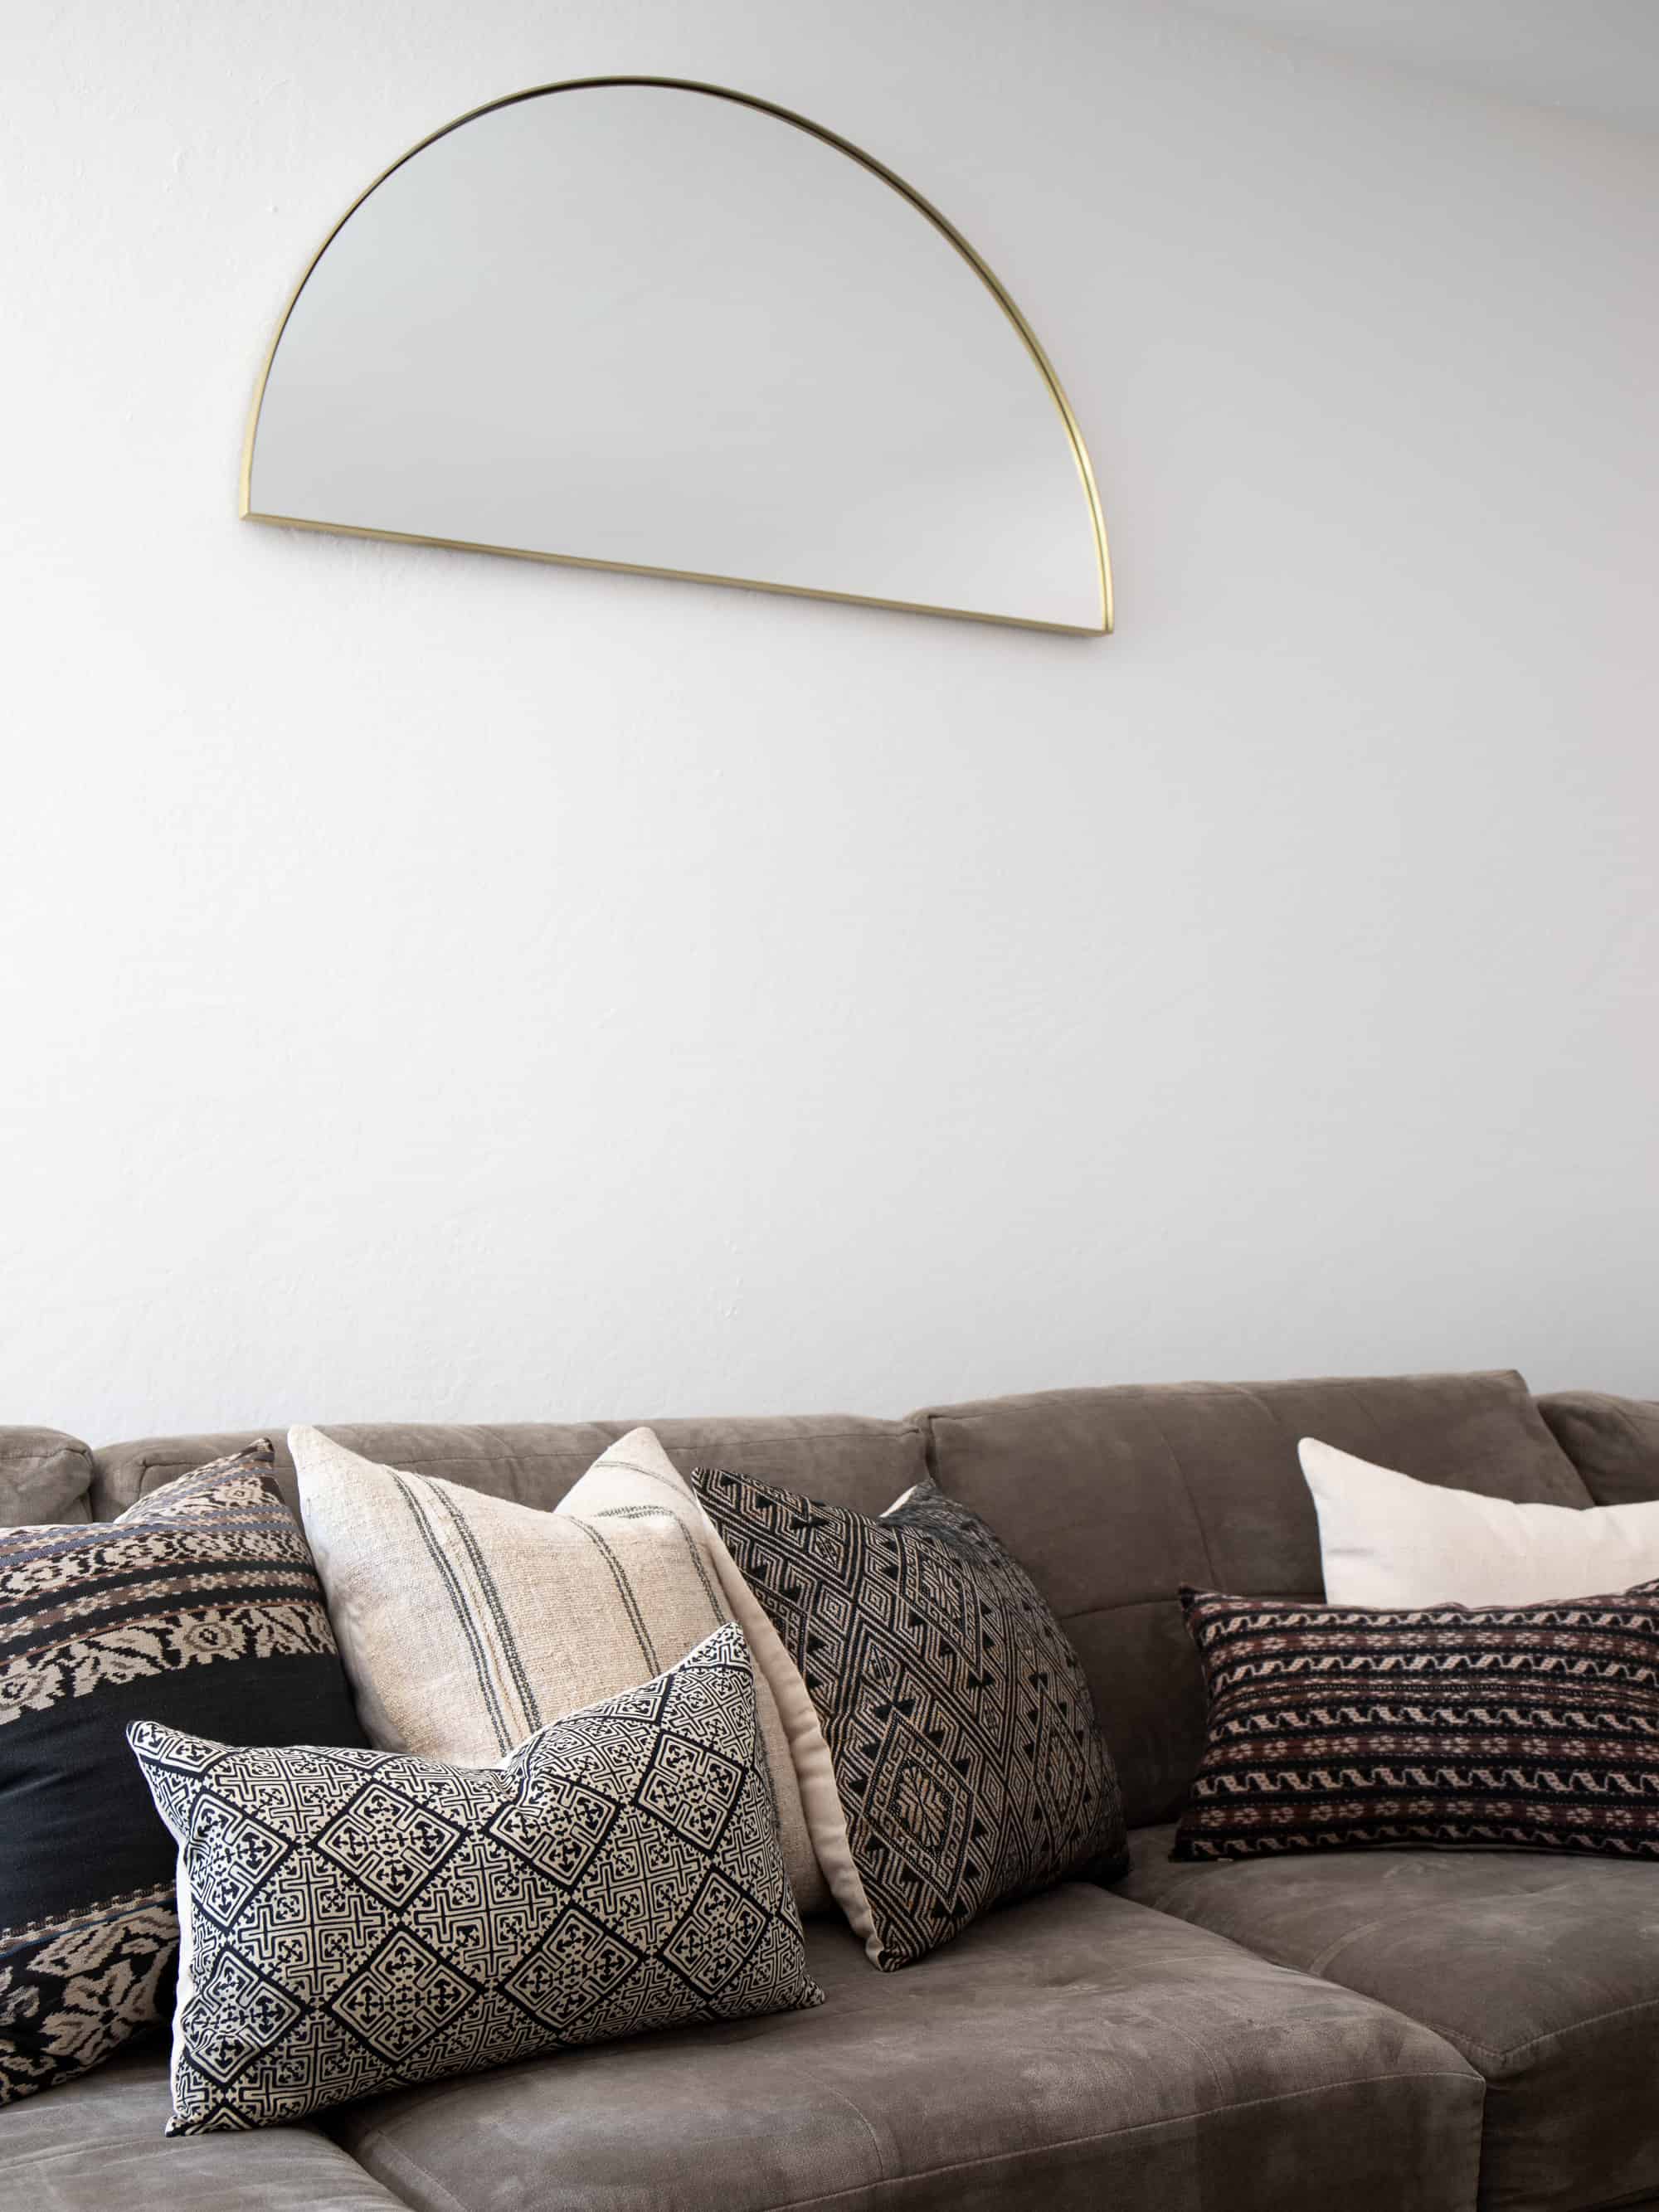
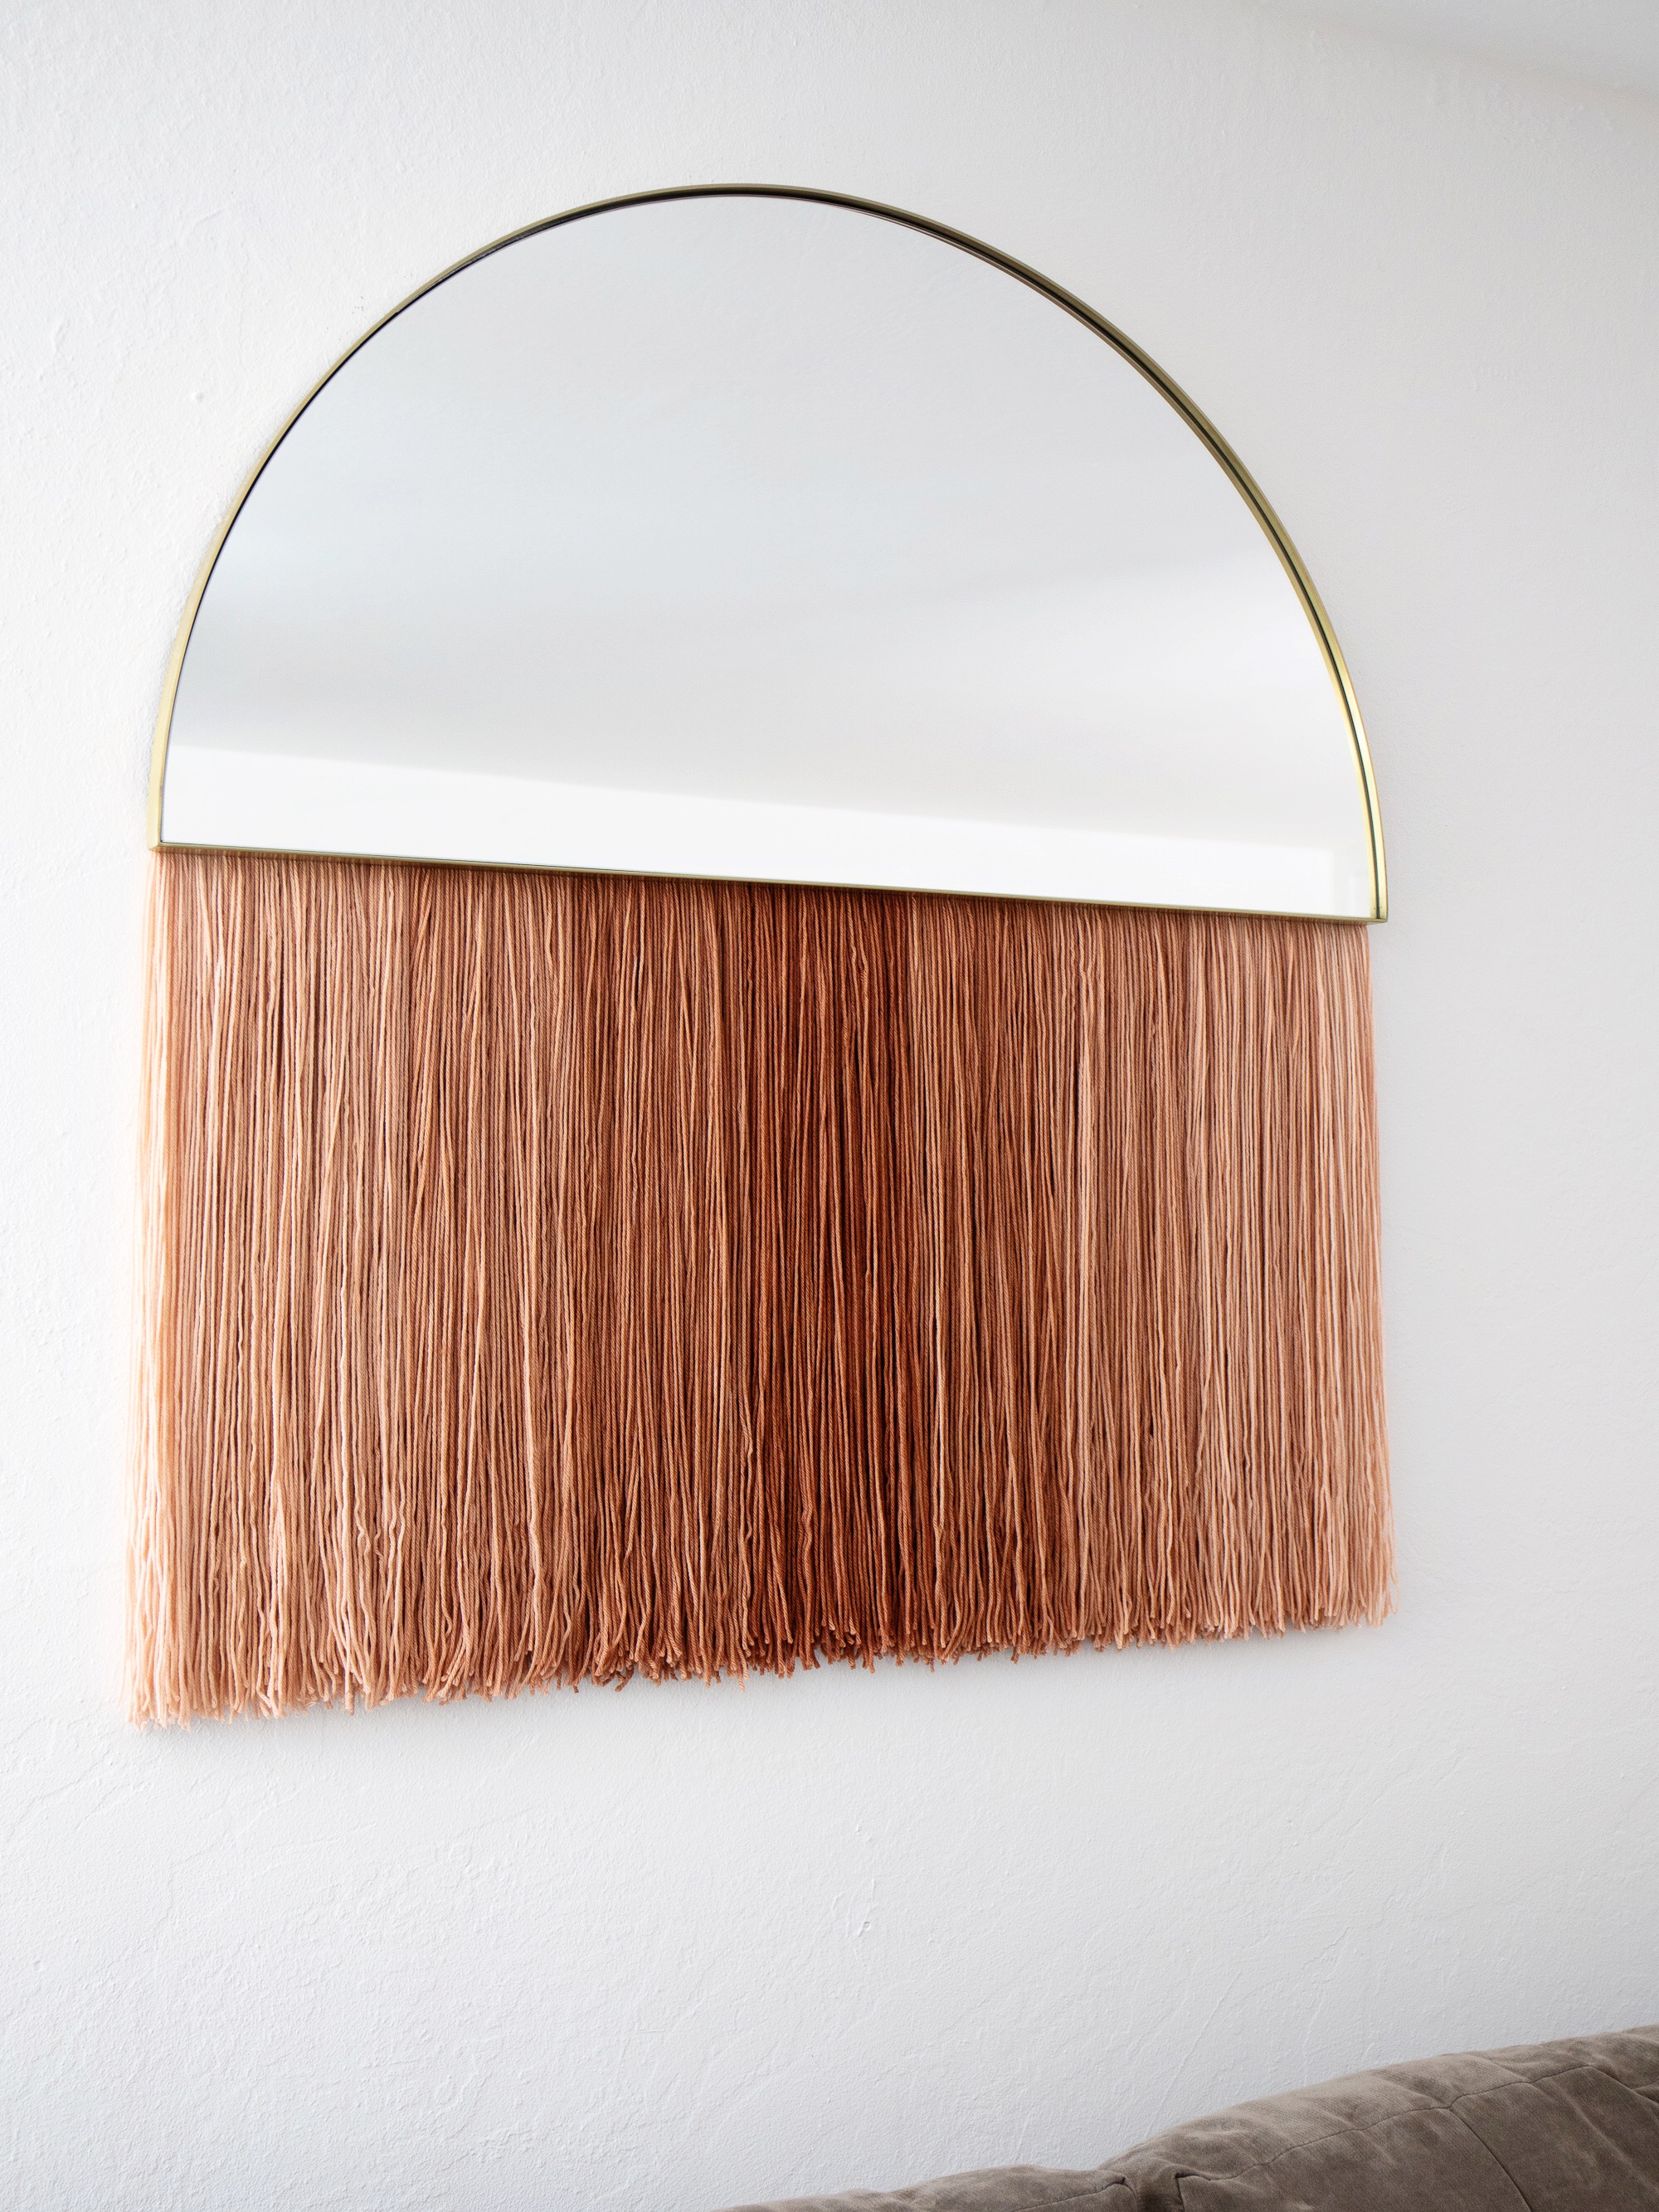
The level of obsession I have with lunar-inspired, half-circle fringed mirror wall hangings has reached a whole new level! I have coveted the Half Moon & Apollo mirror from Ben & Aja Blanc, and have always hoped to one day be able to afford one of their incredible pieces. But ALAS! I found an alternative way to get this look without depleting your child’s college fund, and I’m here to share with you how to make a similar art piece yourself!
When contemplating how to execute this project, I wanted to make sure I had the ability to change out the fringe if necessary, say if I want to switch out the fringe match with my decor. Maybe in a month or so I’d rather have black or tan hanging from the mirror, so I made sure this project offered that flexibility!
Here’s everything I used to create this fringed wall hanging
- Half circle gold wall mirror (back in stock in November!)
- self adhesive velcro tape
- ombre hand dyed yarn (2 sets)
- Hot glue gun
- Scissors (I like the precision of knife-edge scissors)
STEP 1: Hang the mirror.
It was a gamble when ordering the mirror as I wasn’t sure if it could be hung horizontal, but it can! We made sure at least one of the anchors was drilled into a stud. I actually had our contractor hang it because #impatience
STEP 2: Make the Fringe
There’s about 3 sub-steps to this part of the project:
First, I de-twisted each yarn skein then simply cut all threads at one end. This creates hundreds of threads of yarn about ~22″ long.
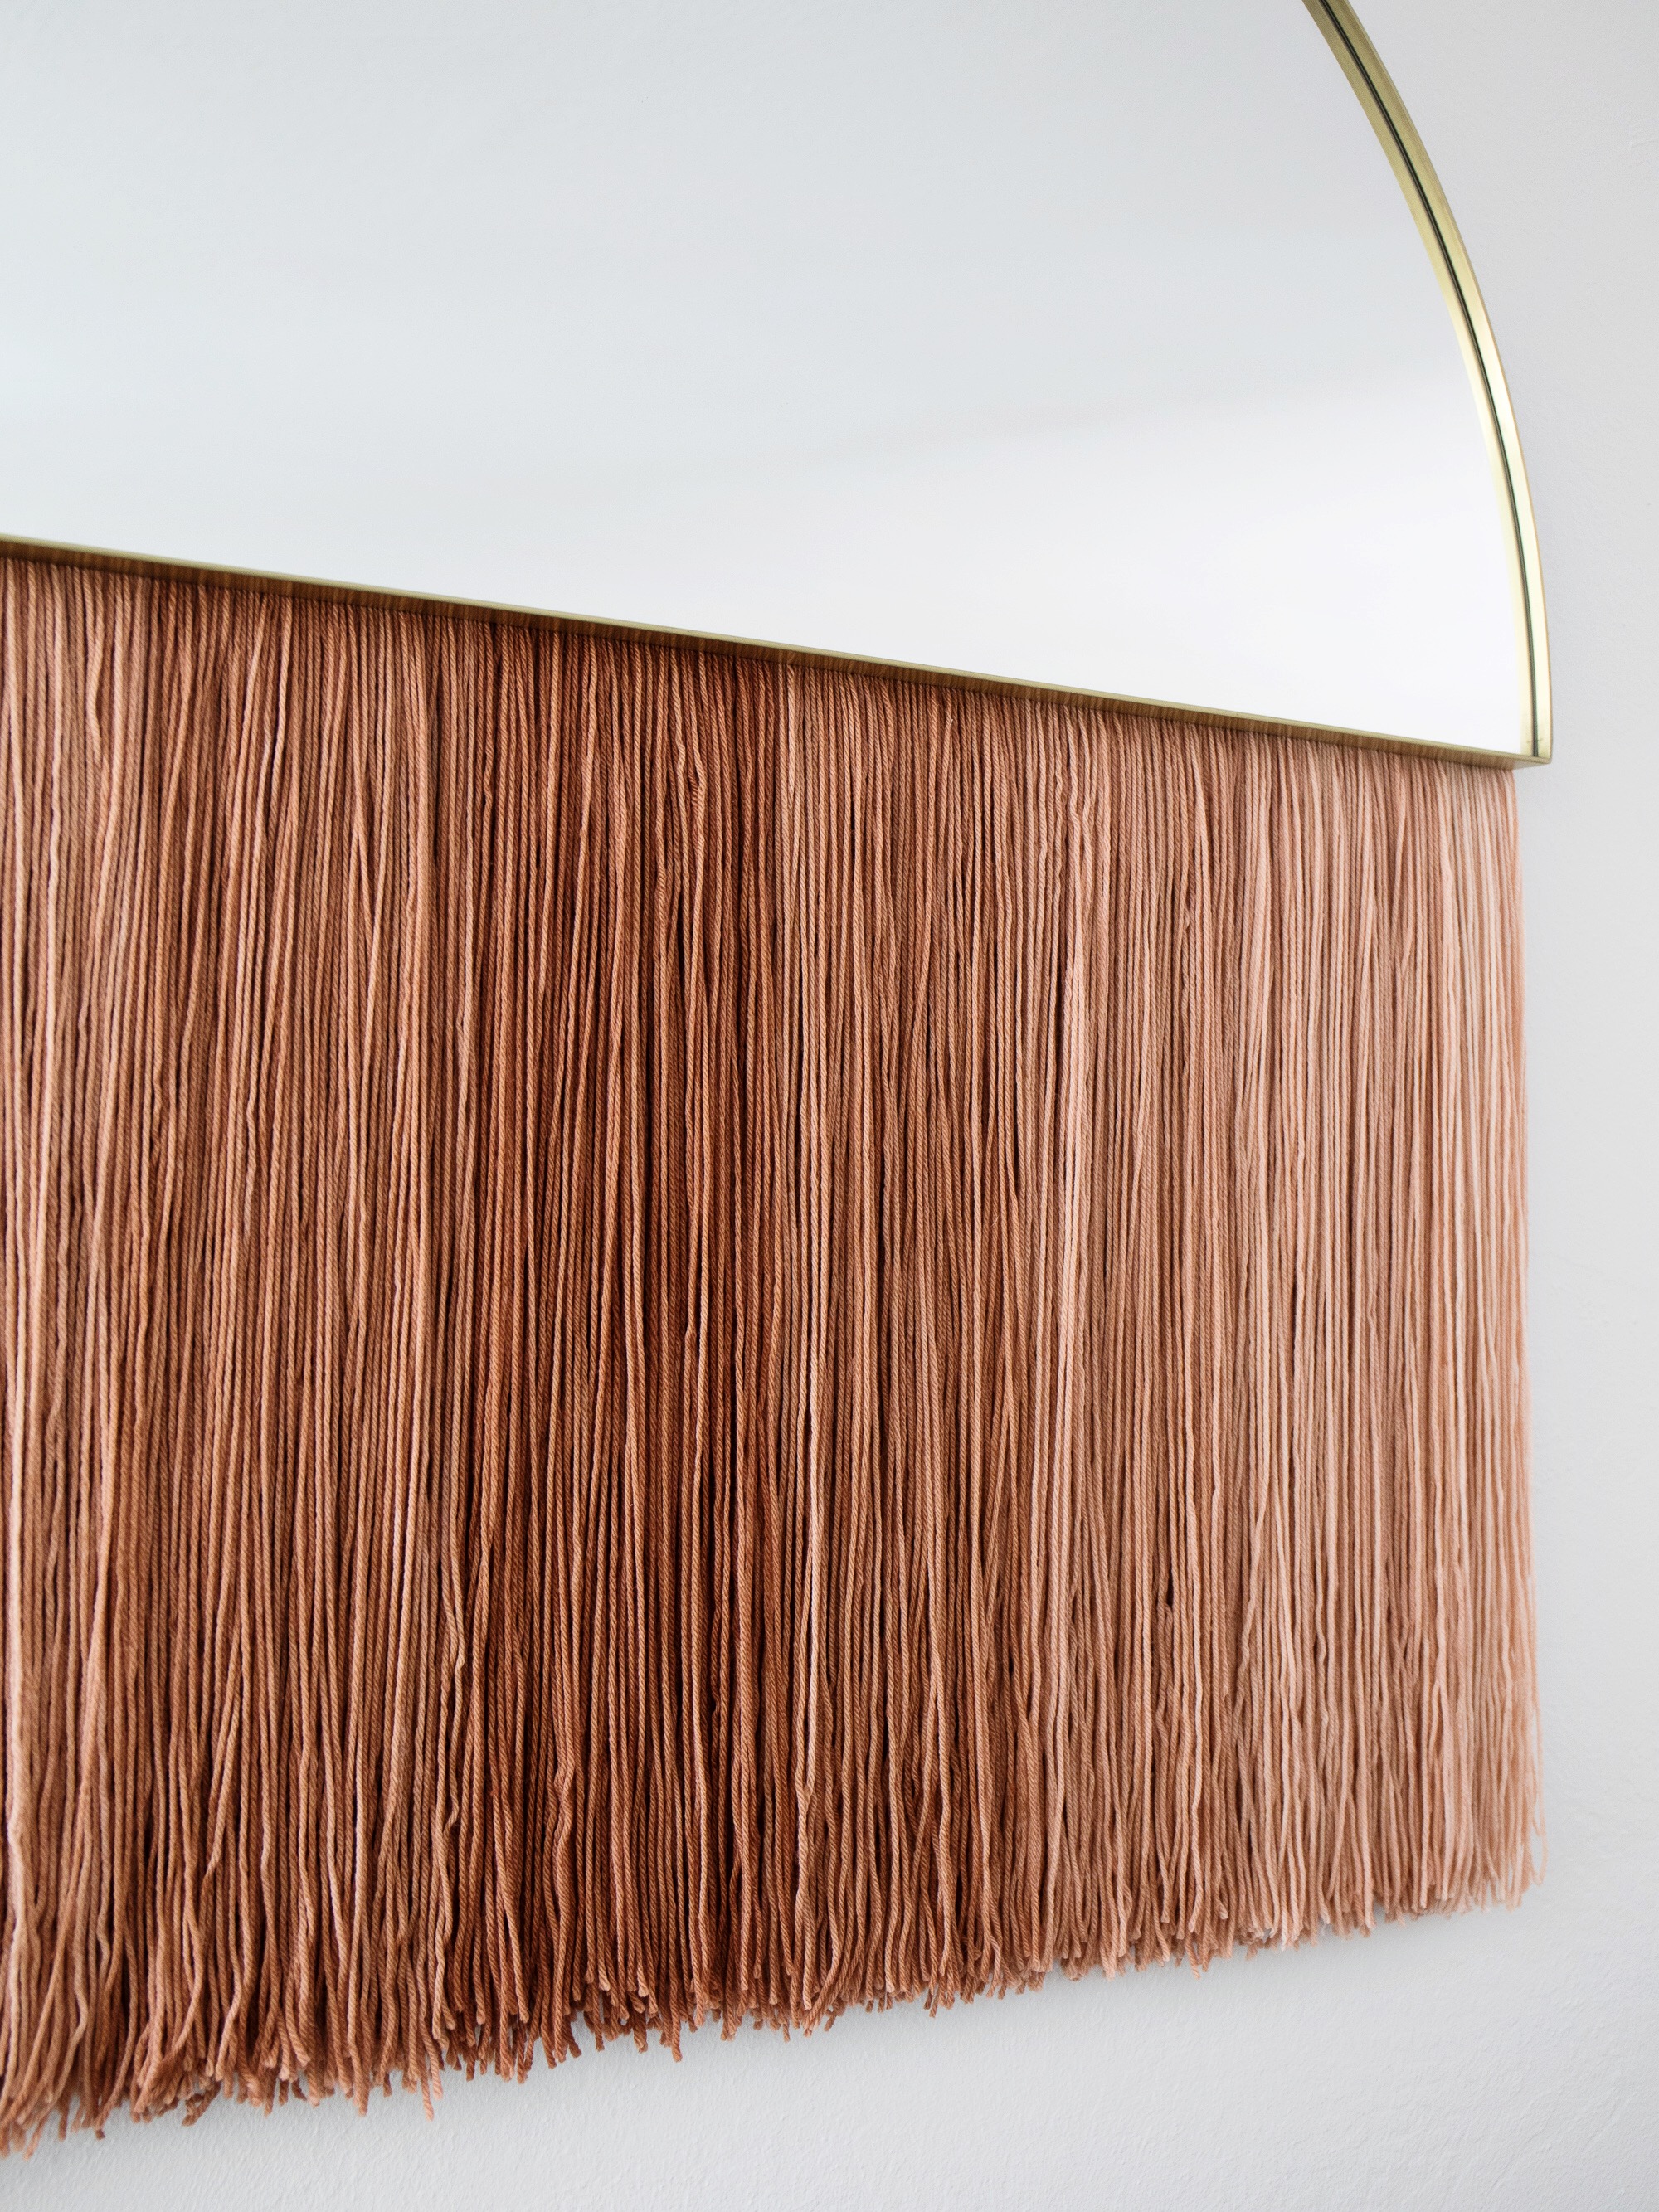
Next, taking note the mirror is 40″ wide, I cut 41″ in length of the velcro tape (1″ for extra play to trim later). Using the self-adhesive velcro tape, I laid the velcro tape down on the table and removed about 2 inches of the backing to expose the sticky side. Then I took a small handful of the threads of yarn and attached them to the adhesive backing. I made sure the threads were side-by-side on the adhesive backing, leaving no sticky part visible. I repeated this until the entire 41″ of velcro tape was covered with yarn. (In this project I used an ombre effect of yarn colors, so I marked on the velcro when I would have to change from one skein to the next so that the ombre effect was equal throughout the fringe)
Lastly, I repeated everything above to have TWO layers of fringe, except the second layer goes right on top of the first layer using hot glue. To me, the major appeal of this art piece is that the fringe is thick and dense, so two layers of yarn is definitely the way to go.
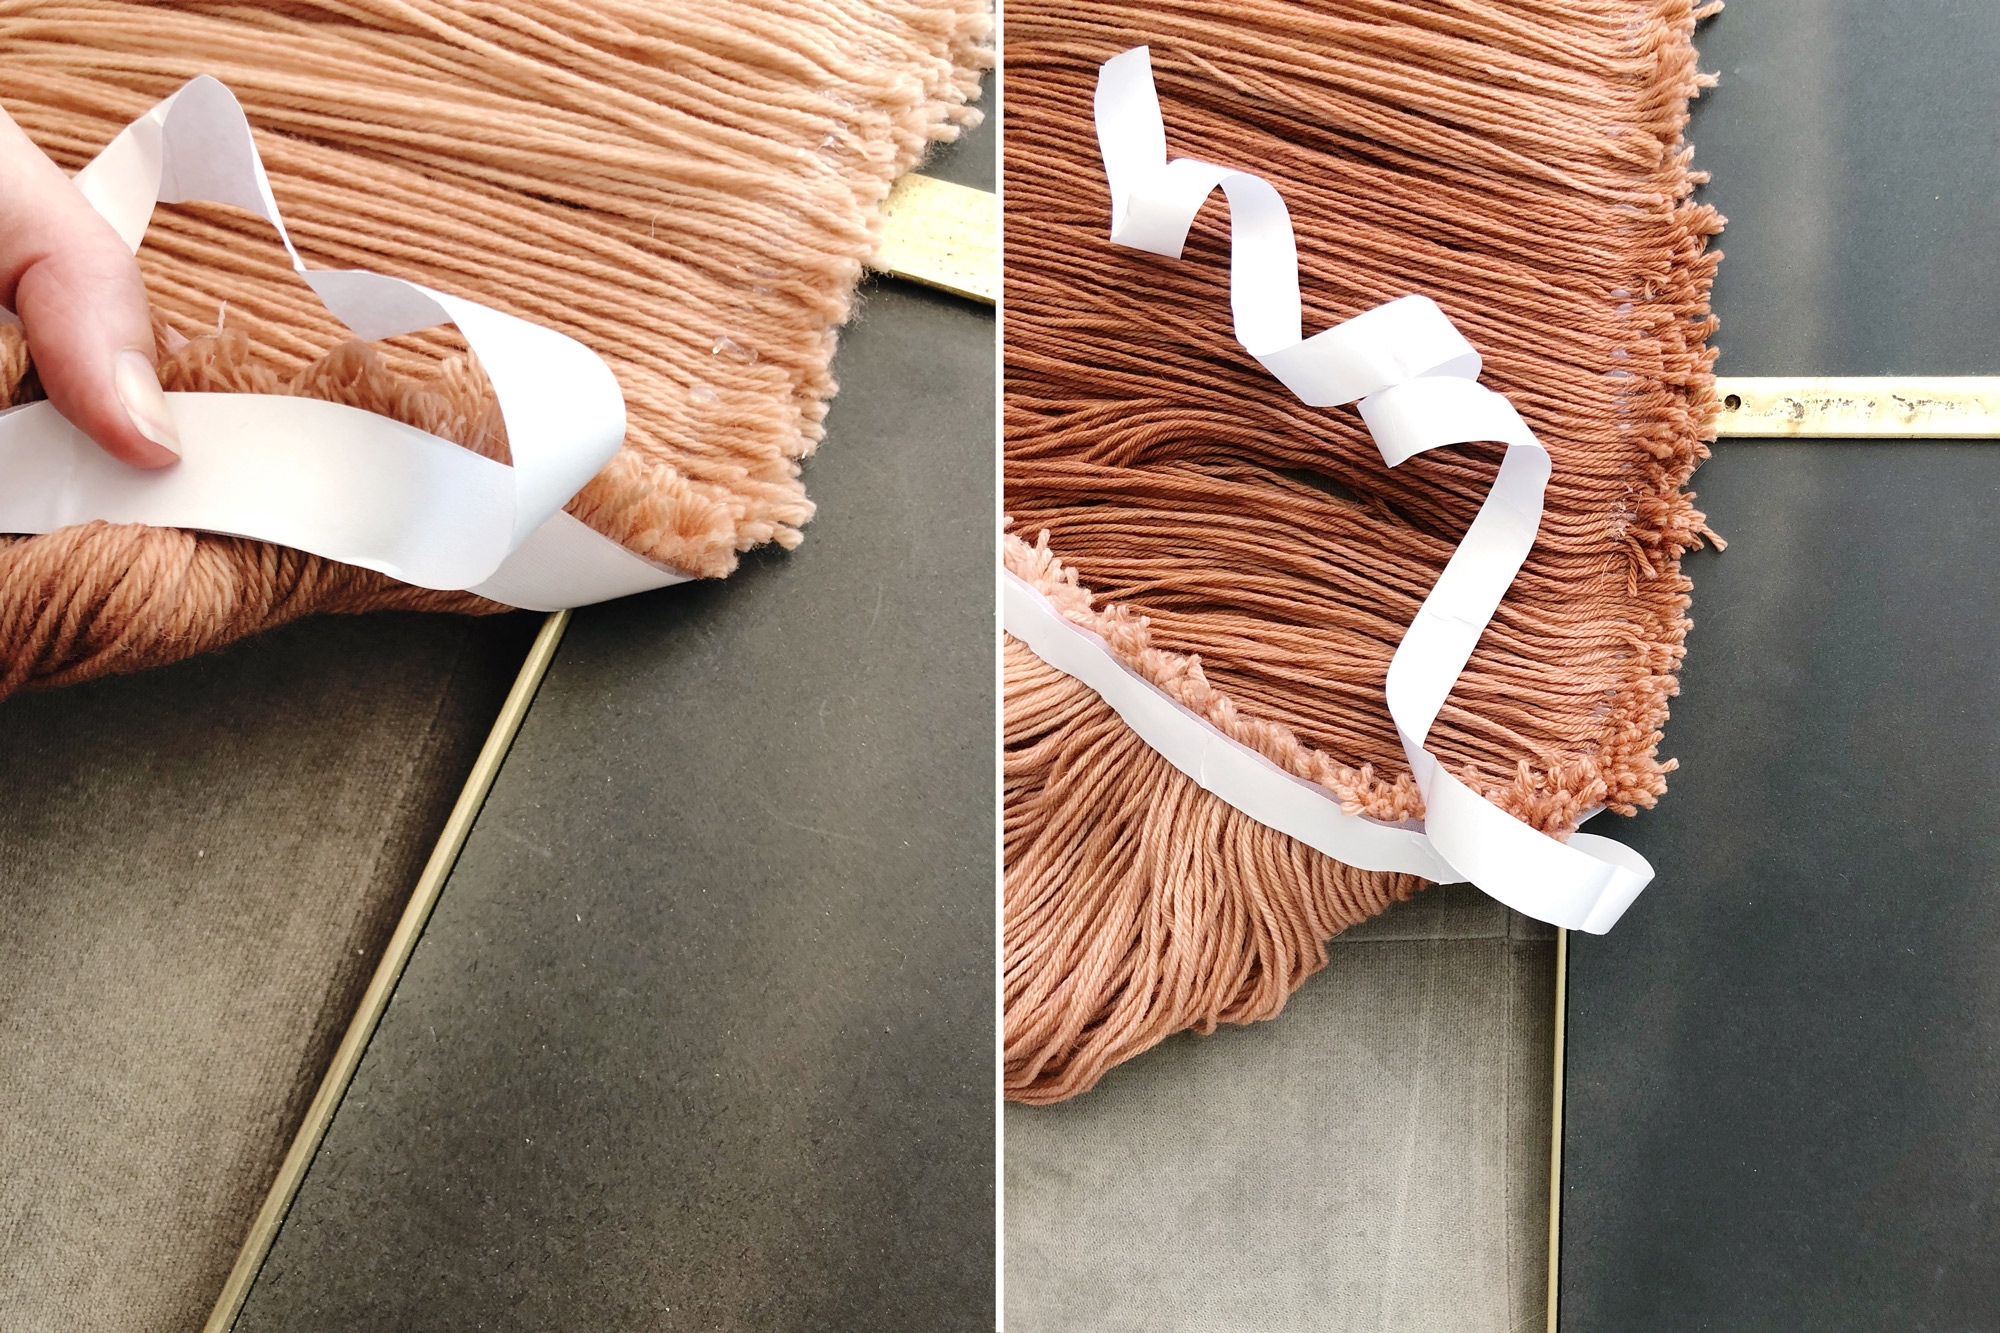
STEP 3: Attach the Fringe to the Mirror
As shown above, I took the mirror down off the wall, laid it on my sofa mirror-side down, and using the other side of the self-adhesive velcro tape I attached the fringe to the bottom of the backside of the mirror. The adhesive tape is very sticky and definitely holds the fringe! The most amazing part is, one side of the velcro will stay attached to the mirror, and the other side with the fringe is removable so you can change it out if you want! >>pats self on back<<

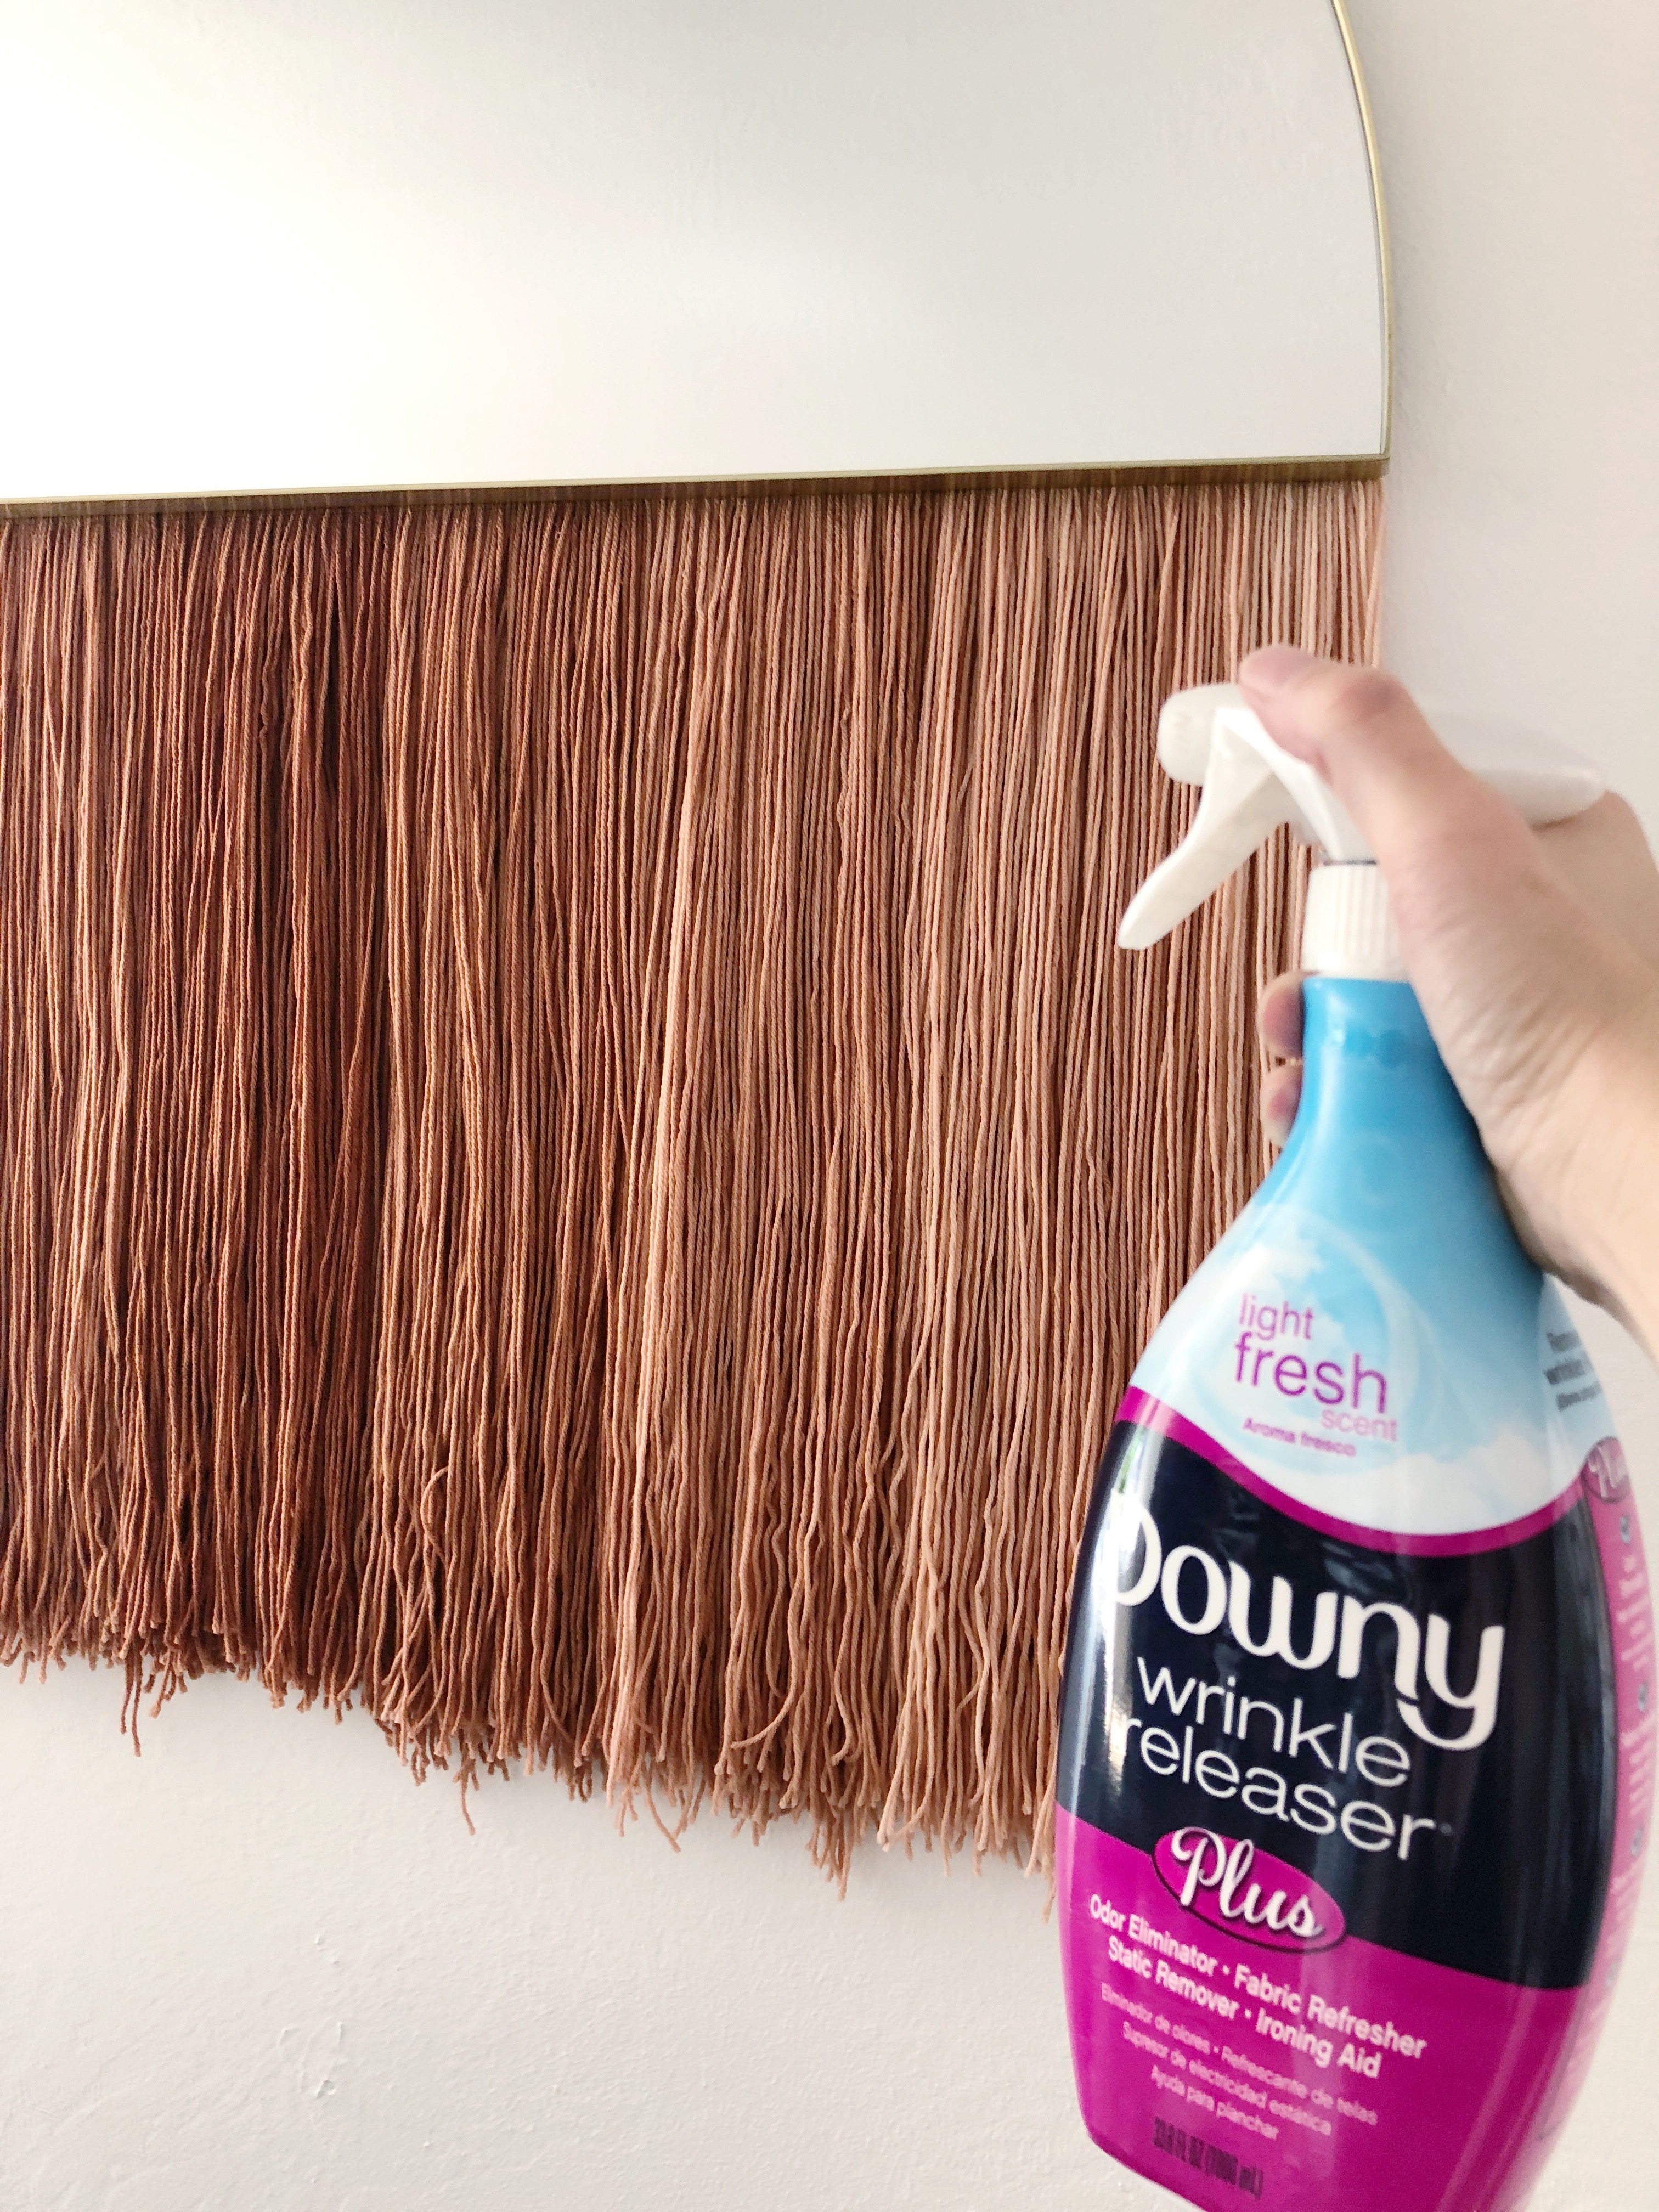
The yarn can be a tad wrinkly, so I sprayed some wrinkle releaser spray and it helped straighten out any pieces that had stubborn wrinkles.
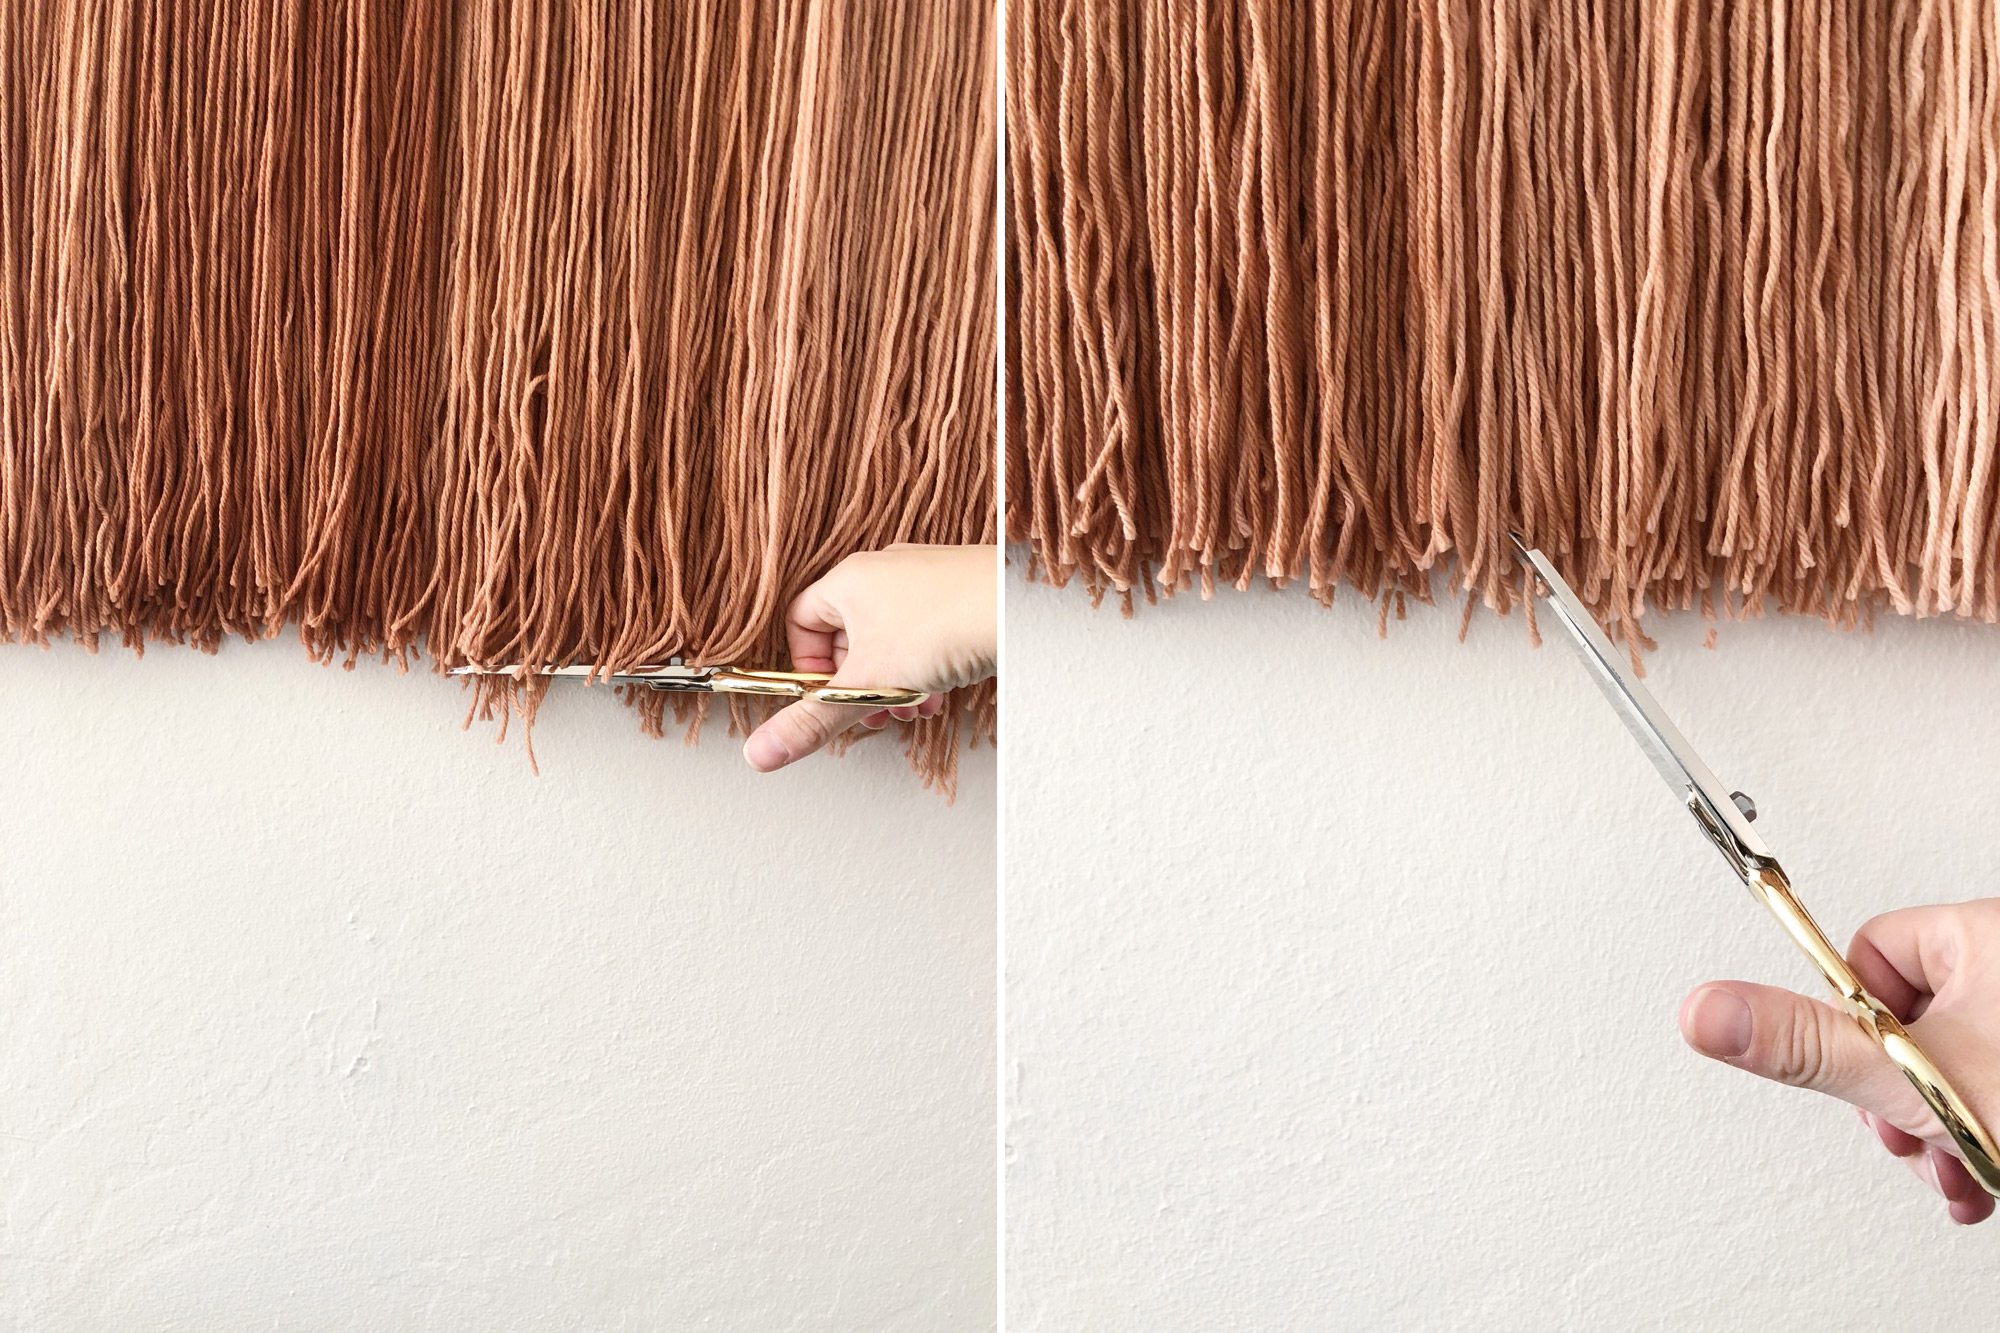
STEP 4: Trim the Fringe
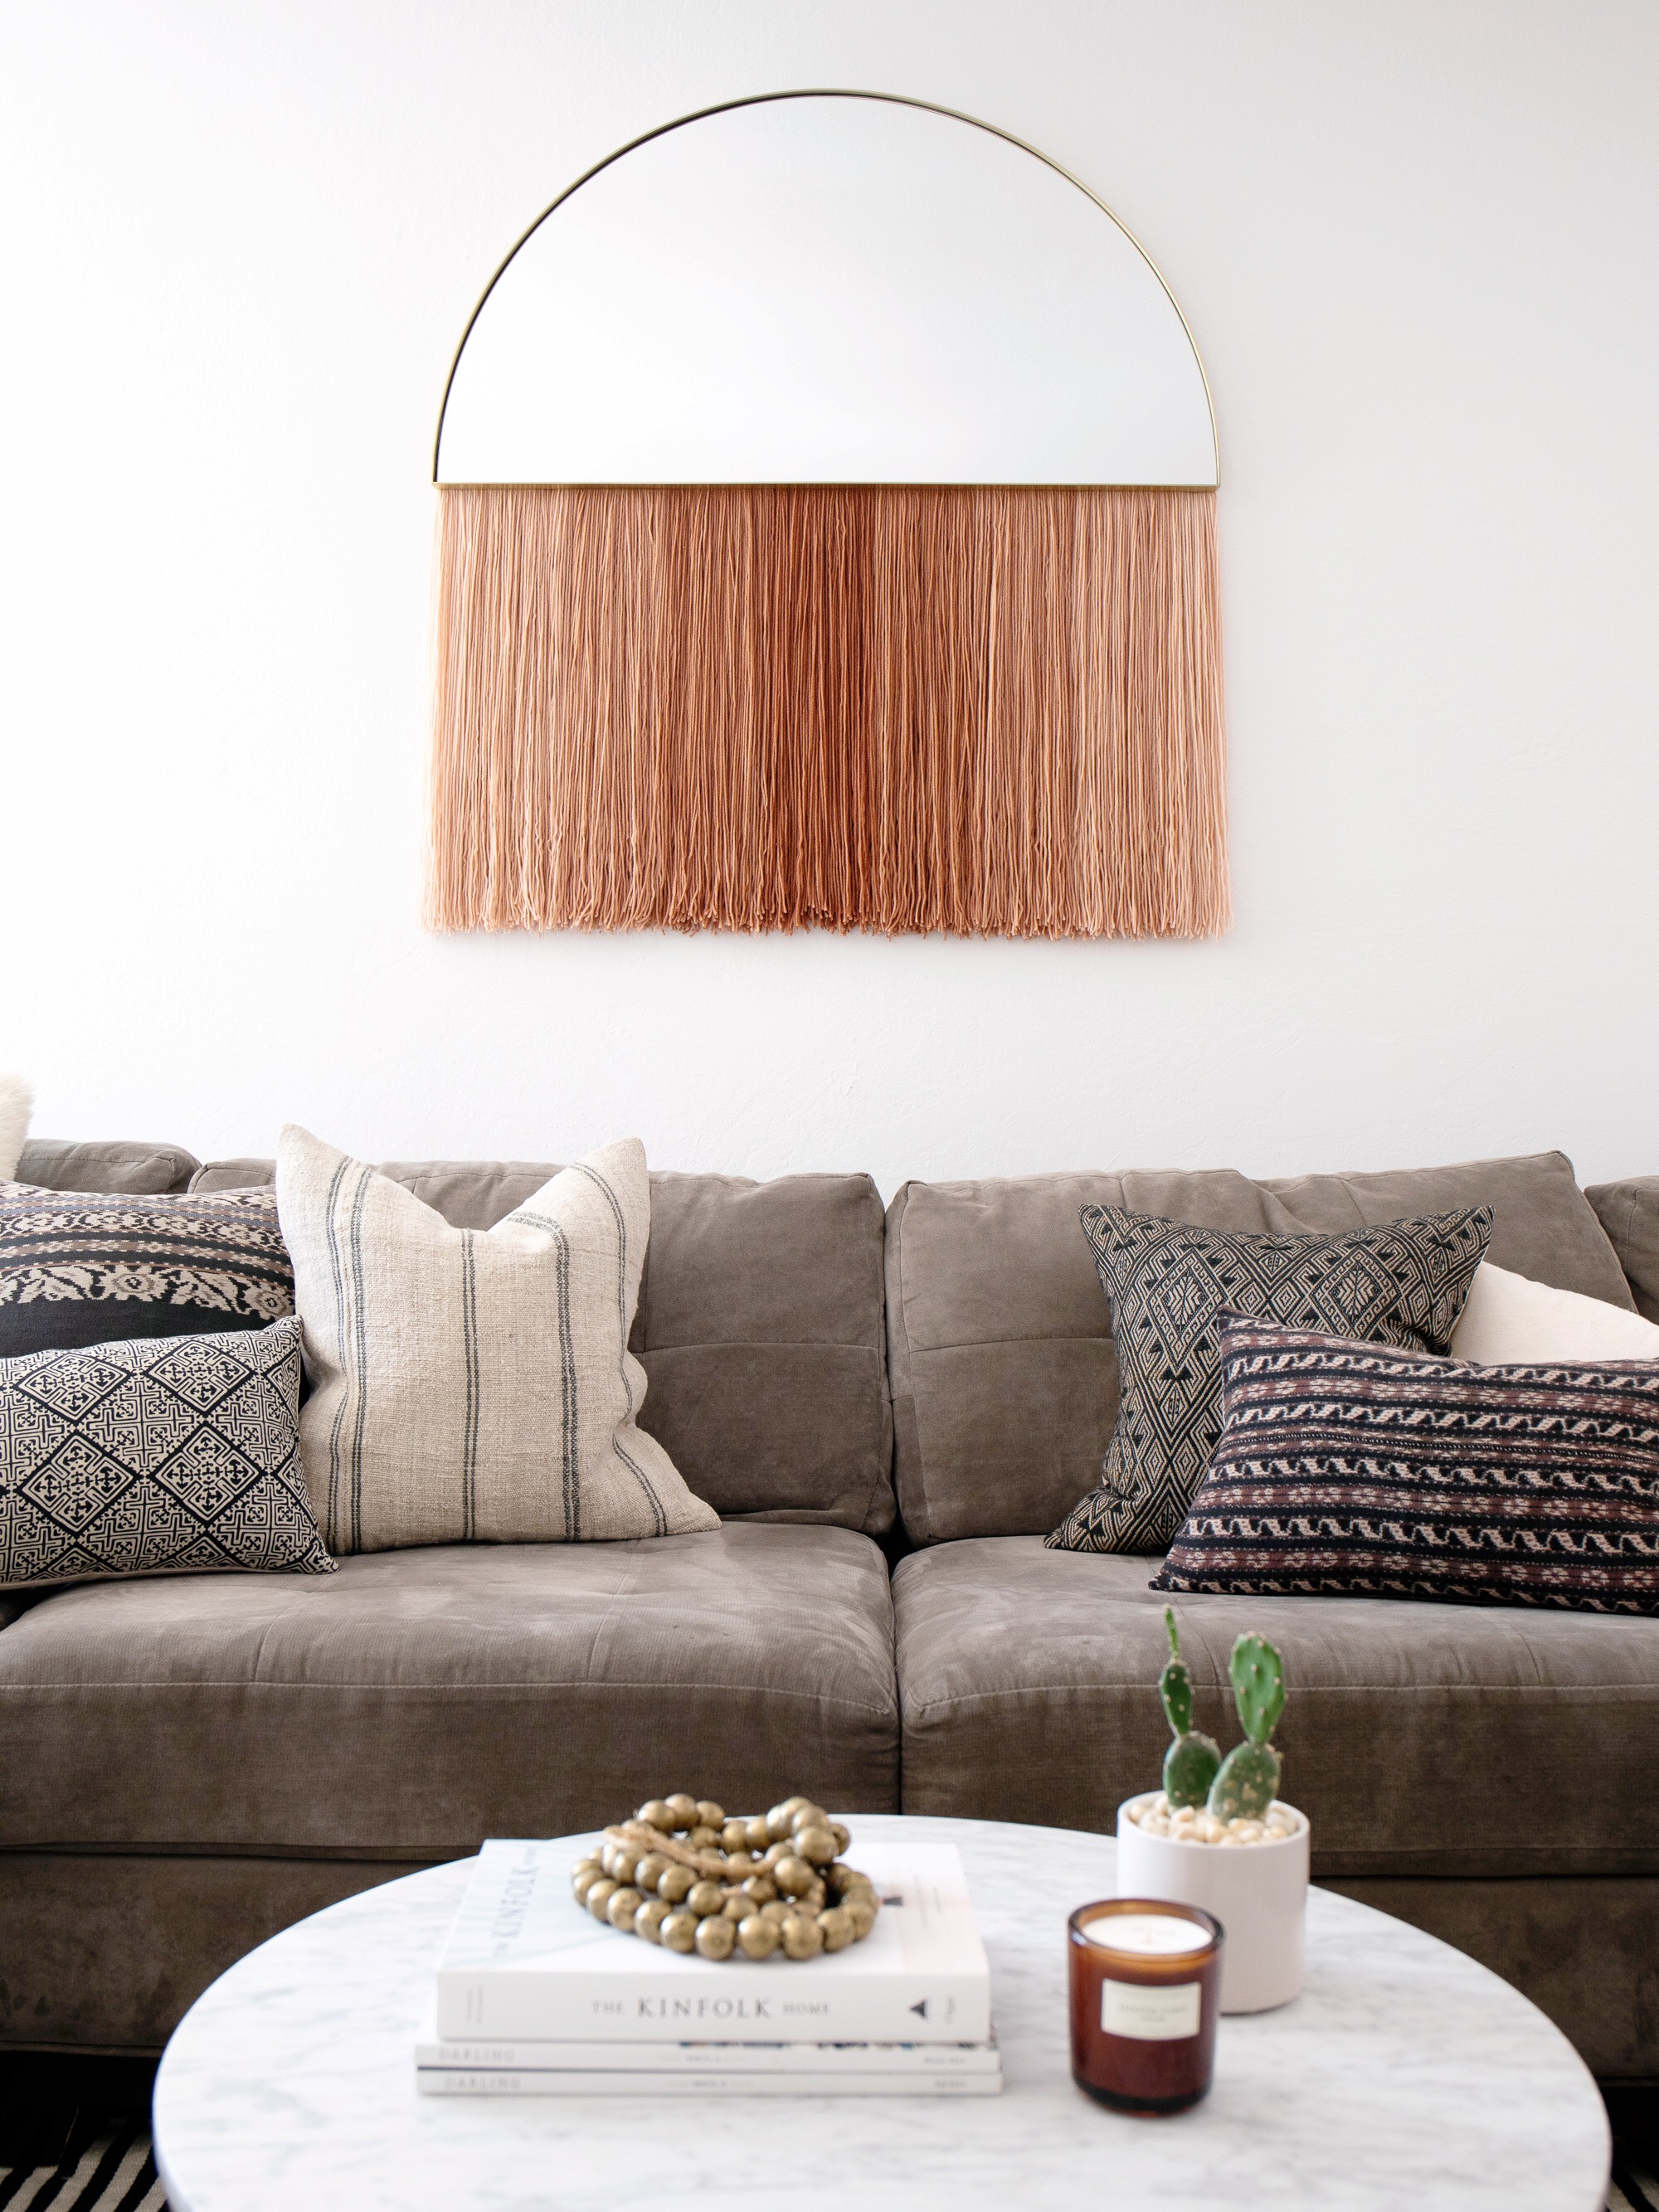
My ultimate goal was to have fringe end about the same length as the height of the mirror, roughly 20″. Honestly, I eyeballed it, but I could have used my contractors handy level with a laser, which would have given me a very straight line to cut from. I wanted my fringe to be somewhat organic, so after I trimmed the length, I cut in at an angle (as one would do with hair fringe/bangs!)
Voila!
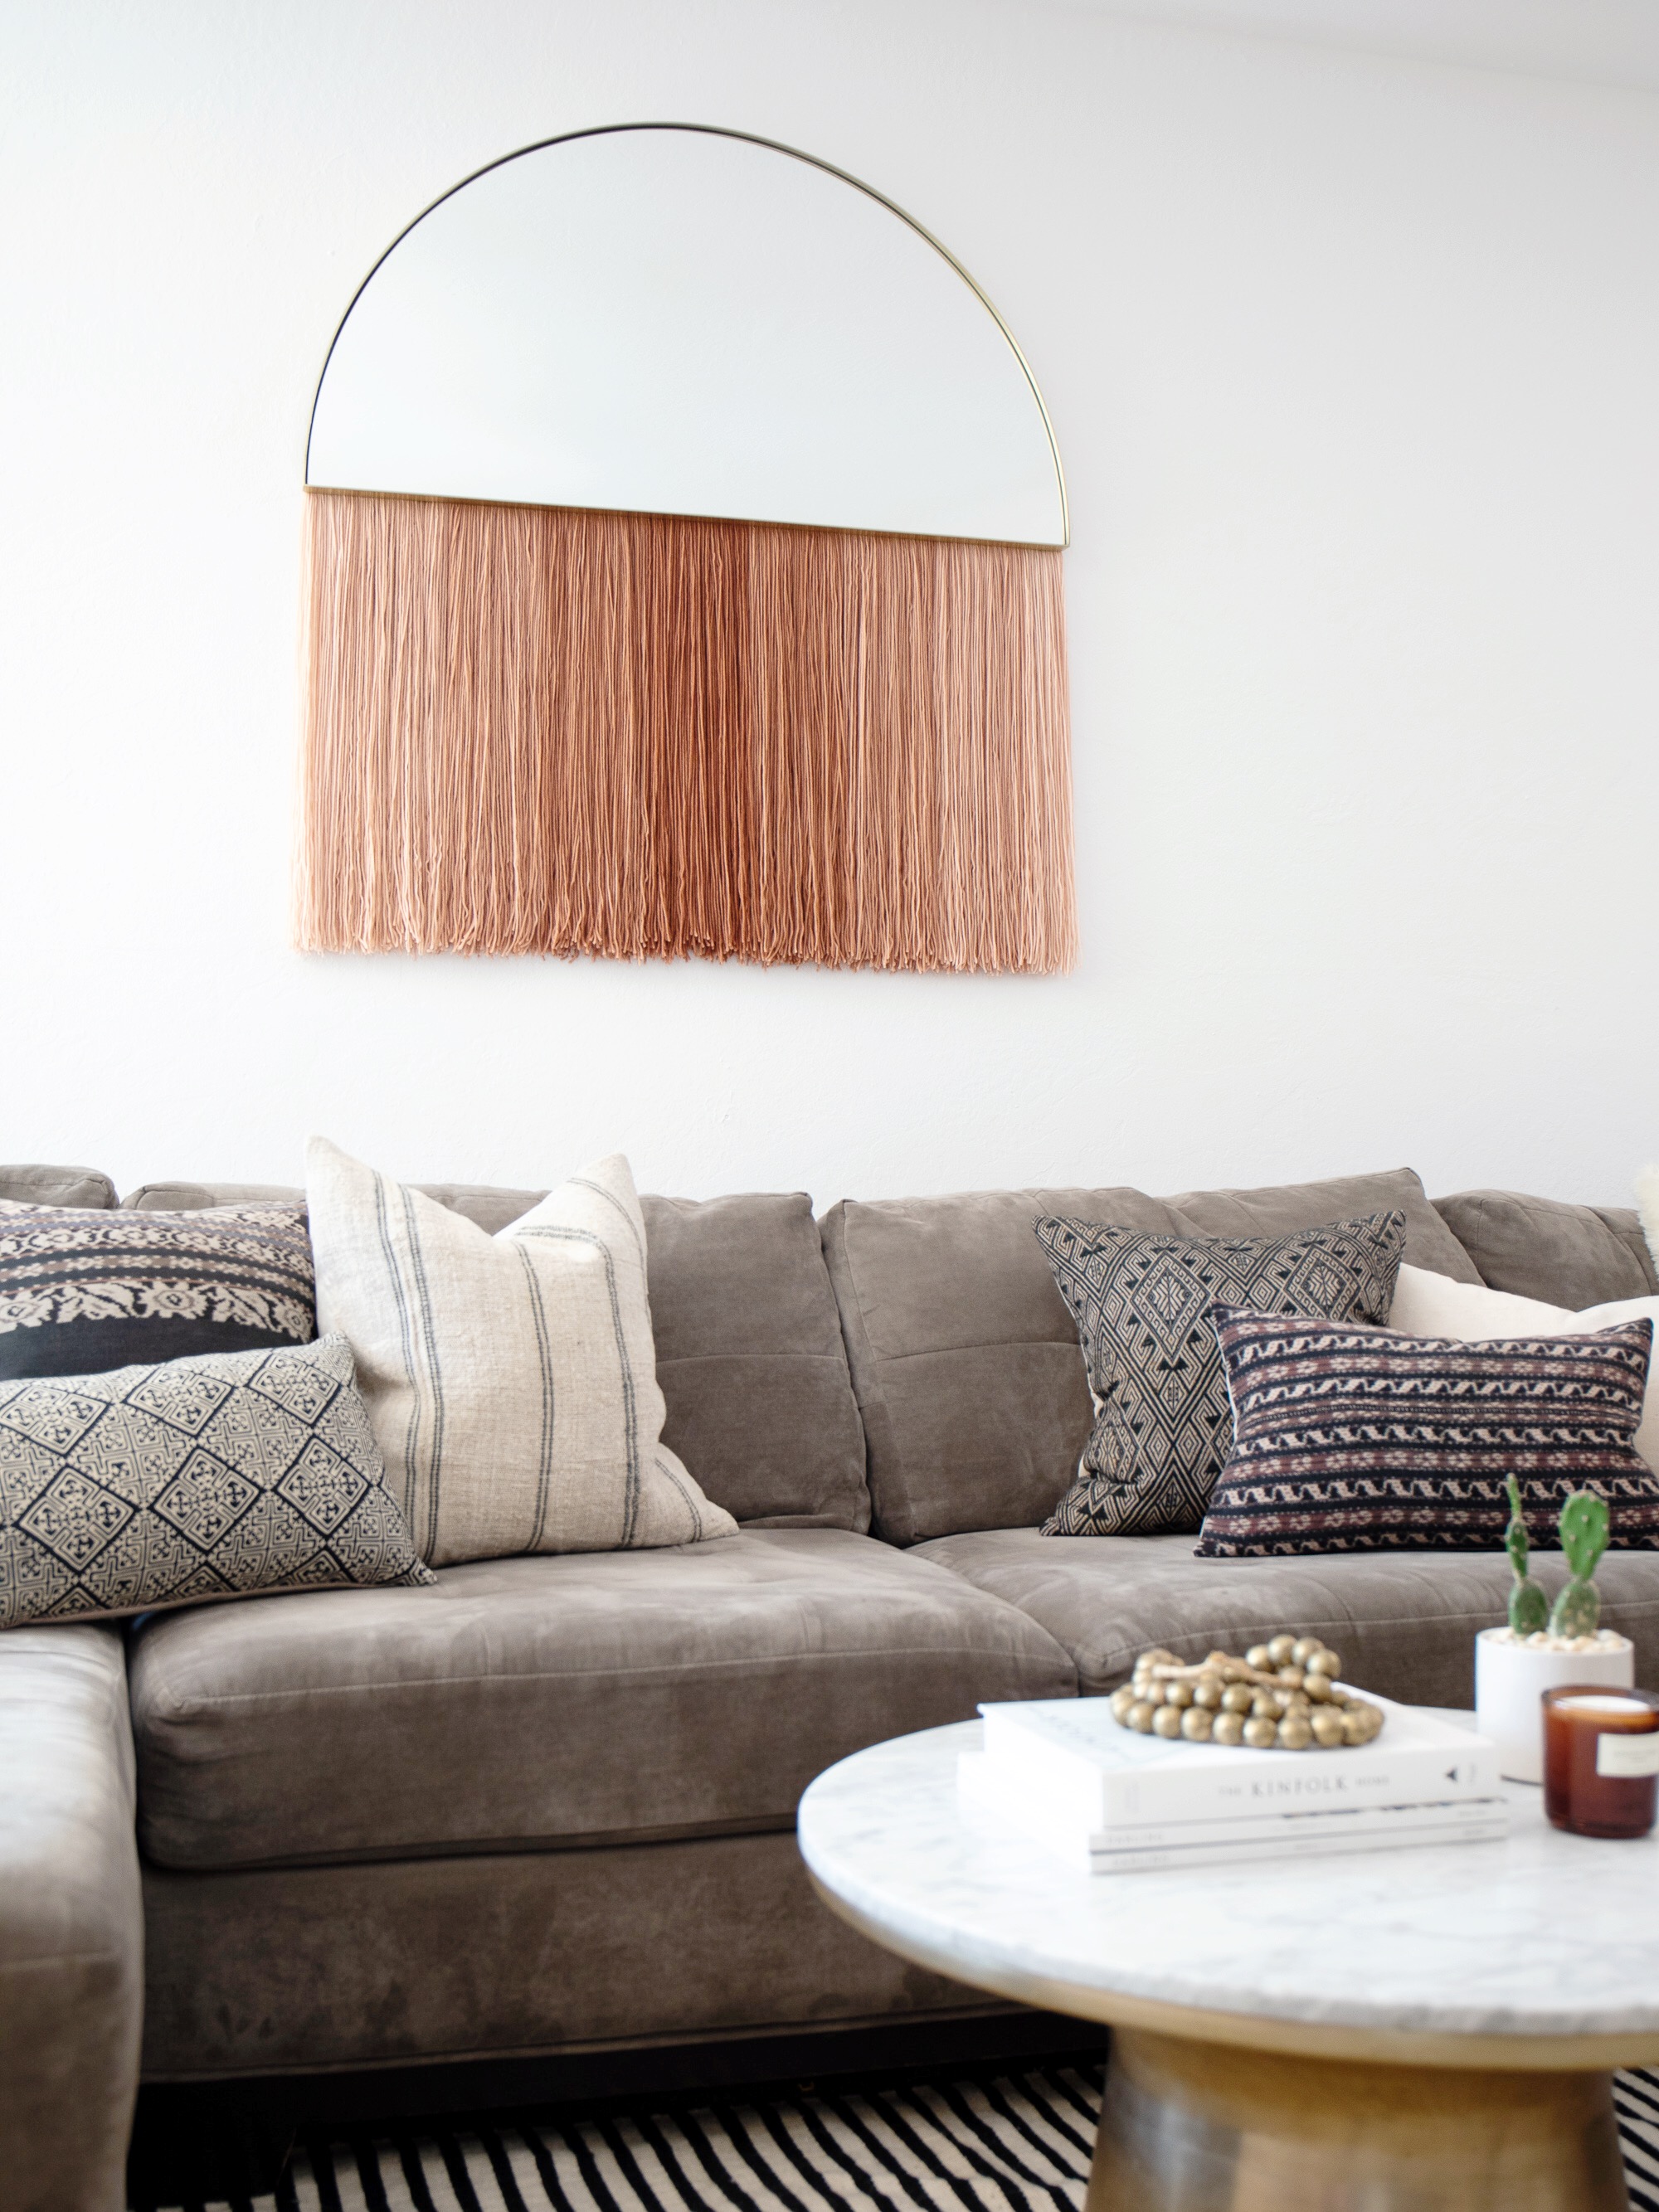
This project cost me about $570, while that isn’t super cheap it is a lot less than a commissioned art piece. And man this project turned out so good it was completely worth it!

It looks amazing. So creative. I love it.
This is SO cool! One of the best mirrors DIYs I’ve ever seen! 😍🙌🏼
Thank you so much!!!
How did you dye the yarn? (what yarn did you use and what dye?) THANK YOU!
Love your blog!!!!!!
I purchased the yarn (already dyed) from a yarn seller on Etsy, the link to the yarn is in the post!
Hi! This is so cool and I want to recreate it. Can you give a little more explanation on how you cut and attached the yarn? Im a bit confused on that part.
Very nice! I want to learn how to make such yarn, but I don’t understand how yet.
Great! I will definitely try as well!
This is so uncool. Your openly copying the work of living artists and then teaching other potential clients how to make it. You are stealing business and years of design work from good people who also need to send their kids to college. Imitation is absolutely NOT the sincerest form of flattery.
This DIY fringe mirror was not a copy, it was inspired by, which is a VERY different concept! You can find clear copies of the D&B mirror out there on the internet and ours is nothing sort of a copy. Appreciate your comment and call-out quest, however you should target those who are actually copying and selling and profiting off of them, not someone who took a mirror from a retail location and added craft store yarn to the bottom for her own living room. This project would never pass a D&B mirror. Thanks again!
Hi! I’m wondering how much yarn it took you to accomplish this full a fringe! Do you have a length estimate? The link to the yarn in the post expired :)