Have you forgotten about #projectmykindakitchen? Well I haven’t! We’ve hit a weird lull between finishing the kitchen installation without the finishing touches, like window treatments, counter stools, chandelier, etc. Those items are key to the full reveal, and I’m hoping they all get sorted out/installed very soon!
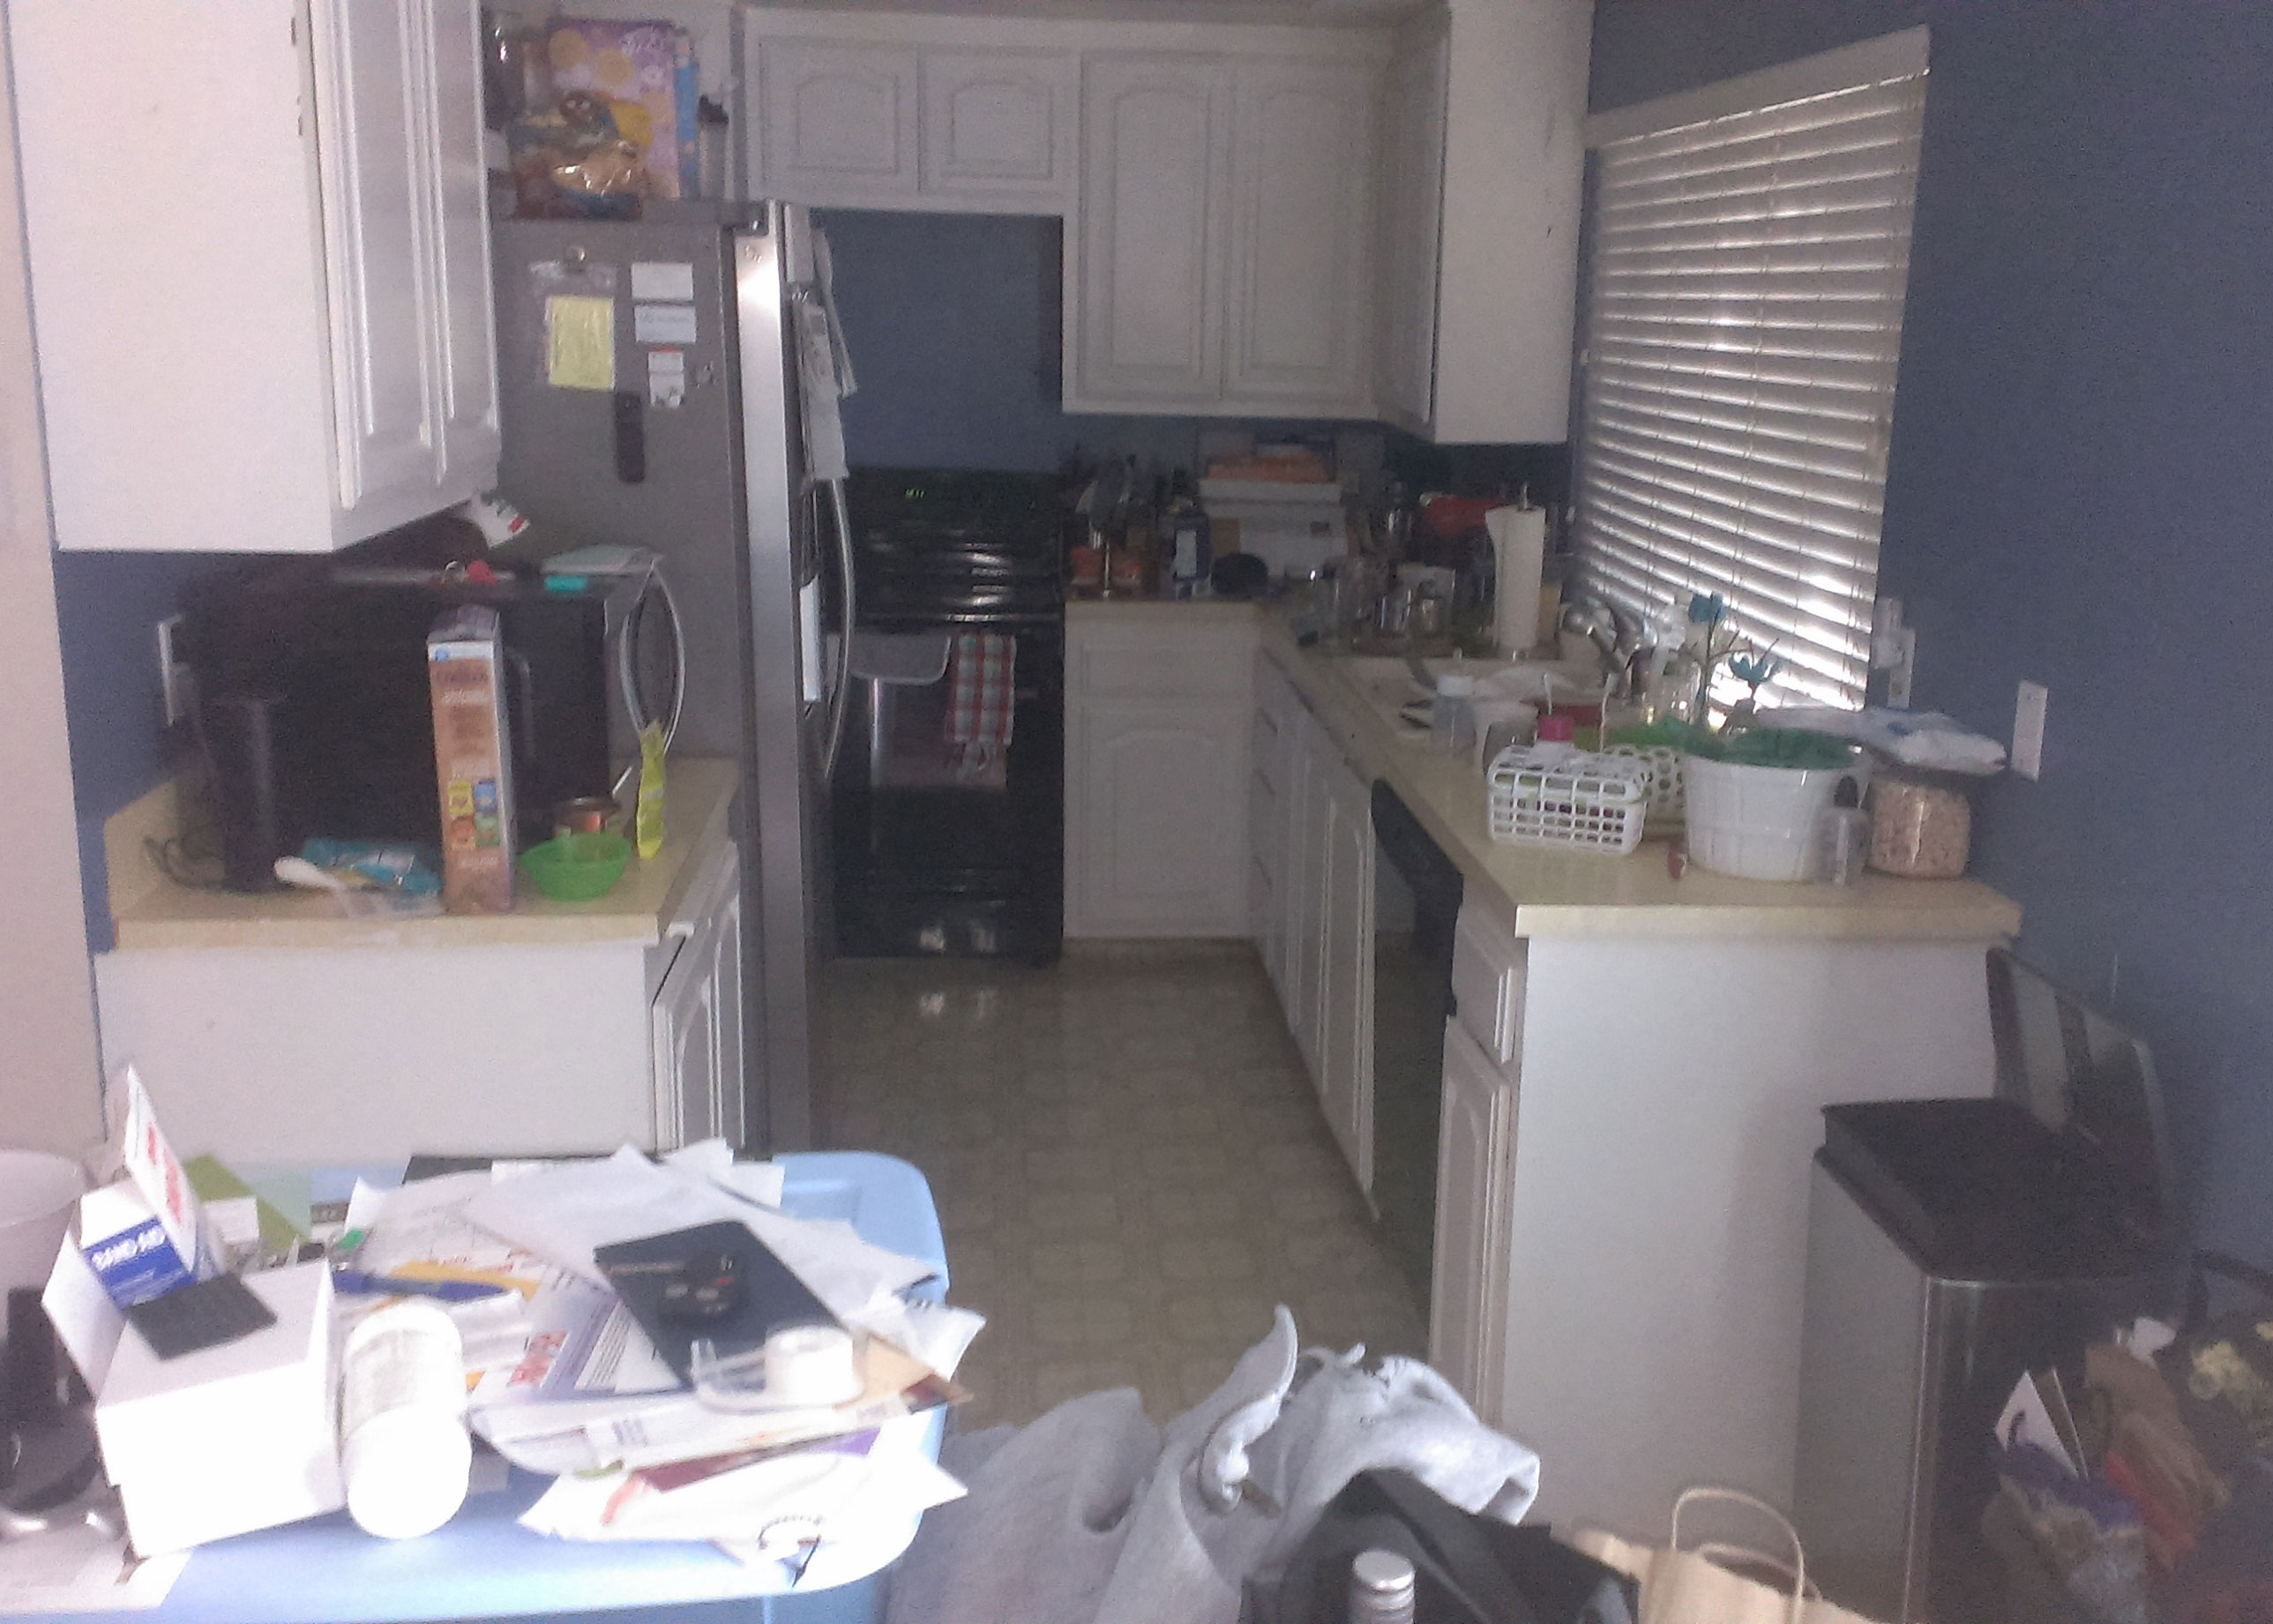
Last we talked, I showed the design plans and how we selected the cabinetry for the kitchen. Let me dive into the demo of the kitchen, as this is one of my favorite parts of the process! Remember the before?
Day one of demo and all cabinets were torn out quick. There’s nothing as satisfying as creating a blank slate. Can you imagine having that florescent lighting in your home? The homeowners were so happy to see it go.
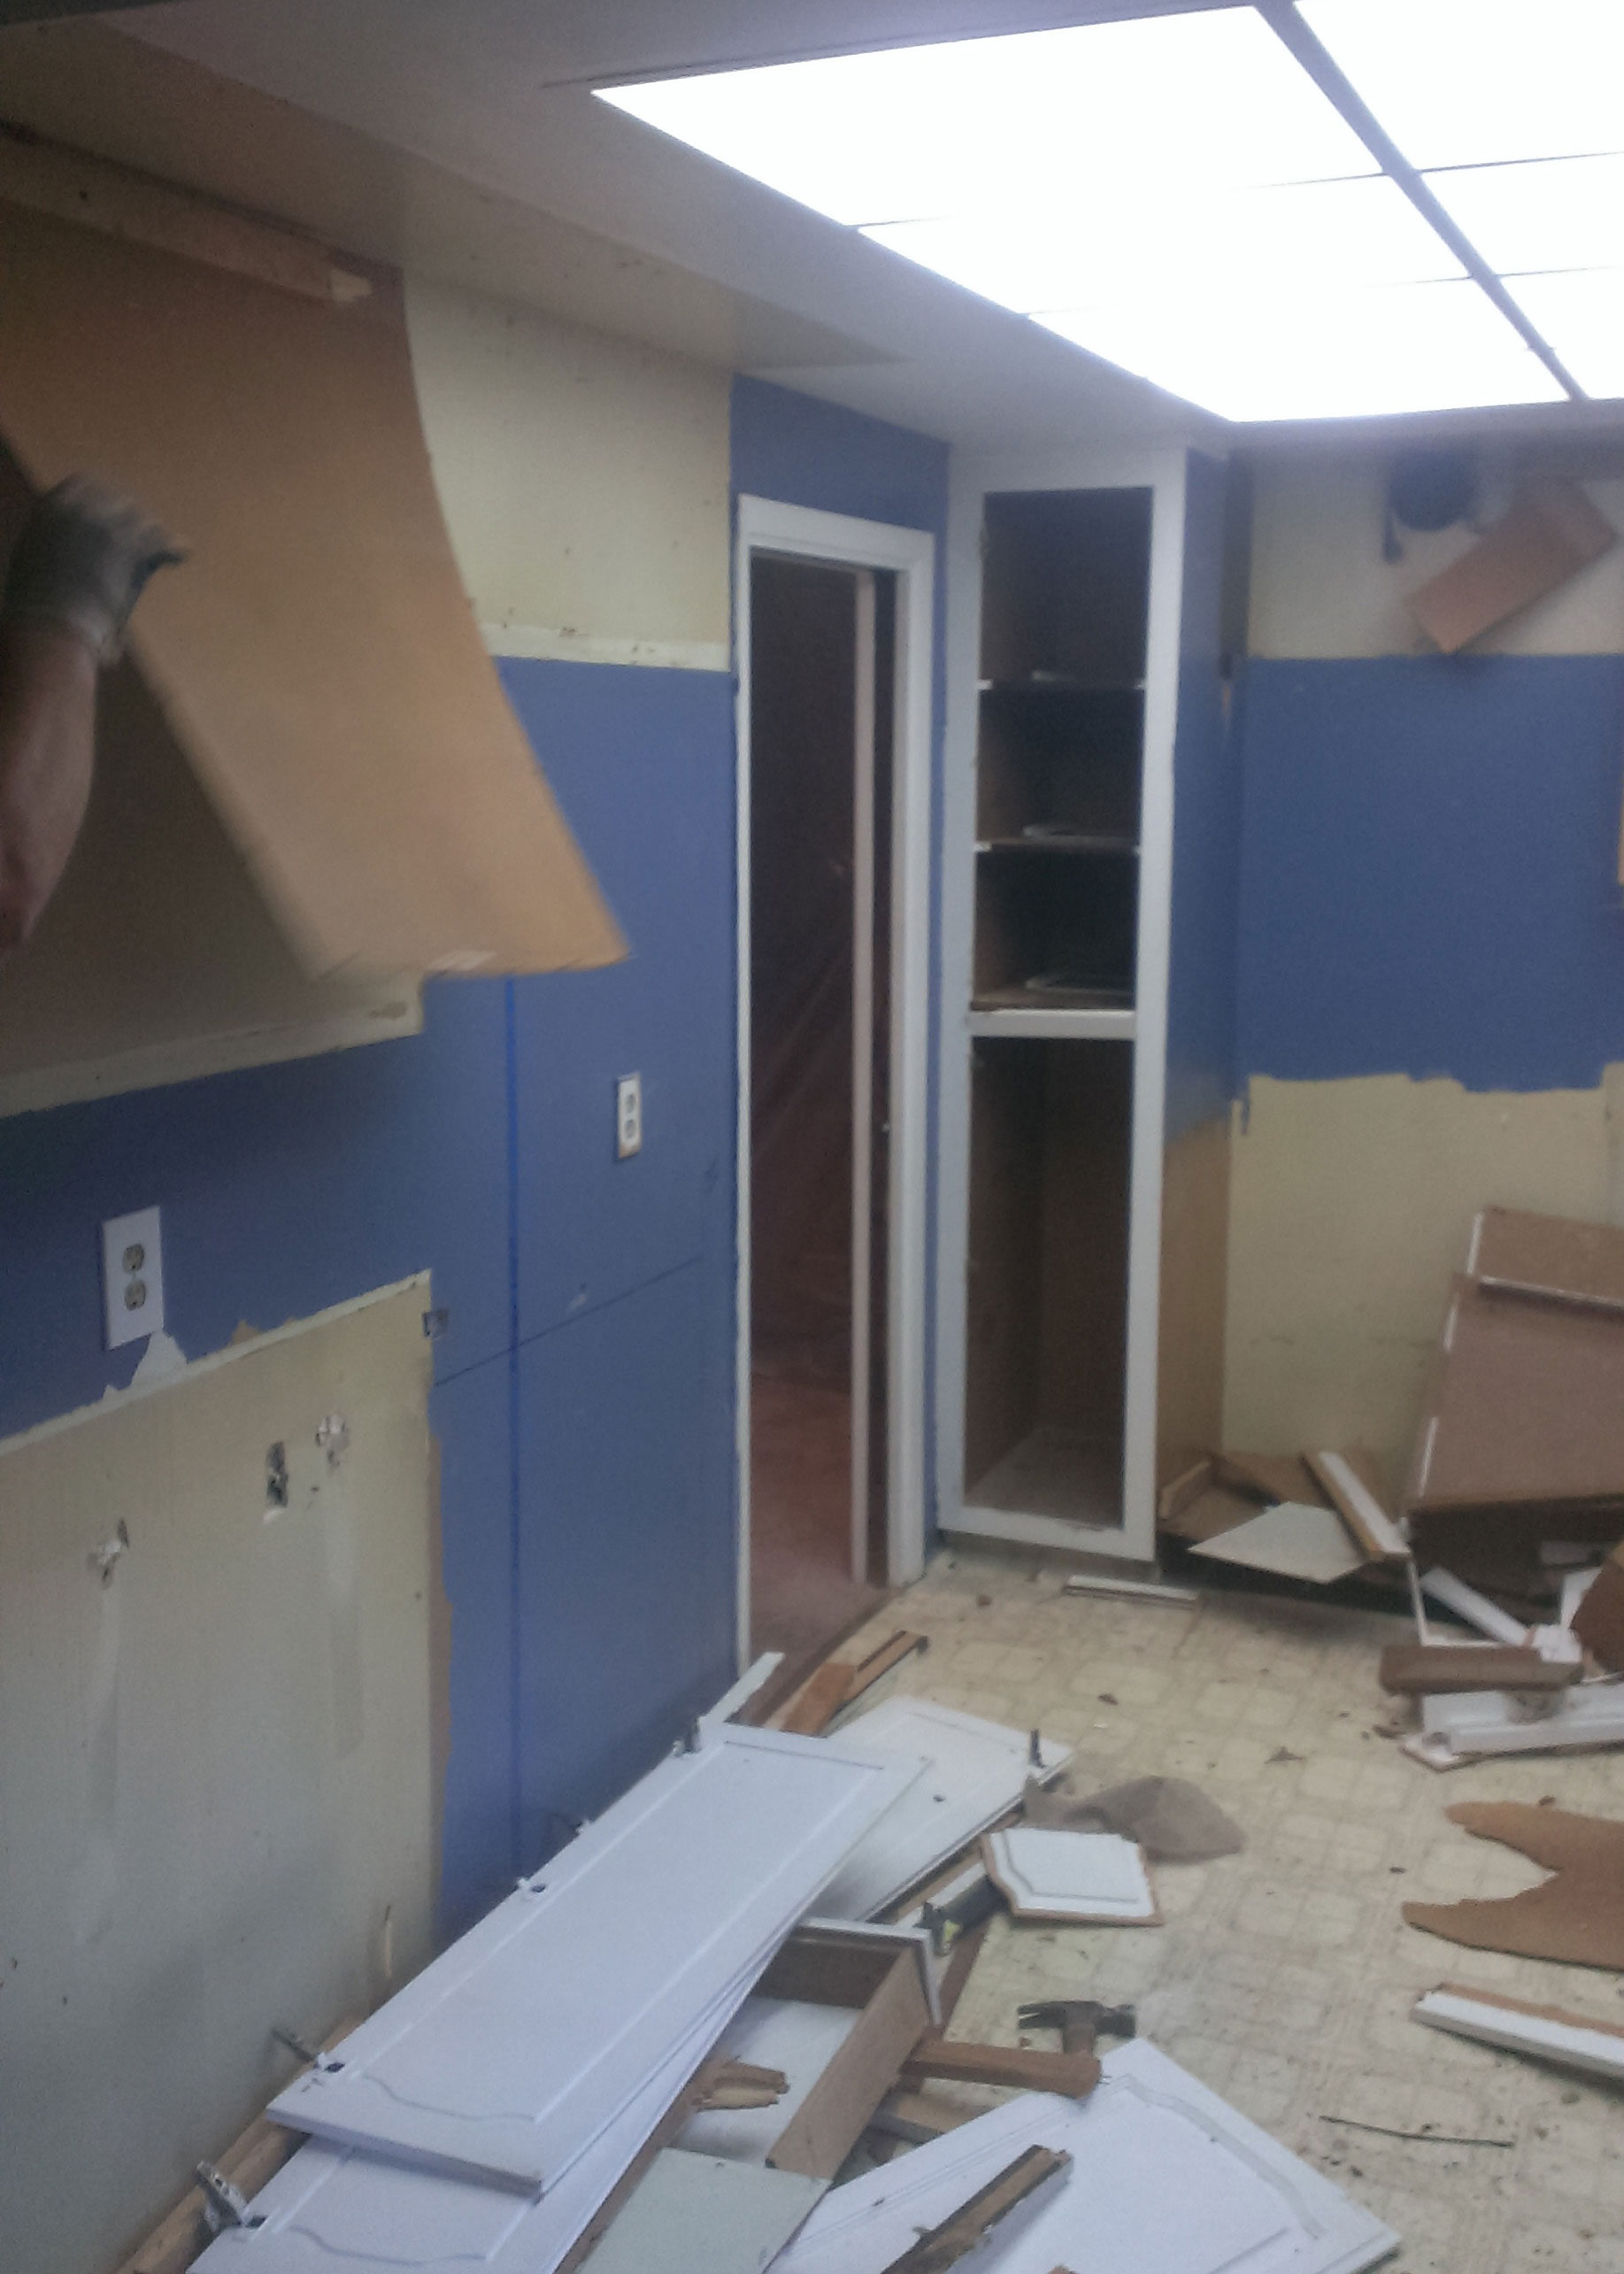
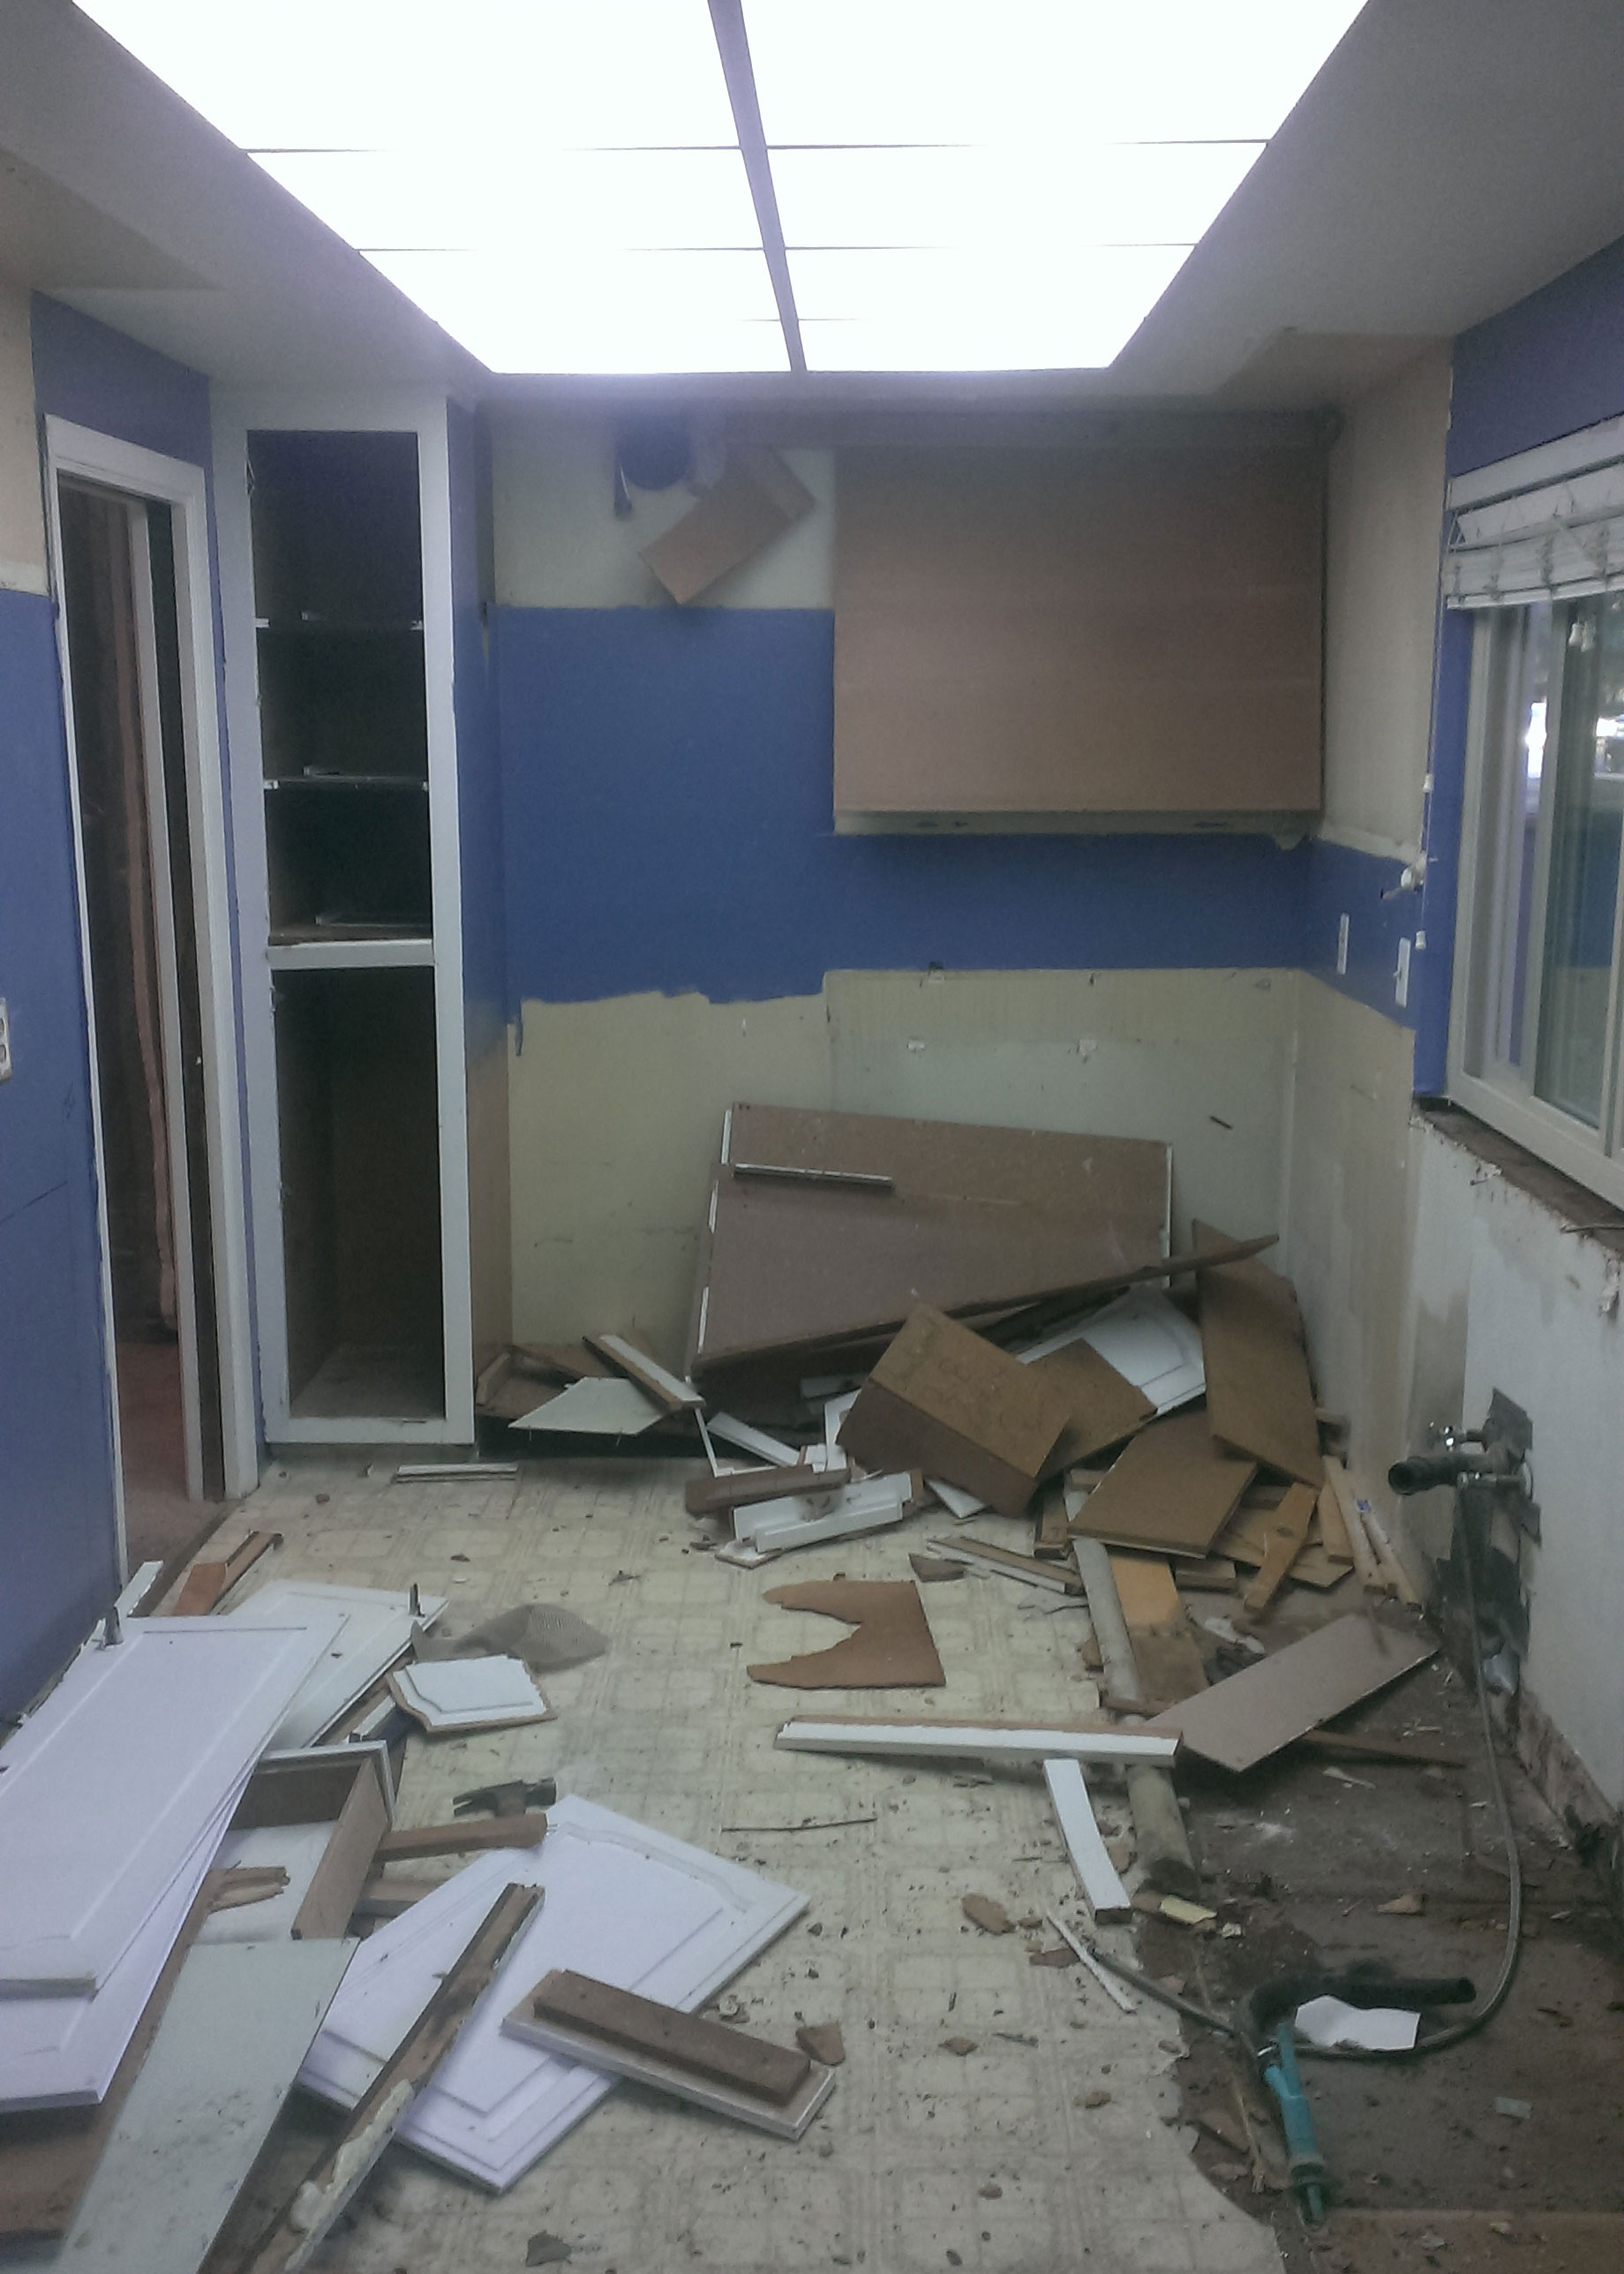
Notice that pocket door in the top left? Another major improvement to the flow of the kitchen was eliminating the pocket door and opening up that wall more so that the kitchen better connects to the living room. Unfortunately (for the budget) this wall is load bearing, and we needed to insert a beam to allow for the weight of the house to continue to rest on this wall. A lot of folks choose not to mess with load bearing walls, but sometimes getting you don’t have a choice if you want to get that open concept. (Remember? We removed a load bearing wall too!)
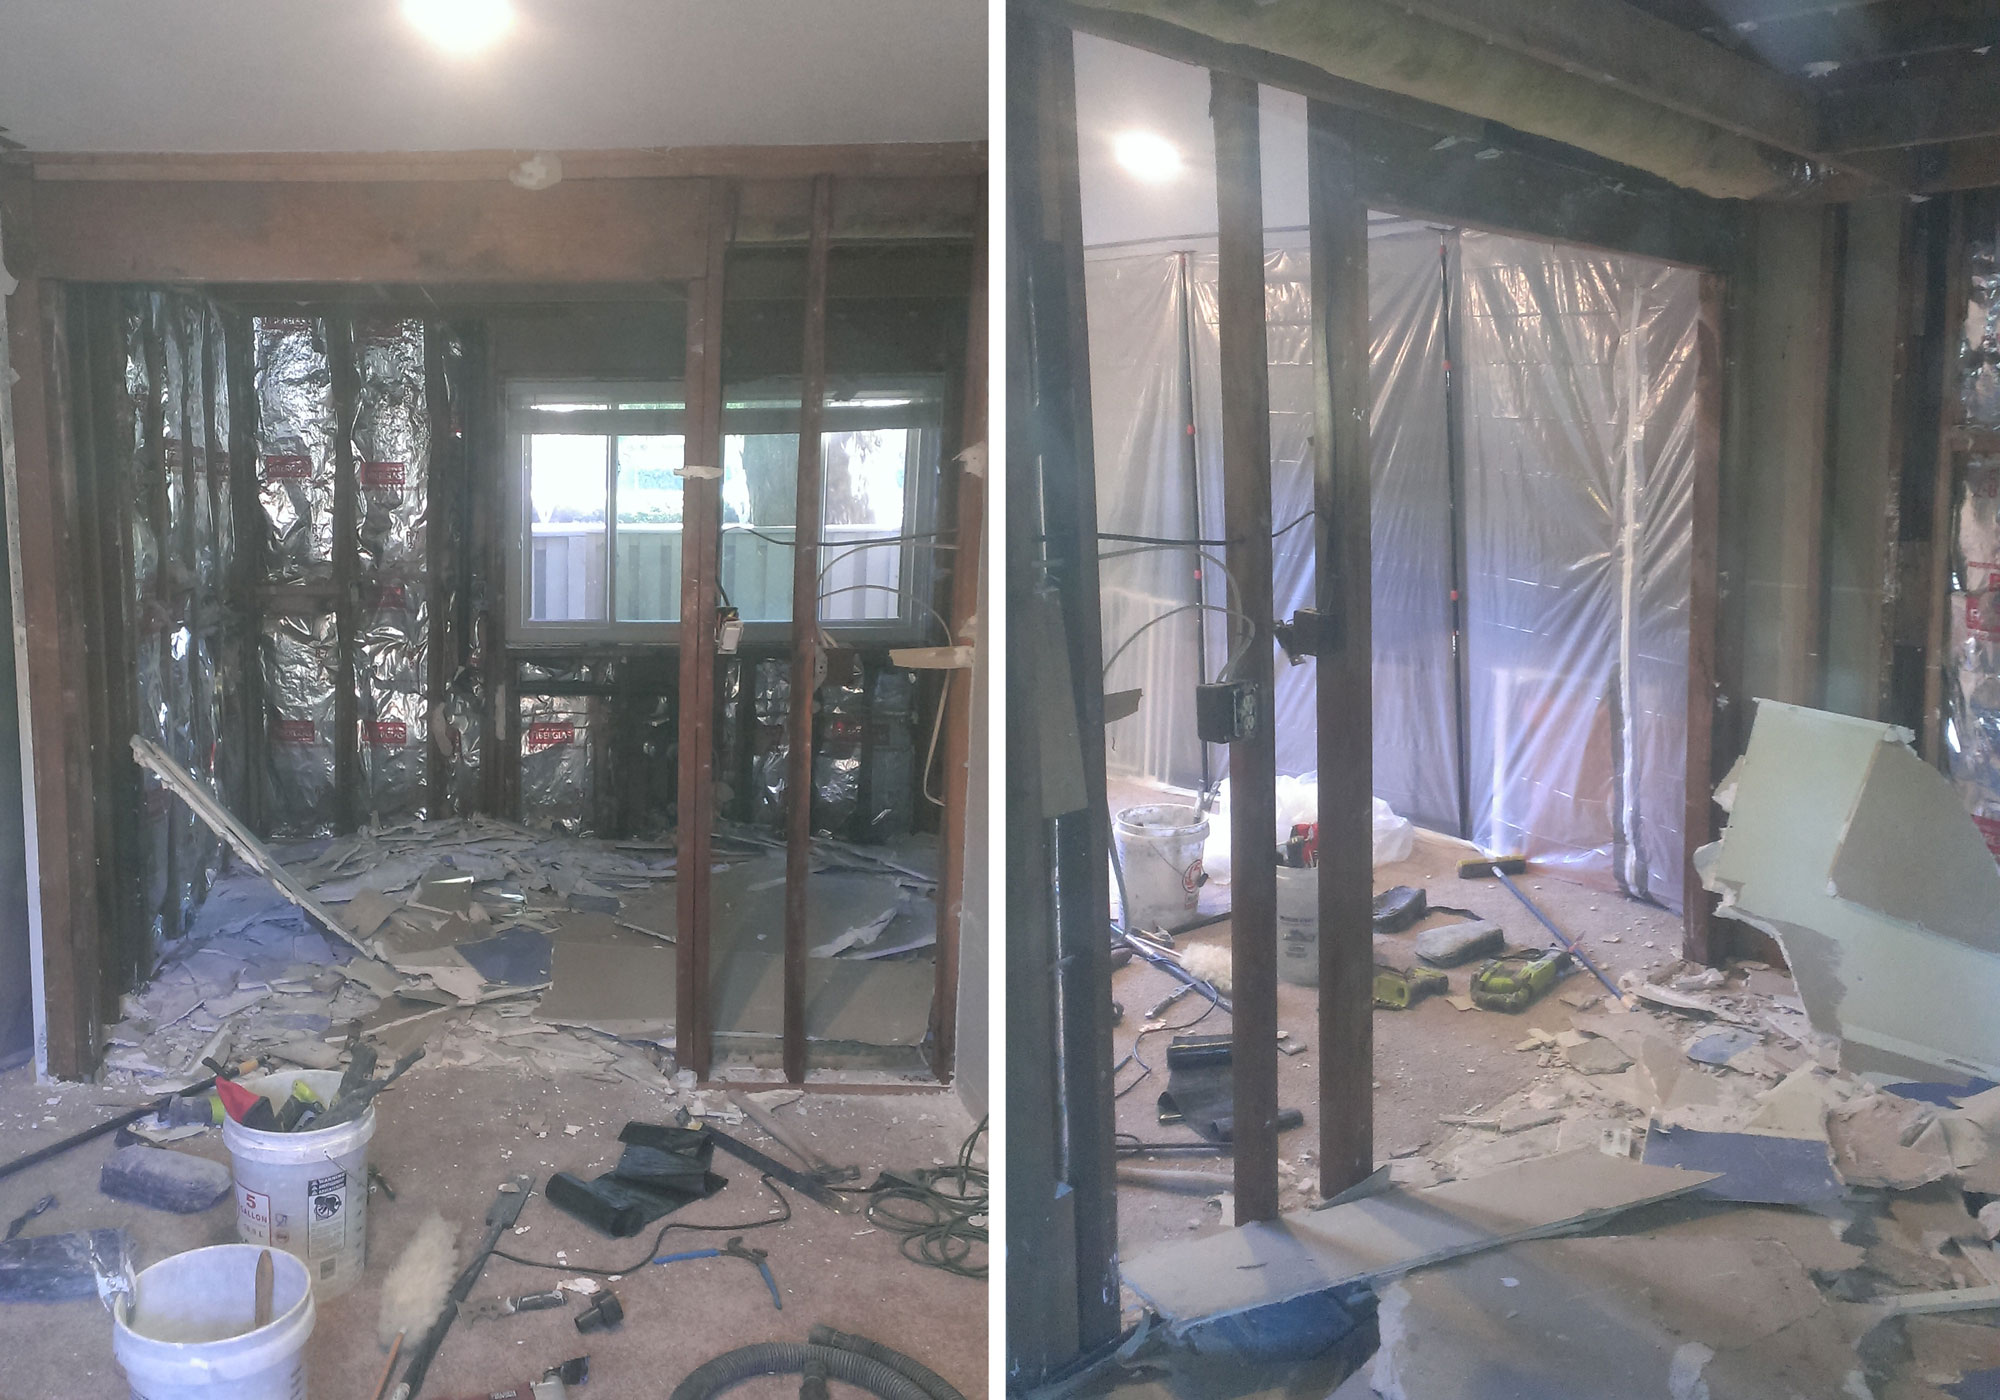
It always gets worse before it gets better…
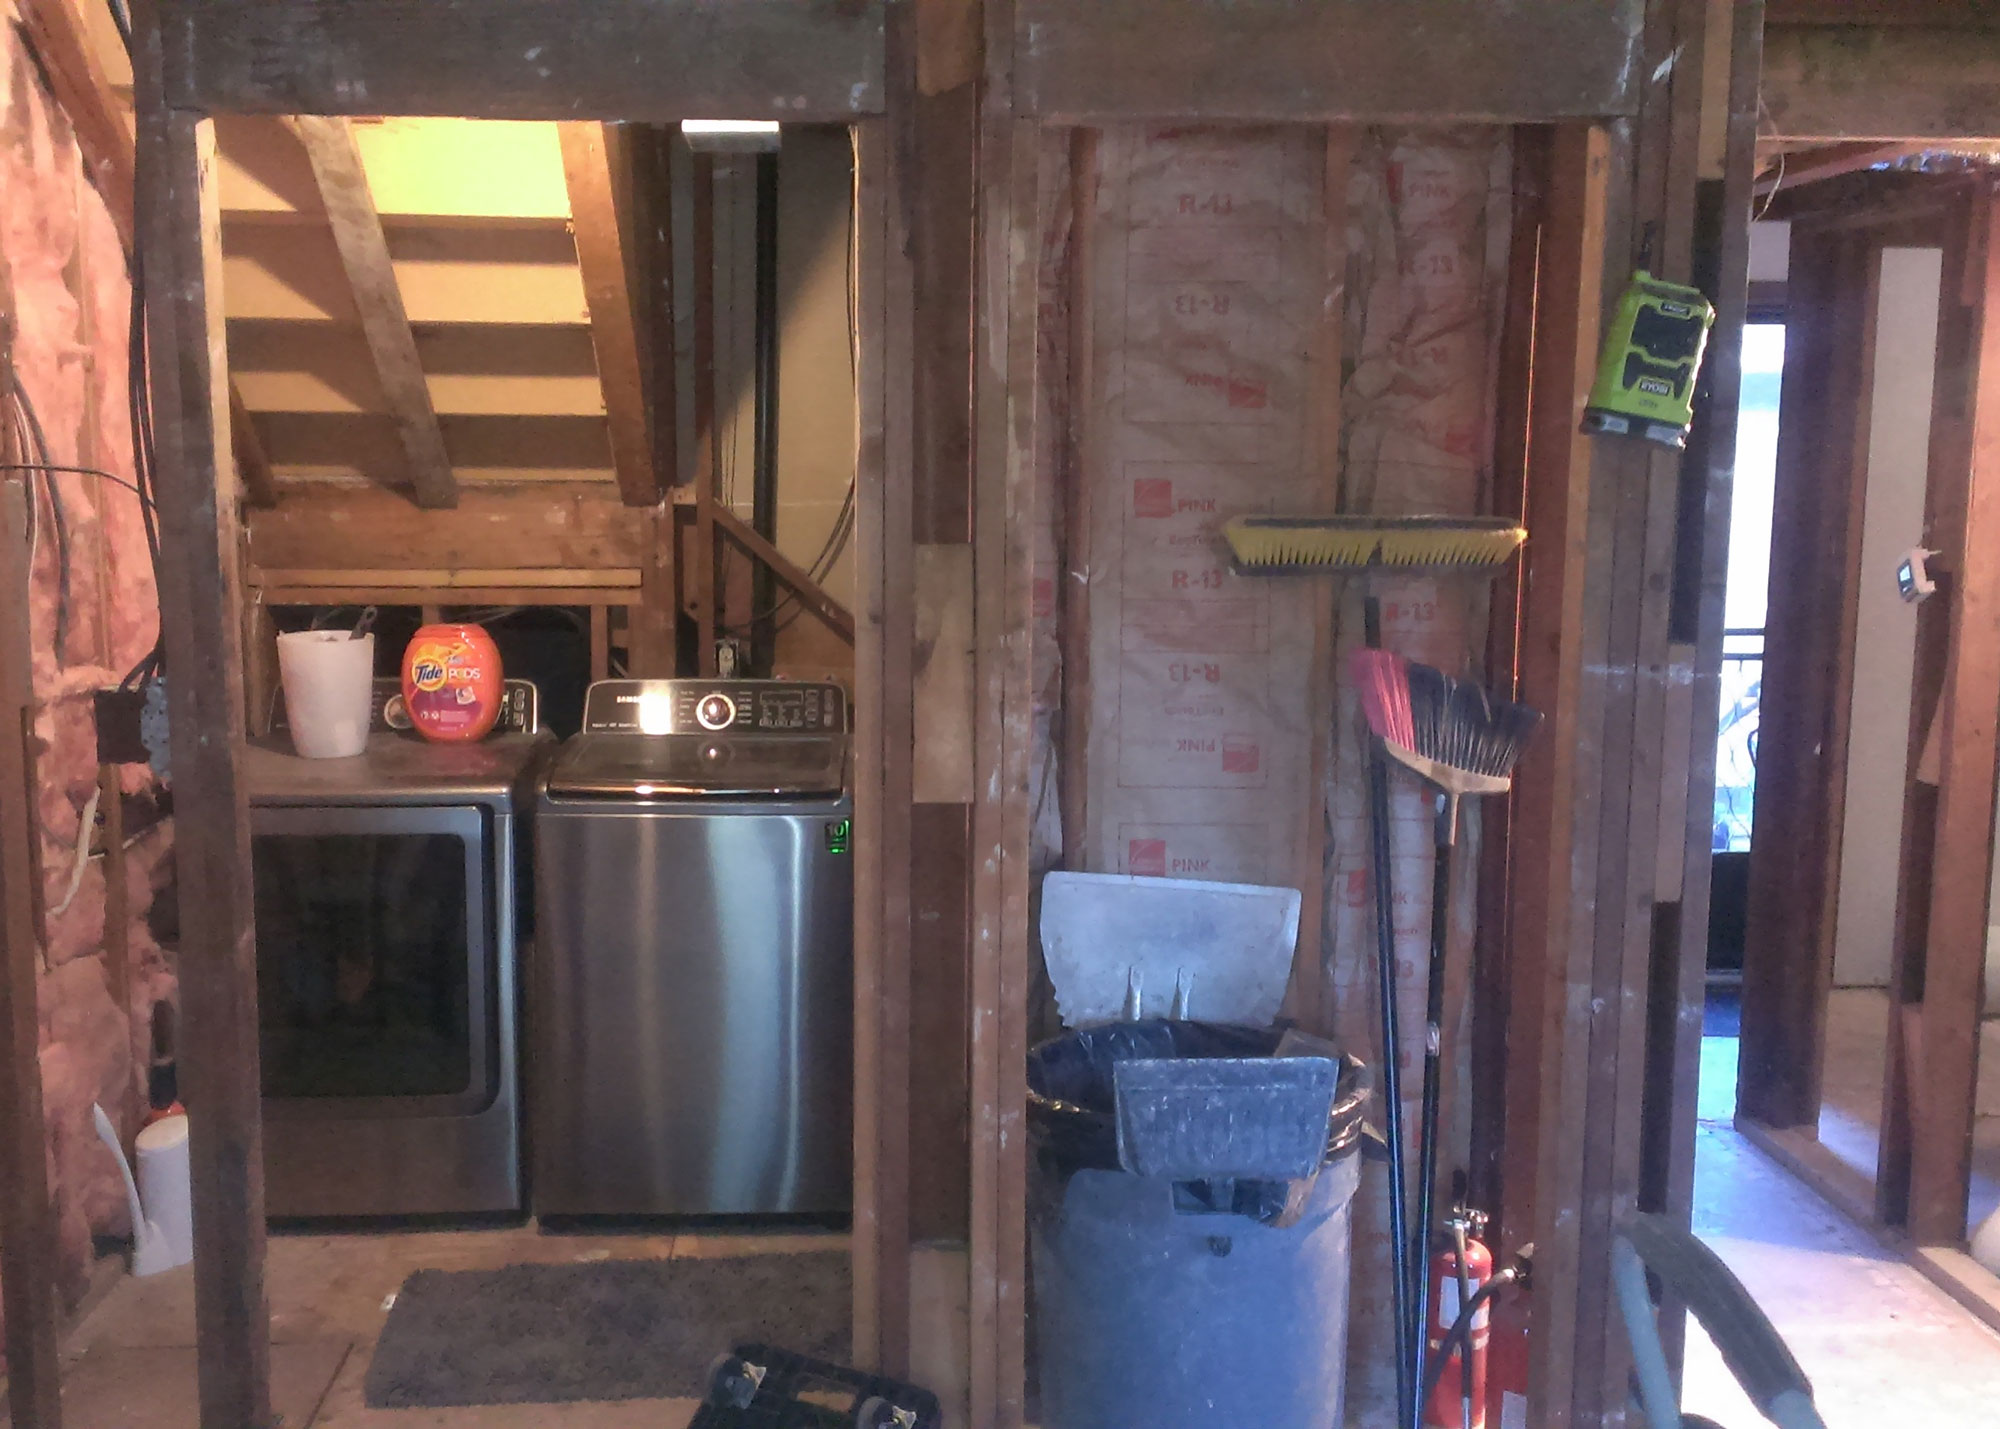
We took everything down to the studs. Below is the china hutch wall, can you see it?
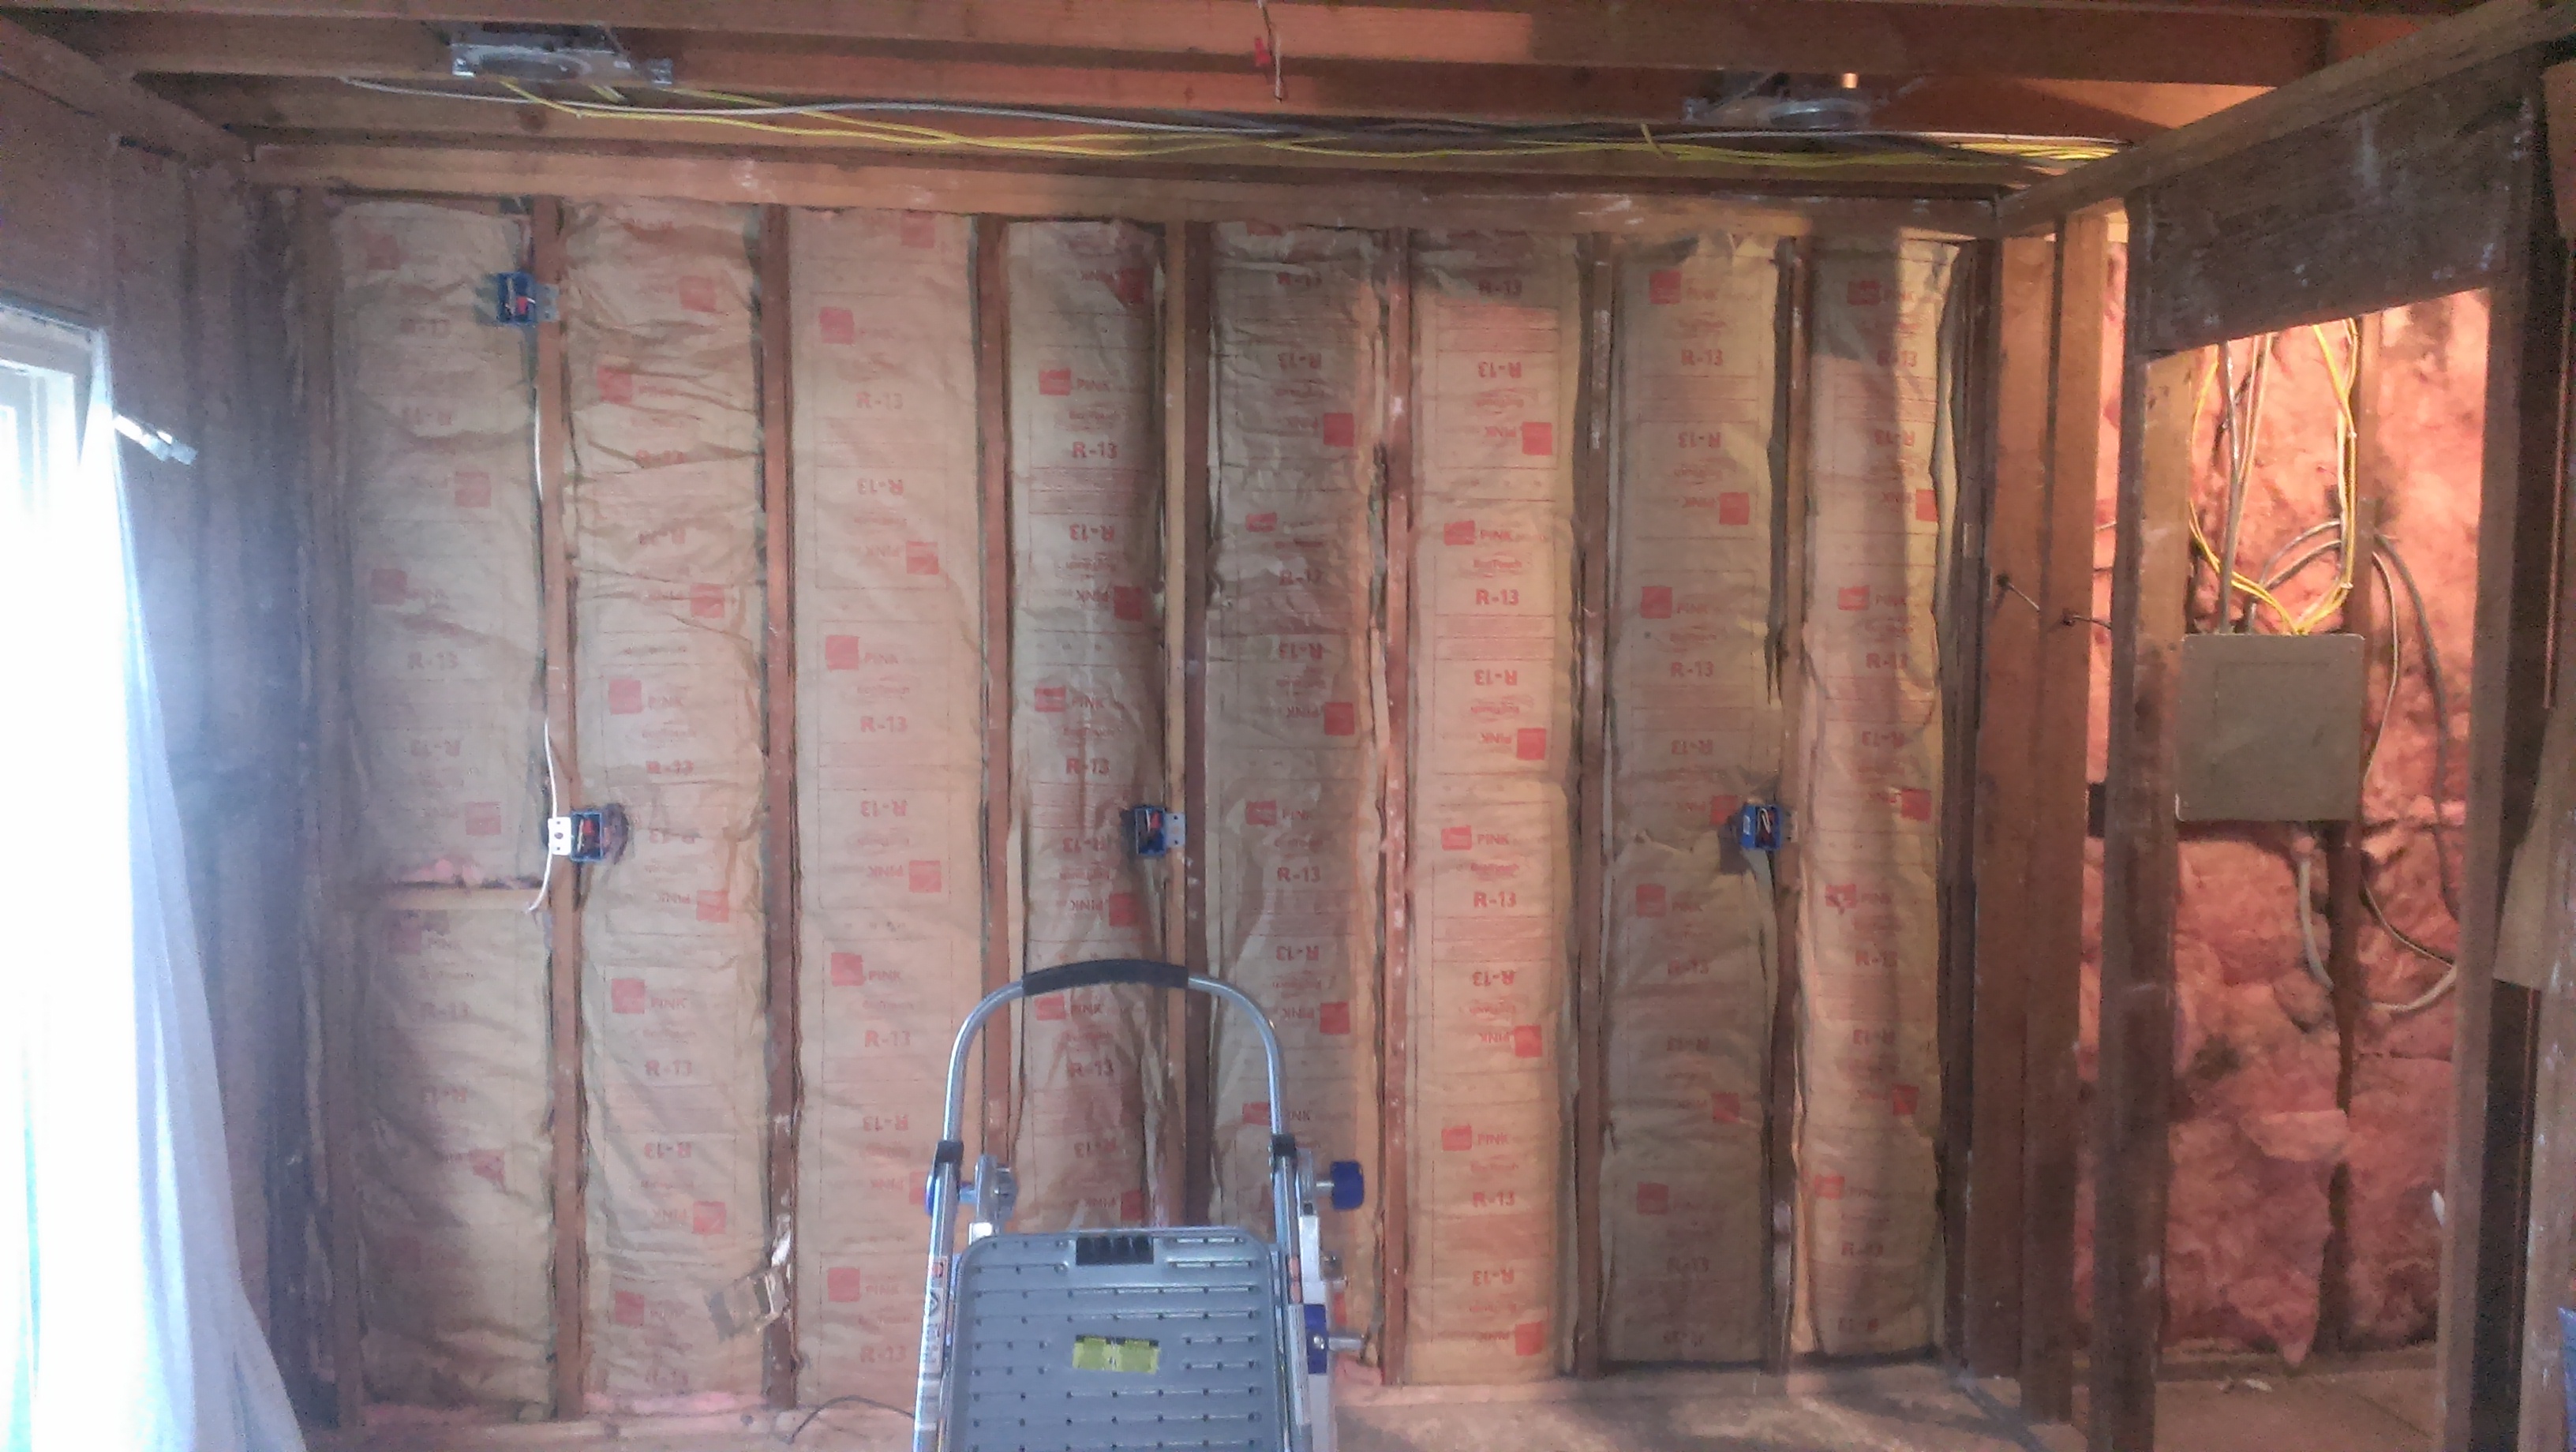
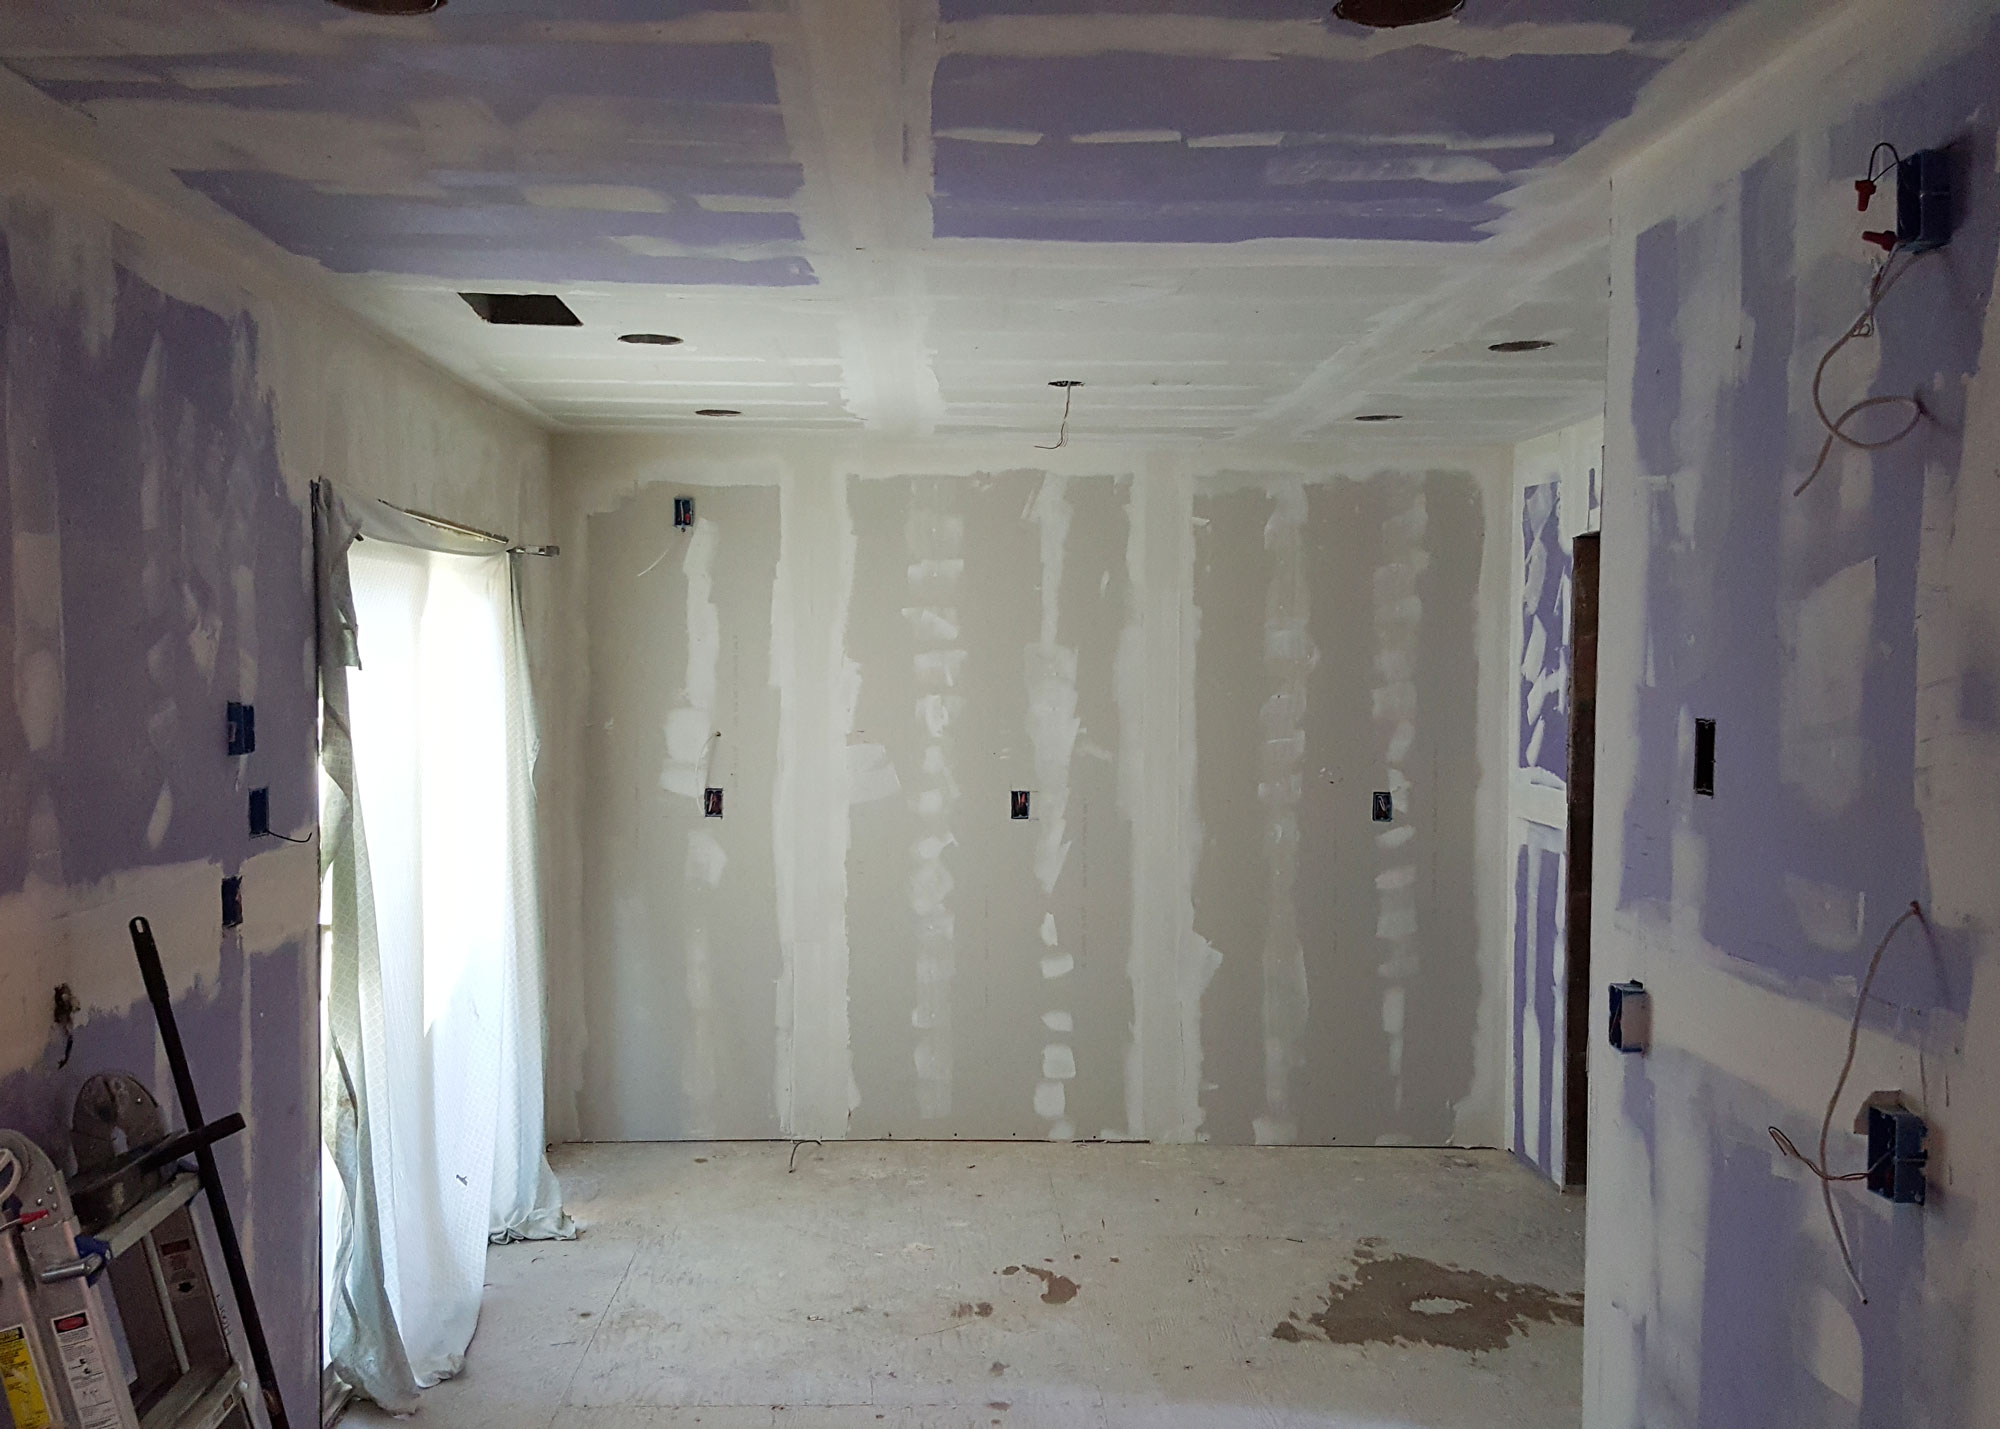
When the walls are open like this, it’s the best time for the electrician to come in and install all the boxes. The hutch wall would have outlets and undercount lighting on the upper cabinets. We had boxes added flanking the window for sconces, and can lights throughout the kitchen. Very soon after the electrician was finished, new drywall was installed, then taped and textured.
We were all eager to get the kitchen cabinets installed, but we needed to prep the floors. My client chose the same faux wood tile flooring that we installed in our house last year! Coincidence much? This flooring is fab and we couldn’t recommend it enough. It just so happened they loved it just as much.
Installing tile flooring can be tricky, and pricey, but when done right it will seriously last a lifetime. My client’s home had some minor leveling issues. I forget off of the top of my head, but I recall the contractor mentioning anything over an inch typically needs to be floated, which is just another major chip away at the budget. Rest assured, they no longer have any leveling issues!
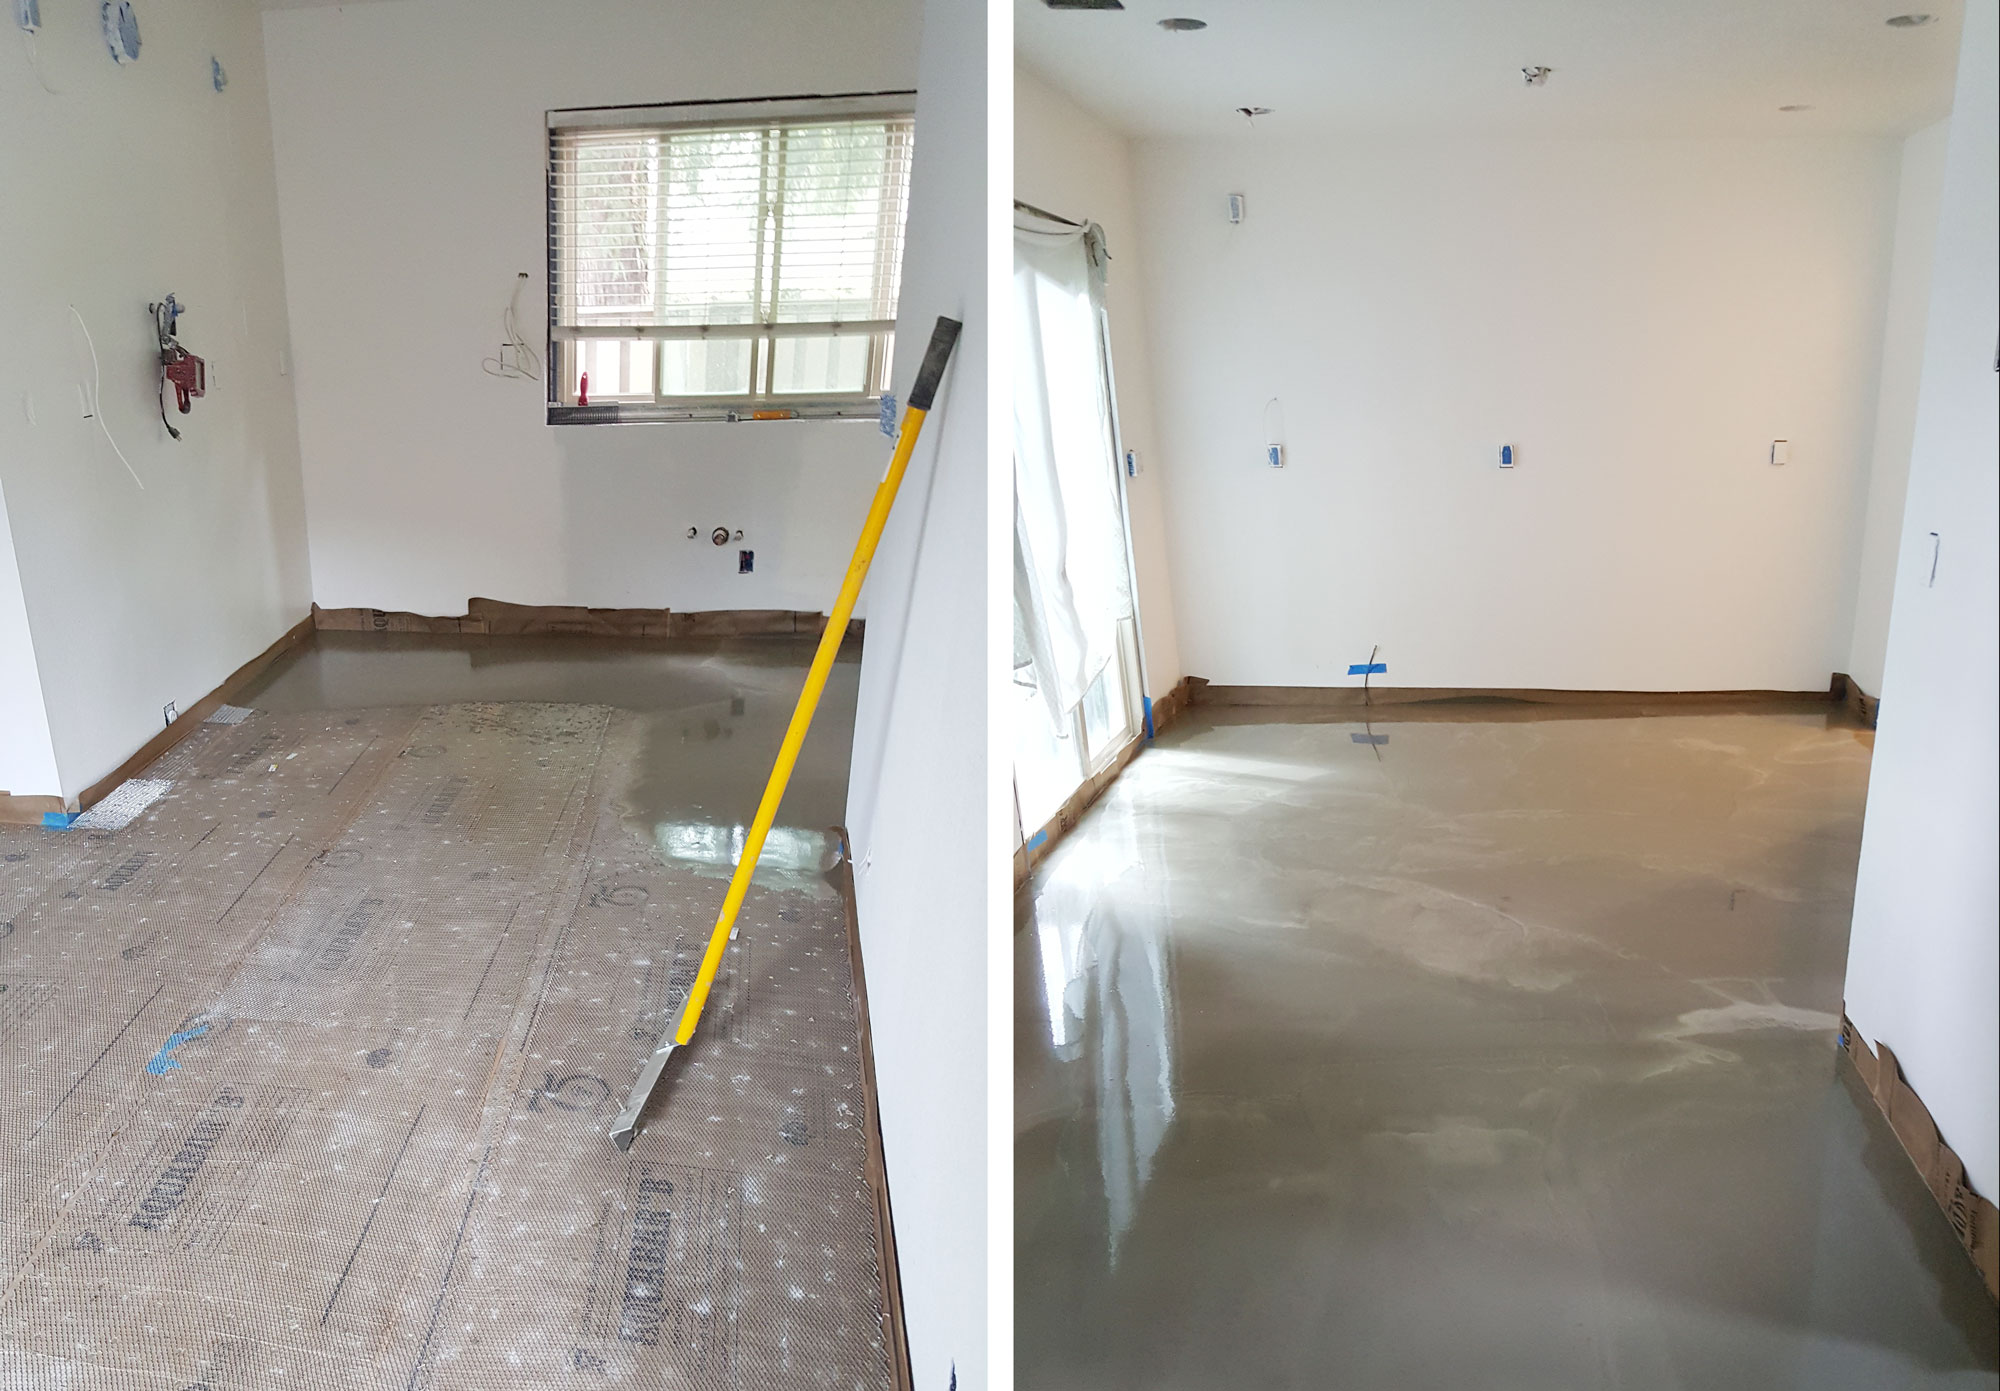
Now that the floors were leveled, we could start installing the CliqStudios cabinets!
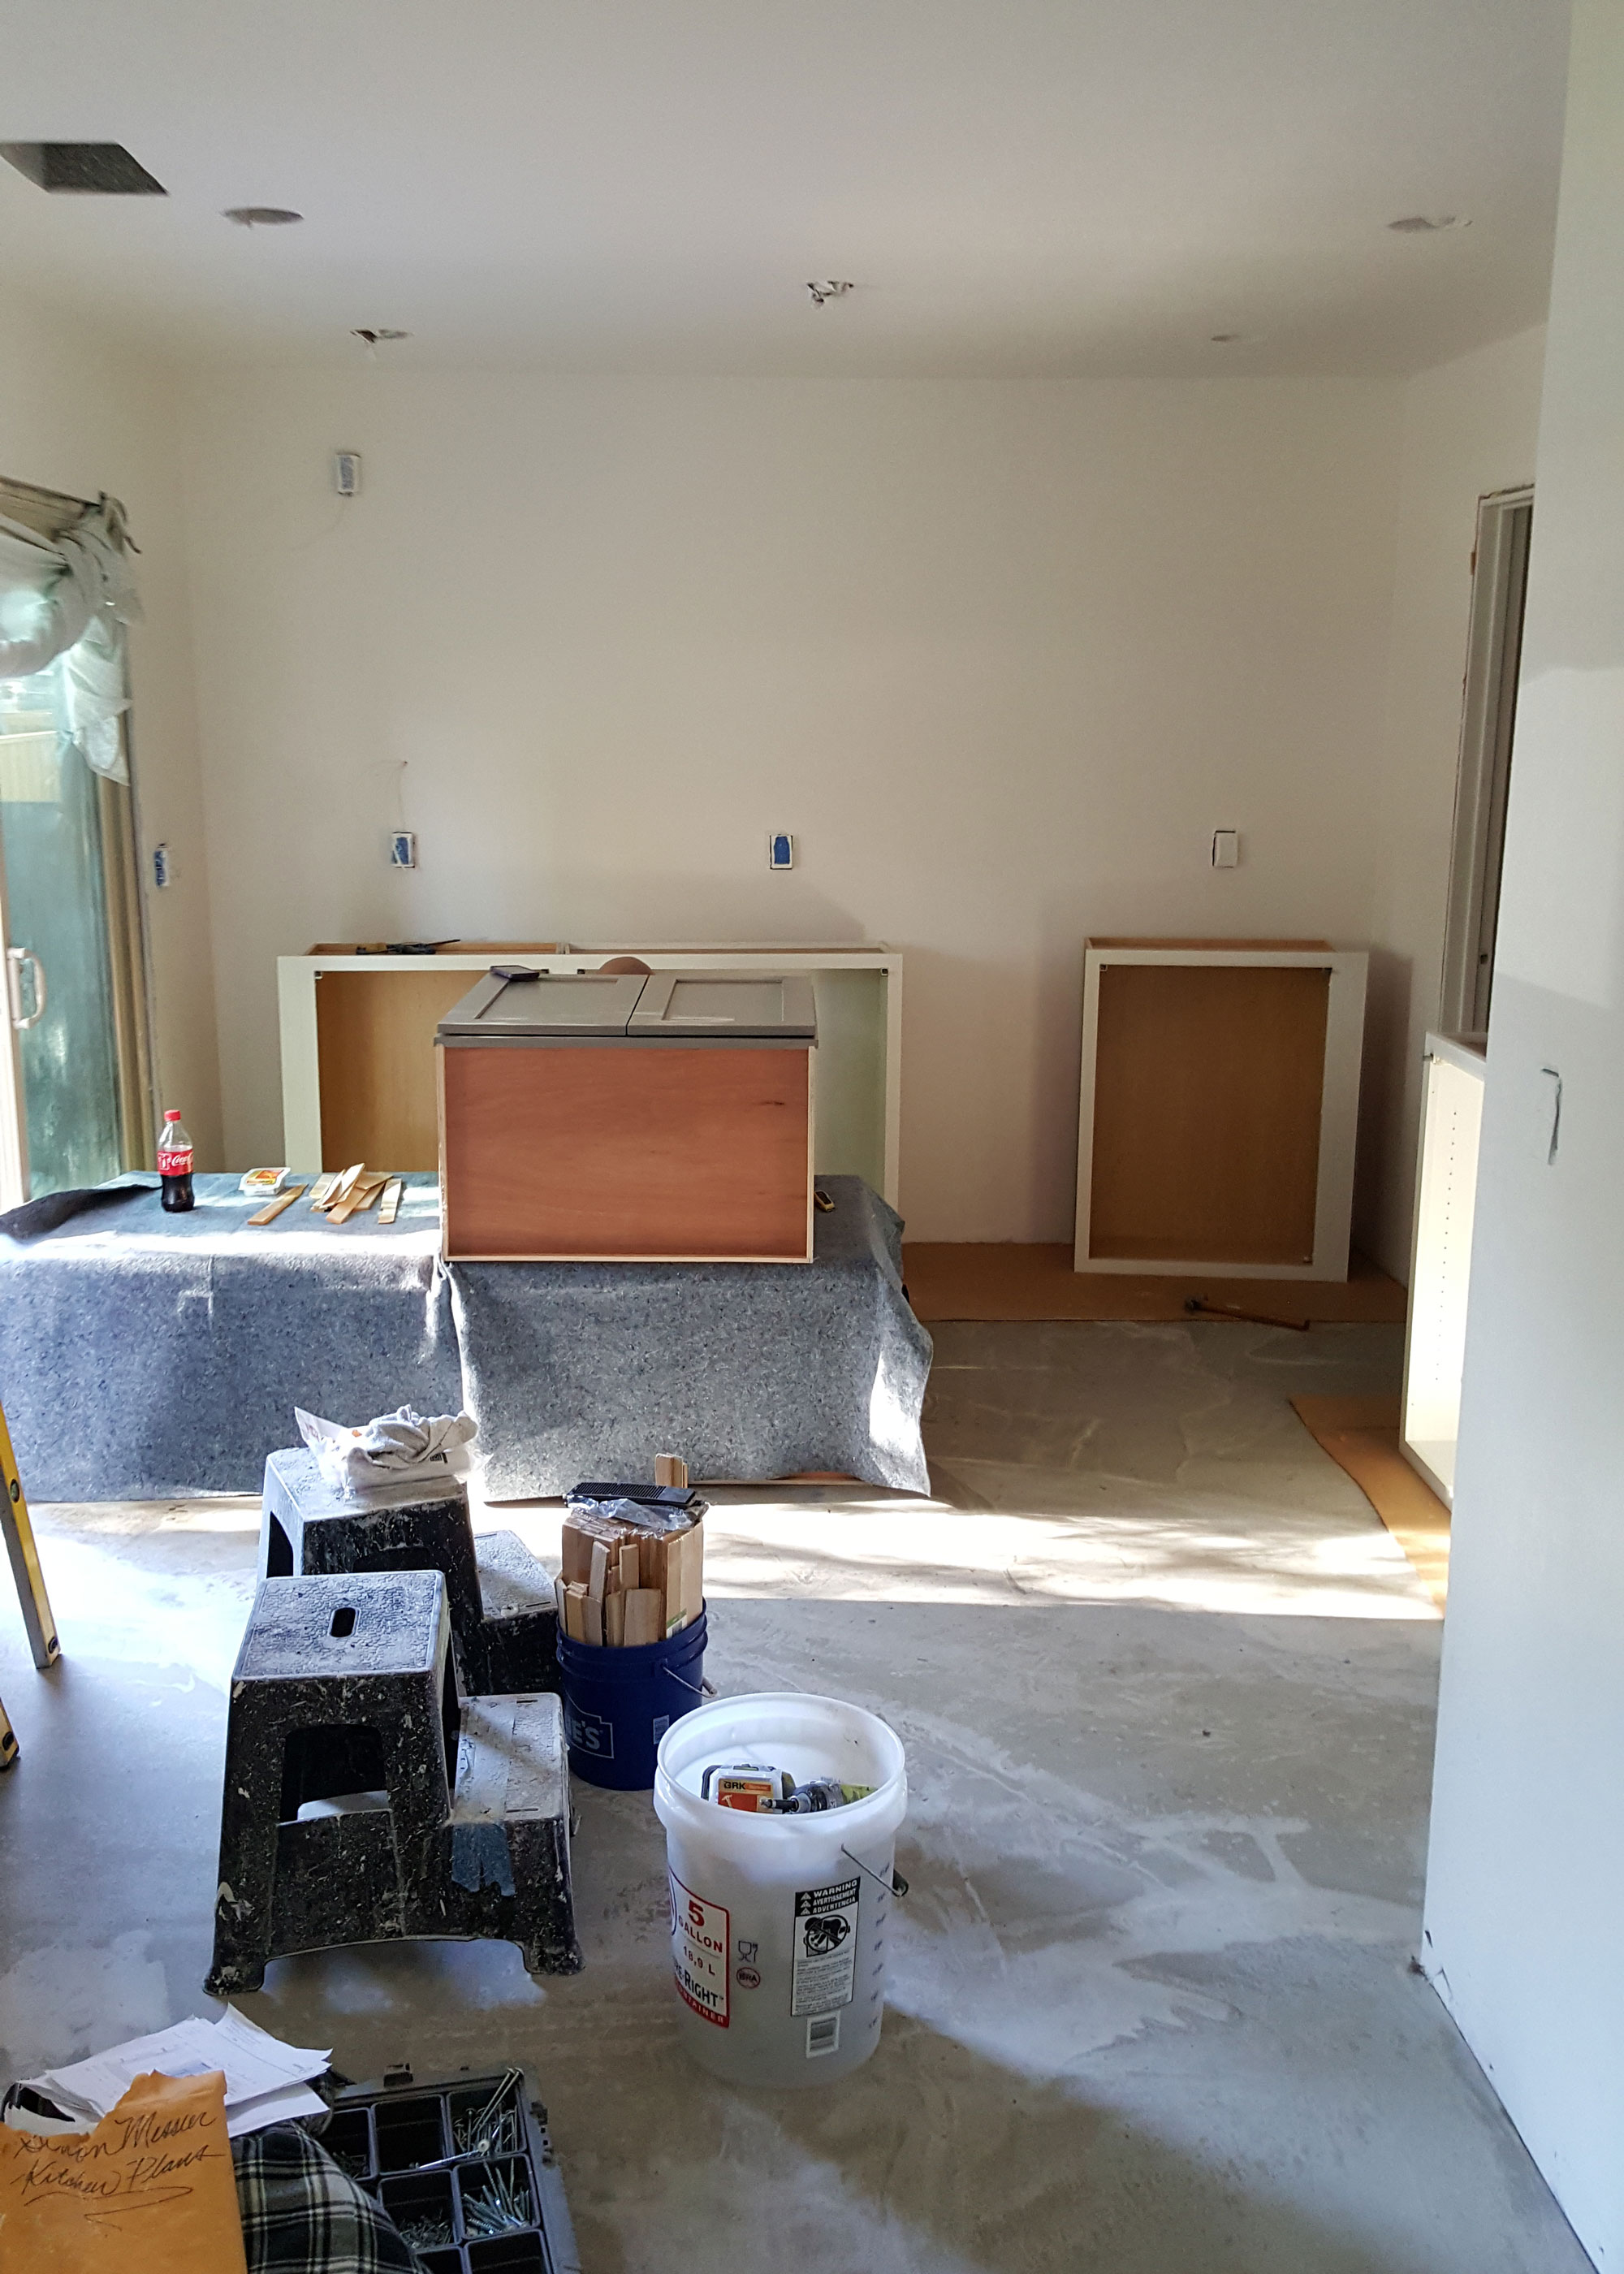
My client chose the Dayton cabinet profile in two colors. The upper cabinets are “painted white” and the lowers are “studio gray”. We ordered a half dozen samples (free for everyone, by the way!) in various colors, and were surprised that studio gray read more of a light grayish green than it appears in the online swatch. I always think it’s a good idea to order samples outside your comfort zone, you never know! Originally we were thinking of white uppers and “urban stone” lowers, but once we held the sample in their kitchen, the amount of light was an issue and they ended up reading more dirty white than greige. Studio gray was the winner anyway, everyone fell in love with it quick. I love that CliqStudios offers so many options when it comes to cabinet finishes and colors. I think they just need to add a navy to their lineup and all would be perfect!
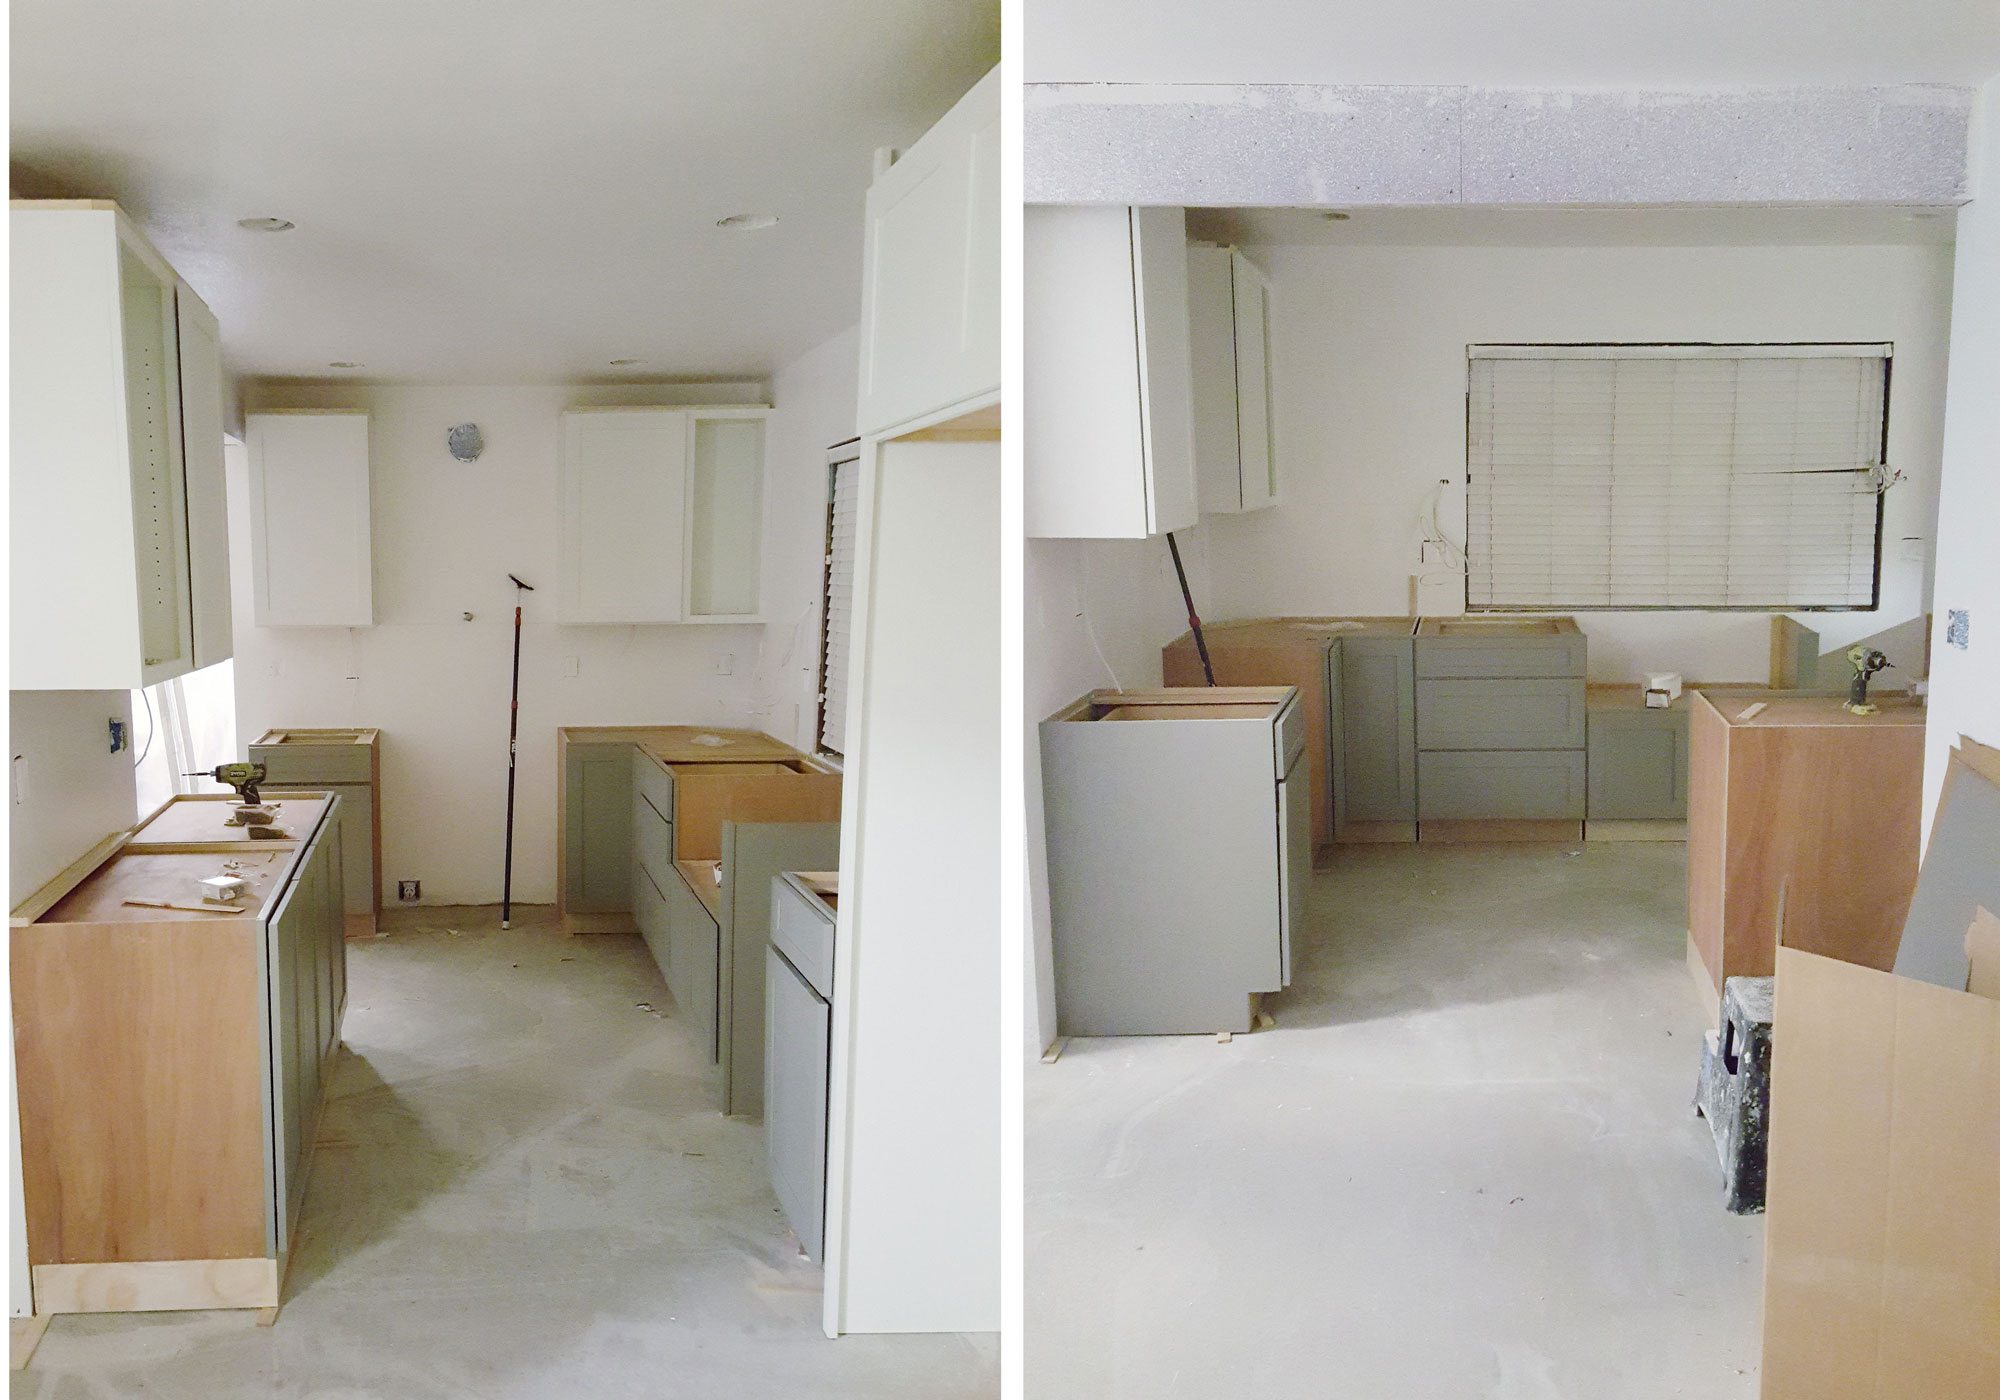
Ahhh! It’s taking shape! Up next: counters, backsplash, and all the little details
*CliqStudios has partnered with us on this project by offering us a discount for sharing our story on the blog. CliqStudios couldn’t have been more of a dream to work with and I am thrilled to share our experience. This post is two of a four-part series. Read part one here.
Need to catch up? Check out the kitchen before photos here, the design process here, the floor plans here, and choosing cabinetry here

)
)




Hi! I’m looking into these cabinets for our remodel. I see that the trim runs flush with the bottom of the lower cabs. Was that something your contractor did or do the cabinets come that way? I’m see a lot of lower cabinets with an over lip rather than it being flush….
Hey Michele! The installation of the trim at the toe-kick area was ordered with our cabinetry and then our contractor installed. CliqStudios cabinets don’t come with this, they have the normal toe-kick space, or lip as you put it, but you can make the cabinets feel more built in and custom with this trim. Hope that helps!