I’m a sucker for secrets, not of the gossip kind, but of the “OH! So this is how it’s done?!” kind. I love behind-the-scenes anything, especially photography, which is why I’m finally following up on the post I wrote earlier this year about my camera equipment. Today, I’m going to share with you my photography process, from start to finish.
I’ve had this post half written for longer than I’d like to admit, but was hesitant to post because I know how much I don’t know, and I didn’t want to come across as if I was a know-it-all. Trust this, I’m no professional! But, I have learned a lot over these last 4-ish years of blogging, mainly out of trial and error, and I think it’s only fair to share.
(I truncated this post because it’s huge, click through to read on!) ————————– read more
PLANNING THE SHOT
It’s best to plan your shot ahead of time. I’ve tried to wing-it on photos before, and they usually turn out to be garbage and have to re-shoot. I usually wait until the last minute to do things, but I’ve learned photography isn’t one of those things you can procrastinate on, and still get a top product. It’s definitely worth the extra few minutes to plan out your photos.
Let’s use my latest photo shoot for Blinds.com as an example. In my case, Blinds.com gave me some guidelines (angle of photo, drop down length of roman shades, etc). These are some questions I usually ask myself when planning a photo – what room am I photographing? Where is my light source? What time of day does this room receive optimal light? How much time do I need to set up the shot?
Here’s the planning convo that ran through my head before this shoot. “I know my kitchen receives light from both East and West. In the morning I get direct sunlight through my kitchen windows, and in the afternoons, I get direct sunlight from my living room. Middle of the day is the most even, non-direct, filtered light. My kitchen photographs best between 1-3pm. My kitchen is a mess. I have to clean up! It’s going to take me about an hour to prep my kitchen for a photo shoot. Give myself an additional half-hour buffer, I should start prepping the shot around 11:30 am. That’s Zano’s nap time! Perfect!”
Bam. Planned.
TAKING THE PHOTO
I’m still not a pro at knowing what settings my camera should be set before I take a photo. I usually snap about three or four photos before I see what range I should set my camera.
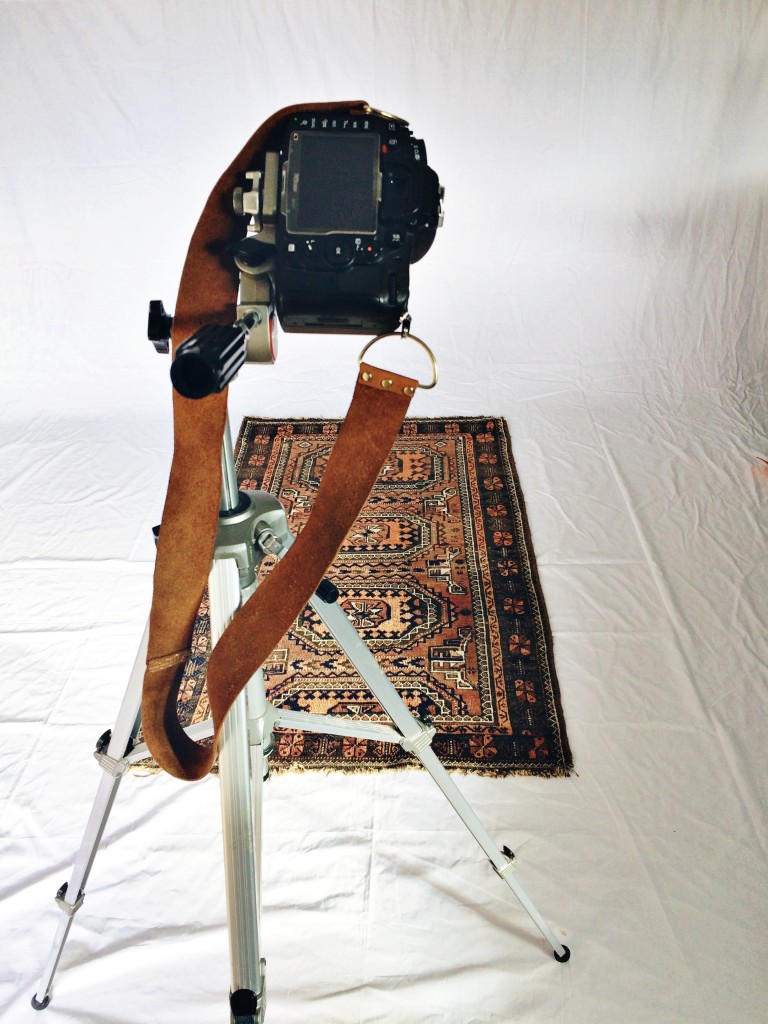
I used to think getting those bright white shots meant setting your camera to the widest aperture setting (low F-stop #) to allow the most amount of light to enter the camera. I noticed the photos I was taking were bright and well lit, but fuzzy and not crisp. I soon learned a wide aperture setting creates this soft, fading background, which looks great with portraiture photography, but really bad when you’re trying to get a crisp pulled back photo. In summary, the wider the aperture, the shallower your depth of field.
Depth of field is not an easy concept to grasp. I’ll try to simplify it. Basically, a lens can only focus at a single point, and for most interior photography, you want to capture the detail in the foreground and background. In order to do that, you want an extended depth of field to keep everything looking sharp. This means you’re going to have to set your camera on an F-stop somewhere around f/7-f/9. Now, you’re going to have to adjust both your ISO and shutter speed in order to get enough light into your lens to get that crisp photo.
I like to think of ISO as the “cheat” setting, I can trick, or cheat, the camera to allow a ton of light into the camera while not changing my shutter speed. I also think of ISO like pixels, the lower the ISO, the smaller the pixels, the higher the ISO, the larger the pixels. Large pixels, or high ISO, makes your photo look grainy and “noisy”. As an interior photographer, I obviously do not want my photos to look grainy. To prevent this from happening, I prefer to keep my ISO below 400, anything above 400 you start to see the noise in your photos.
So, I have set an F-stop range and an ISO setting.. now, how do you still take brightly lit photos? Well, you have to adjust your shutter speed. This is where your tripod becomes your BEST FRIEND. In order to get enough light into your lens, your going to have to set a slow shutter speed. If you’re holding our camera in your hand, you will never get a crisp photo, you just won’t. Set up your tripod (I found mine at the flea market for $10, it’s heavy duty and extends up to 6′, I suggest looking second hand before buying a tripod full retail) and start taking photos. I also suggest using a timer, or remote (this one or this one), to minimize camera shake. Even the press of the button can shake your camera.
The one thing I don’t do every time is tether my camera to my computer. I misplaced my cables, but it’s the next thing I need to do 100% of the time in order to really know what to tweak when taking a photo.
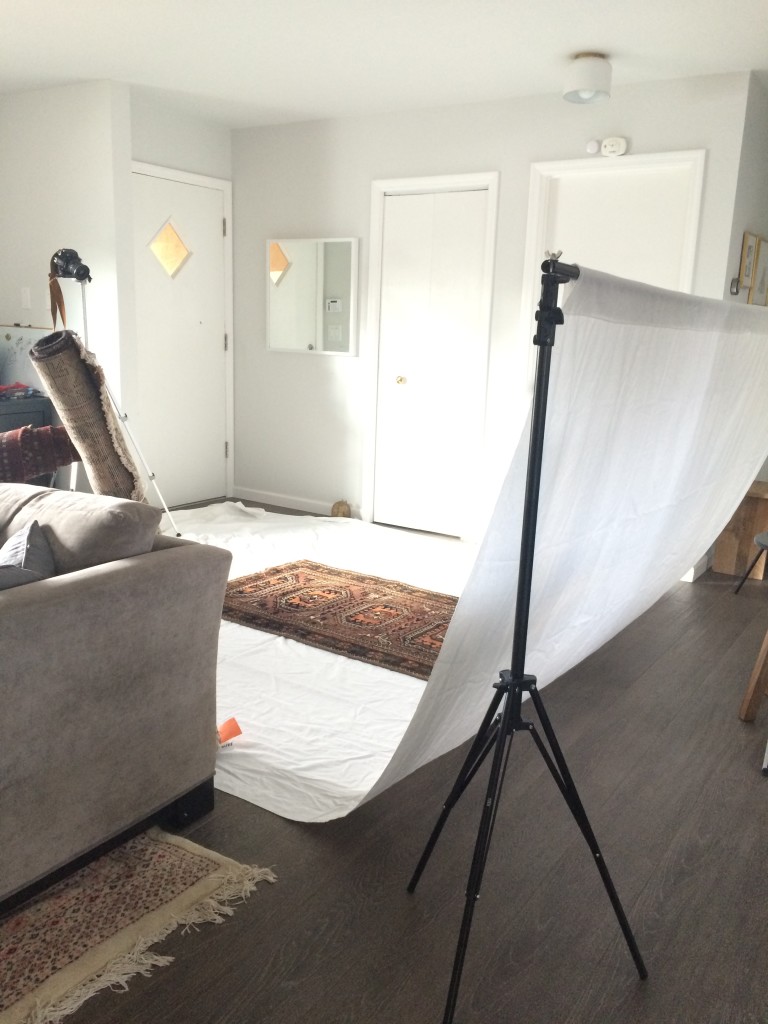
Above is my usual set up for shooting product for The Vintage Rug Shop
Here are some basic things I do when taking a photo:
- Look through the eye hole when taking your photo. Some cameras allow you to preview the view on a screen. I know with my camera you cannot see what the focal point is through the preview screen, only through they eye hole. I definitely want to know what my lens is focusing on, so I always look through the eye hole
- Always use a tripod. Camera shake is SUCH a bummer, and results in the worst blur. You might think it’s fine or no one will notice, but I promise you, it’s totally visible when you see your photos on a giant monitor
- Try to counter shadows with a reflector (I use these, and sometimes just a large poster board does the trick) or a continuous light kit. Although, truthfully I’m still getting the hang of counteracting shadows
- Cover the windows with a white flat sheet. This is my favorite trick, especially if direct sun is pouring through your room, it creates a filter and allows for more evenly distributed light throughout your space
EDITING
I edit photos my SLR photos a variety of ways, however I definitely have my go-to method that saves time, especially if I’m editing a large batch of photos. 90% of the time I use Photoshop Elements, the other times I use Adobe Lightroom, but I’m only going to focus on PE today.
First, I import my photos from my memory card into Photoshop Elements Organizer. Then, I take a quick pass through all the photos and open the best ones in Photoshop Elements Editor (it’s a little button at the bottom toolbar in PE Organizer – takes you straight to PE).
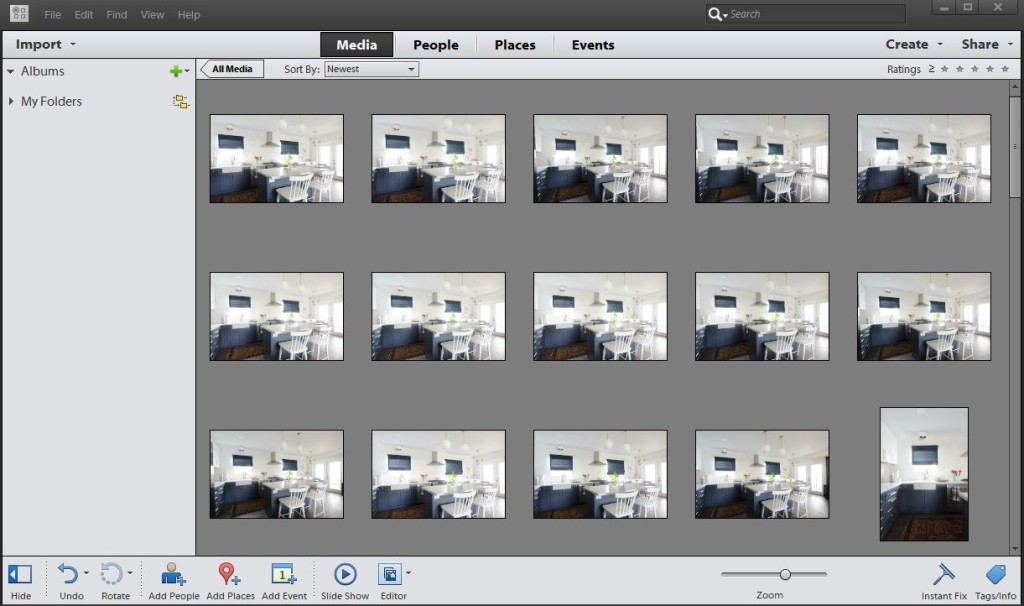
I use Actions for the majority of my editing in Photoshop Elements. My favorite actions for indoor photography, surprisingly, are free (!!!) from Pioneer Woman (thank you Caitlin!). For outdoor photography, and portraits, I recommend Florabella actions. I’ve used Mulletgod’s actions too (as do millions of other bloggers), but some of the edits tend to make photos look “cold” and over-processed, if I’m being honest.. although I do love their lighten/darken action.
Post processing/editing can only help your photos out so much, before they start to look like CGI. If you plan ahead on the photo shoot, choose the right time of day with the right amount of light, and adjust your camera settings appropriately, you’ll only need a few tweaks when editing to get a final product. Let’s look at an example.
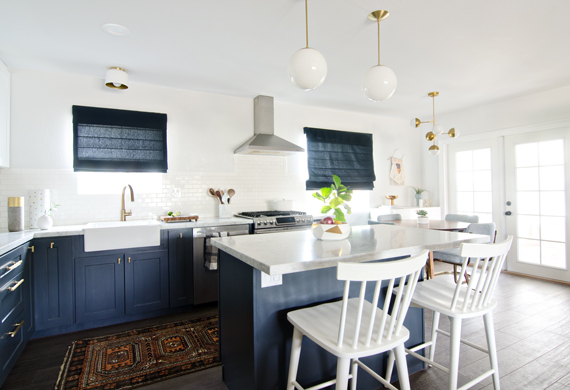
Here are two photos of my kitchen. Same angle, same crop, both taken with different aperture settings and shutter speeds. The image on the left appears slightly over-exposed, while the right image is under exposed. Either photo can be edited to create a decent final product.
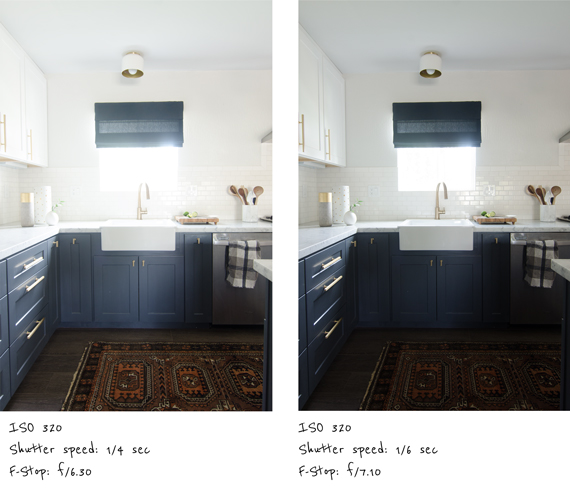
My #1 rule of thumb when editing is: don’t over-sharpen or over-contrast when editing. I explain more below, but basically, over sharpening or over-contrasting your photos creates a halo effect, and looks really, really bad. (I wont show an example, I just cant bring myself to do it). Here I edited the above photos two different ways, which gave me a very similar product.
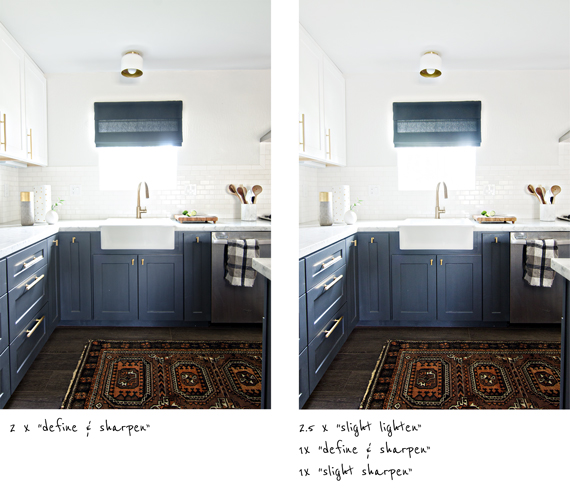
After editing, both of these photos look pretty good, wouldn’t you say? More often than not, slightly over-exposing your images will help you get to a better end product, but slightly under exposed images shouldn’t be thrown out, as they can be saved with the right edits.
Now, if you’re really up for taking my advice, here are a few things I beg that you never do:
- Don’t over ‘sharpen’ your photos. Everyone lately is looking for that crisp, sharp, clear image. Over sharpening only amplifies the fact you took a bad photo. I never ‘sharpen’ my images more than twice (that means pressing “play” of the sharpen action two times). The best way to get a sharp photo is to follow the set-up instructions I mentioned above. Perfecting your actual photo taking process will give you an end product worth raving about
- Never turn on overhead lights or lamps (unless it’s intentional, to show folks your new lights or something). I think this is a no brainer, but turning your overhead lights or lamps will put out a yellow cast in your photo, and creates ugly shadows. Just don’t do it.
- Never take a photo in direct sunlight (unless that’s the effect you’re going for). Try to filter that light, even if it means nailing a white sheet over your window
PHEW! Are you still with me? I know, it’s a lot to take in. I’m happy to elaborate more on anything, or follow up if I left something out. Write your questions in the comments! And if you have any tips I didn’t include, I would love to follow up with a round up of other blogger’s photography tips.

)
)


Such great tips! I actually lean red to embrace cloudy rainy days to shoot too while I’m taking my pictures. I used to dread taking the photos and now it’s become my favorite part ;)
RIGHT! It was overcast on my wedding day and some people were askign me “are you mad? are you upset???” and I kept telling them HELL NO! I’m gonna get some killer photos! haha
gosh had to edit that stupid auto correct. I hate when I sound like an idiot ;)
hahaha don’t worry!
Hallelujah and thank you!!
You’re sweet! And you’re welcome!
Great question! The window will usually ‘blow out’, you could minimize this by (and it sounds crazy) taping a white sheet literally on outside of the window. Or wait until it’s later in the day when the light coming through isn’t so intense. I don’t have a straight answer, but try testing out the settings for f-stop & ISO I commended (maybe even kick your ISO down to 200) and then take a few shots, adjusting your shutter speed each time to see how the pic comes out. Honestly, trial and error will work the best for figuring this one out!
I have a very similar process, which is kind of nice to read because I always tend to doubt everything I do and I really like your pictures so yay! :)
Woot!!! That’s reassuring for me too!
Love love love this post! Thank you!
of course!!!!
These are all such great tips Brittany! I am so addicted to improving my photograpy every time I have a shoot. You are spot on with everything you said. I am still having issues with shadow and need to figure that out better. Love your comment about ISO…it is so true! xo
I know, shadows are the worst! I think the umbrellas should help, i haven’t mastered them yet. I wish there were more resources to go to!
Thanks for sharing these great tips Brittany. I still struggle with finding the right time of day to shoot in our new house but it does have a LOT of light. I really appreciate other bloggers sharing their tips!