One of the other projects we hustled our butts off to get completed prior to Zano’s 1st birthday party (which was already 3 months ago! Jeeze!) was our sunroom. Unfortunately we ran out of time and couldn’t get the space completely finished, but we were able to get the new tile laid on the floors literally the day before the party #closecall
Here is a photo of the sunroom, the day we closed on the house. I get why the sellers painted the floors, but something about this color just magnified dirt. I could never keep it clean.
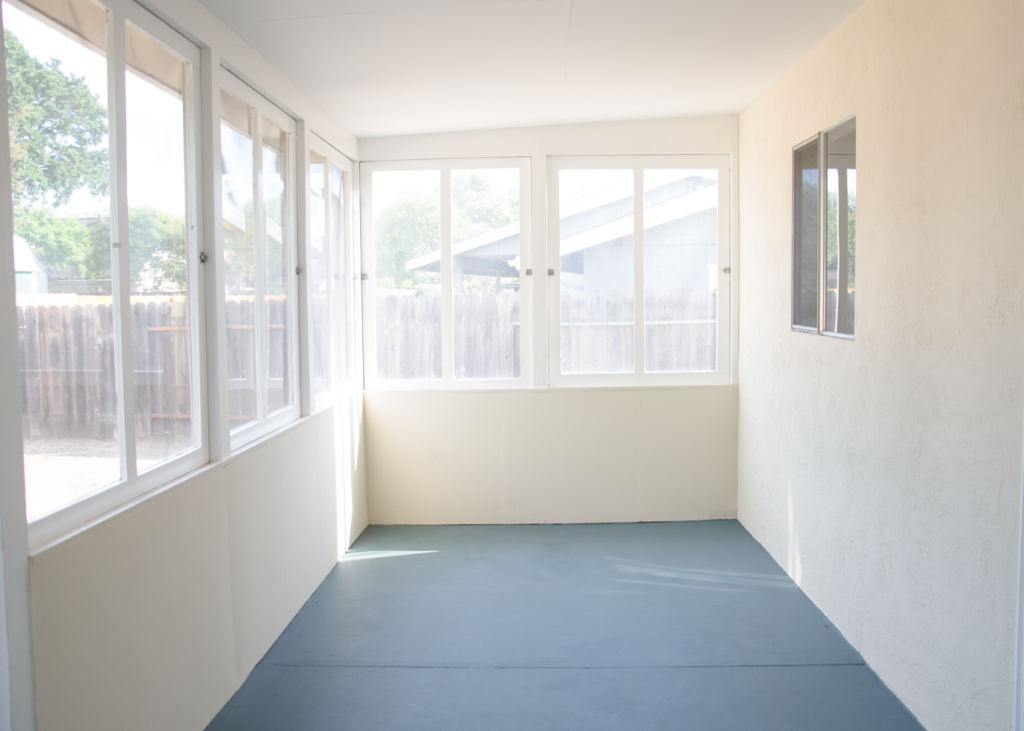 This space isn’t one I’d expect you to hate, chucks, I didn’t hate it that much, but there’s nothing great going on here and I knew from the moment we bought the house that I’d have to make a few changes in order to make this space feel welcoming. It’s not pictured, but one of the complaints we had over this space was how it was accessed. We had this bulky (and broken) sliding door that literally took your entire body weight to open. I’m not going to hate on sliding doors, most homes have them, but I will point out that no person ever said “oh! that sliding door really helps make that extra space feel like an extension of the home”. Nope. It’s never been said. I checked!
What I’m getting at is, the sliding door was preventing this space from feeling like an extension of our, rather small, home. It was broken anyway, so we decided to replace the door with French doors (!!!)
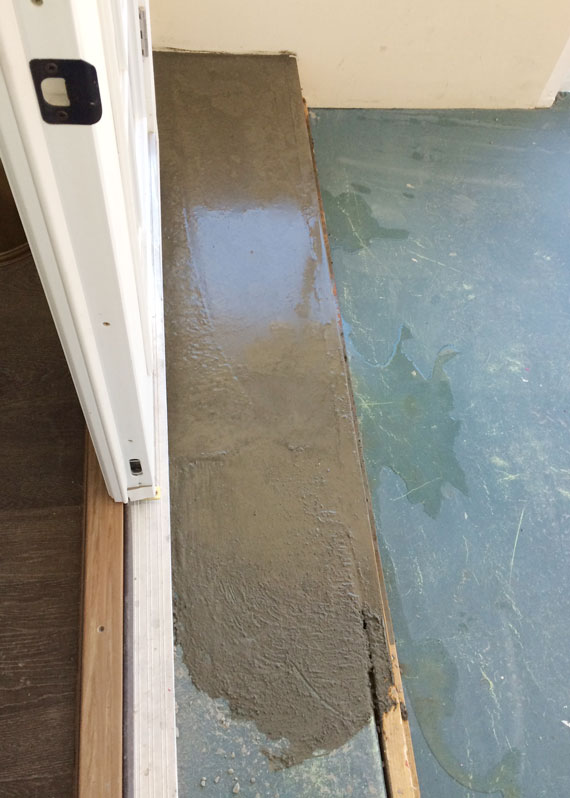
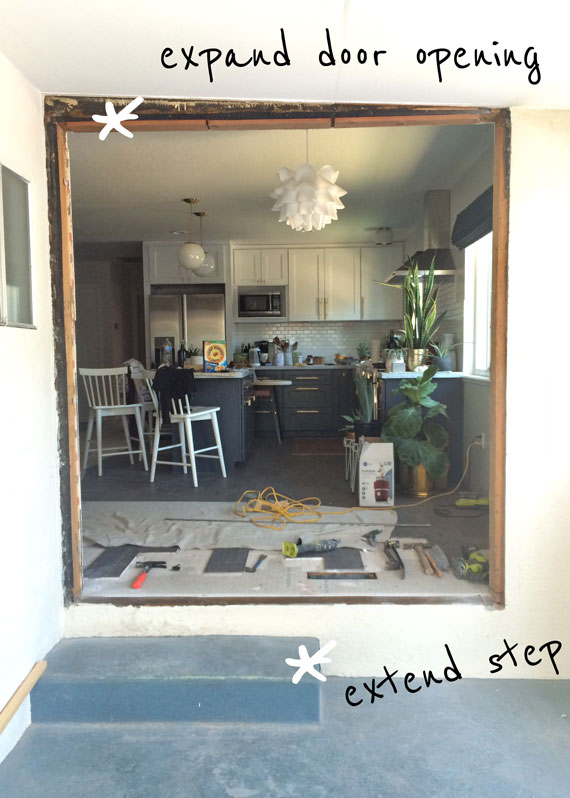 We had to extend the door opening by about 4-6 inches to fit our new doors, which actually wasn’t that big of a deal. We also had to extend the step all the way to the right wall. Luckily our landscapers were working on our backyard and helped our contractor frame out, rebar, and pour the additional concrete for the step extension. It was definitely 2+ man job.
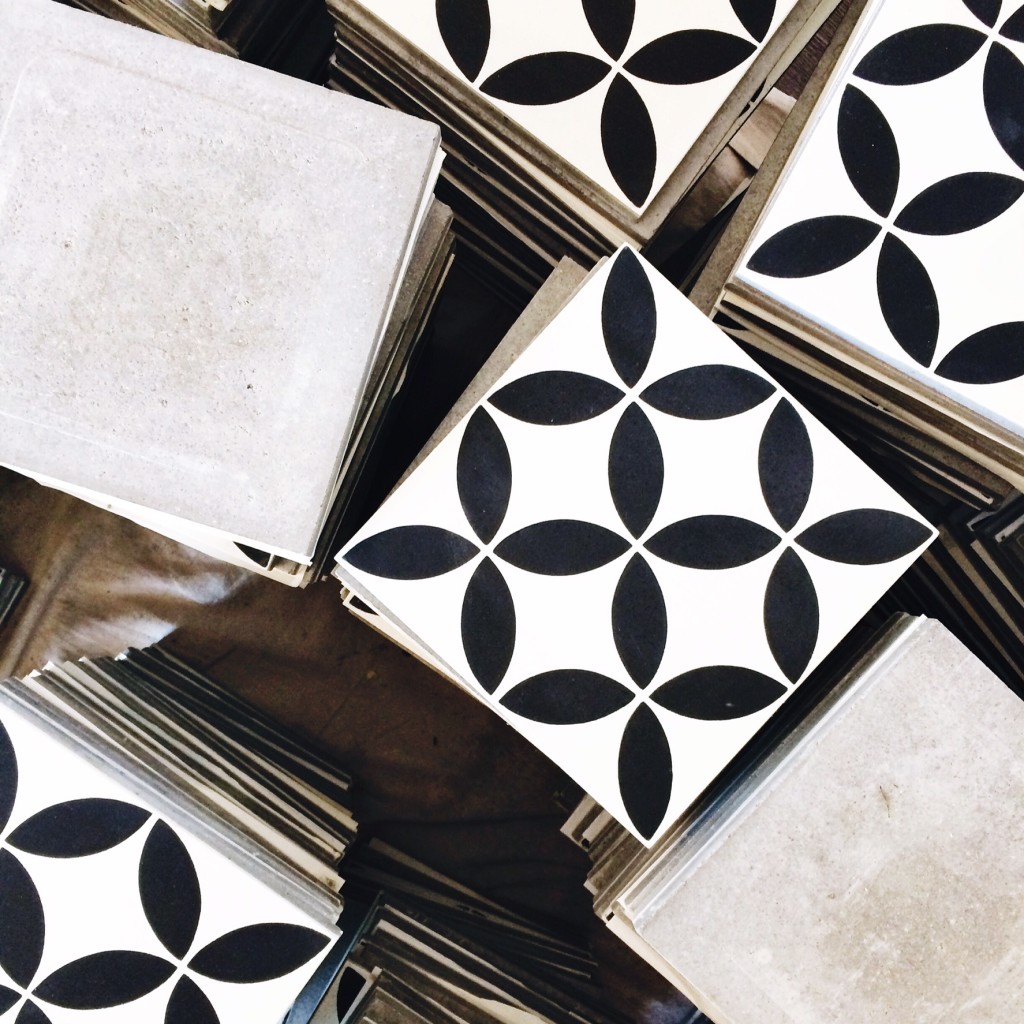
 While our contractor was prepping the sunroom floor for tiling, my husband went on to pre-seal a few hundred individual tiles. If you’re thinking about using cement tile for a project, this step is crucial! Cement tile is SUPER porous, and will soak up anything and everything if not properly sealed. We chose to grout this tile with black grout, and knew if we didn’t pre-seal the tile job could go bad so fast, and there’s almost no method of recovery once the tile has been stained.
 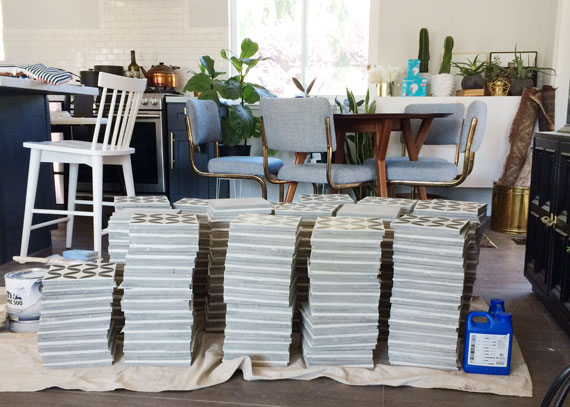 We pre-sealed the tile 3 times. There were a small handful of tiles that must not have gotten the triple treatment… we ended up having to strip the sealer and use an acid wash in order to get them clean. Let’s just say that wasn’t a good day. Our contractor is basically a magician. Tile is his trade and he knew the secret concoction to get them back to normal looking. Bottom line, make sure you pre-seal! It would be great if these cement tile companies would pre-seal their shiz so their customer’s don’t have a coronary upon installation.
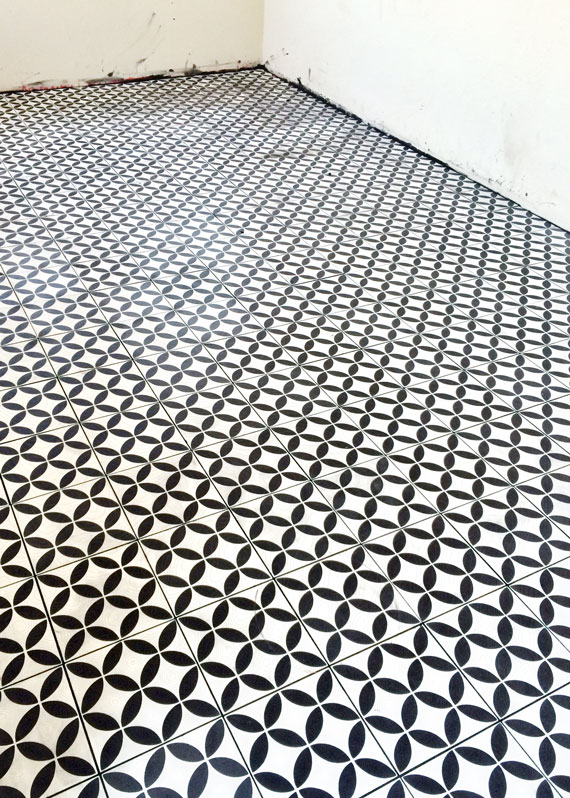
  Below is just after the tile was grouted. Can you spot the few in the back corner that have a darker haze? Those are the tiles that had to get the magic potion treatment.
 Back to the vision of this space… I envisioned this space as being an extension of our house, and a great bridge to the backyard. I wanted to create a casual lounge + play area with built in benches decked with pillows, hanging plants and cacti, you know – like a mini California retreat. I’ve always kept Sarah’s built-in benches in the back of my mind, I loved how she angled the sides of the benches – a spot for drinks or in our case, Zano’s sippy cup.
 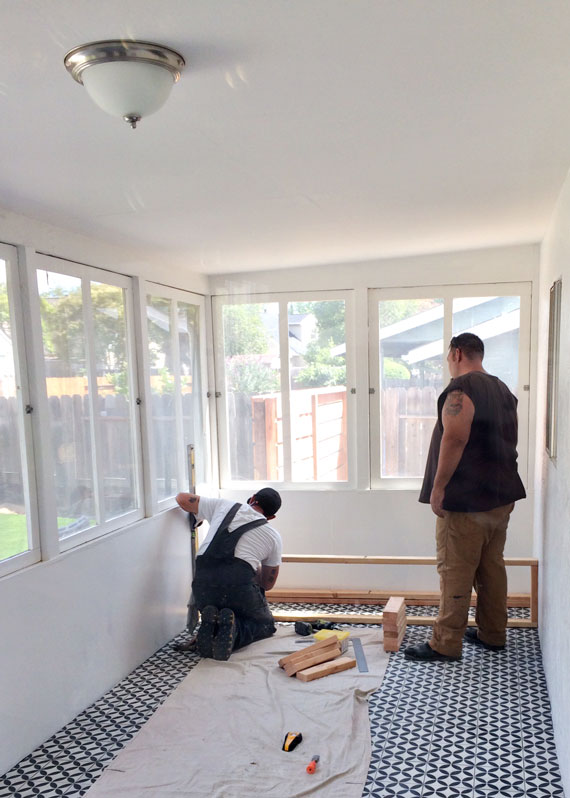 I had it in my mind I would build these benches myself, then the reality check set in a) there was no way I could get them built myself before the party and b) projects like this always take me 20x longer to do myself. Our contractor busted these benches out in a day. I call that money well spent!
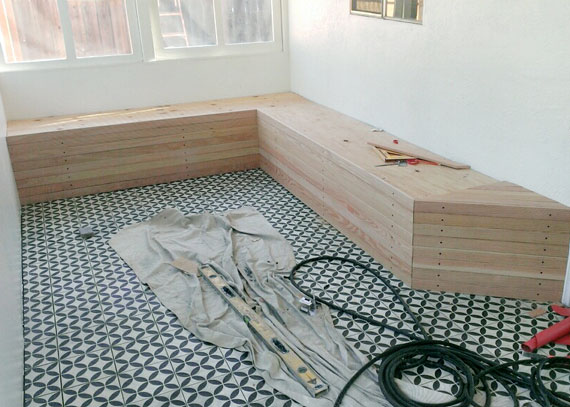
 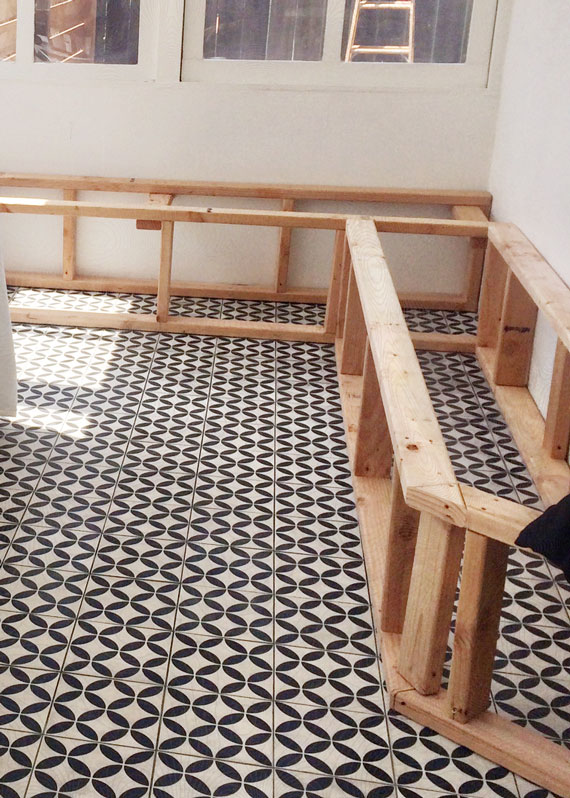 Our contractor framed the benches with 2″x4″s and finished with 1″x2″ cladding and galvanized screws. Then he cut and laid plywood for the bench seats. We left about an inch lip with the top piece of cladding to help keep the bench cushions (which I still have to finish sewing) in place. Also, notice the angled drink ledge! So fancy.
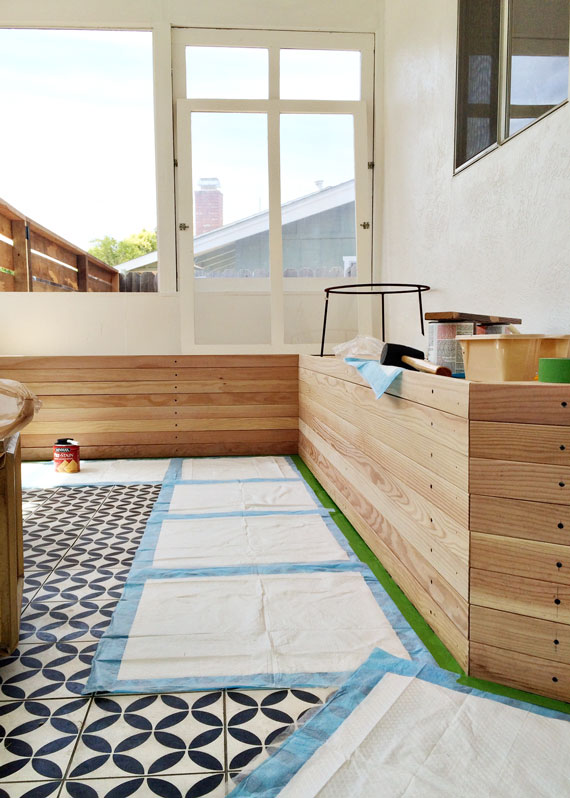
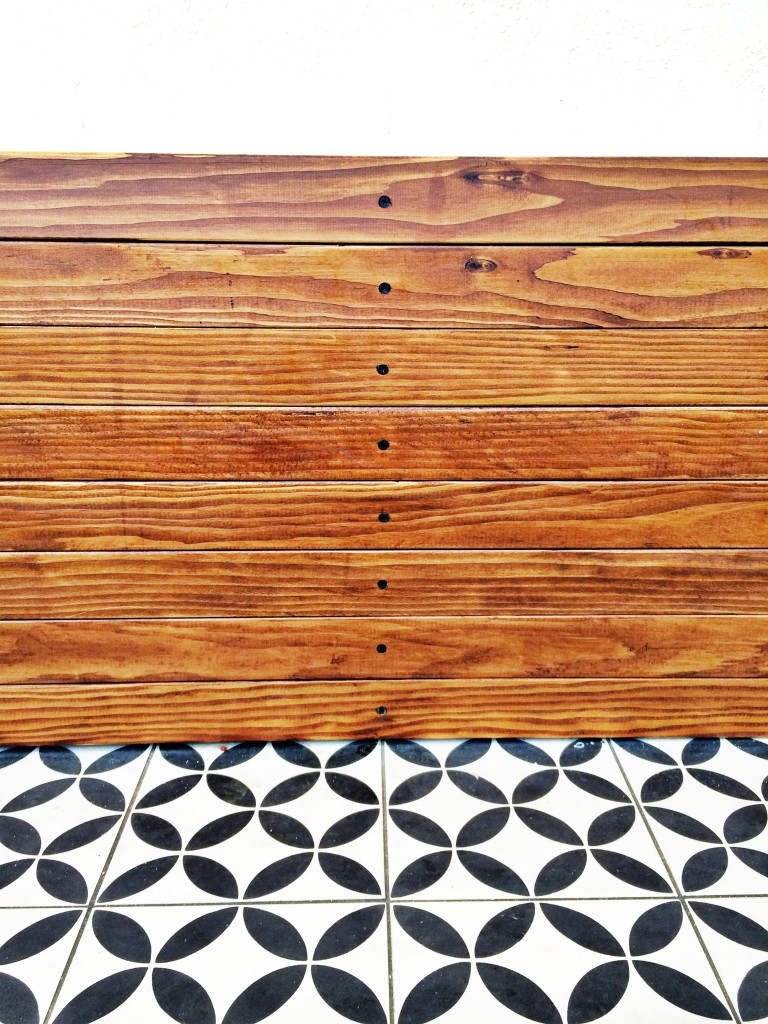
  I stained the wood using the same stain recipe Sarah did on her built-in benches.
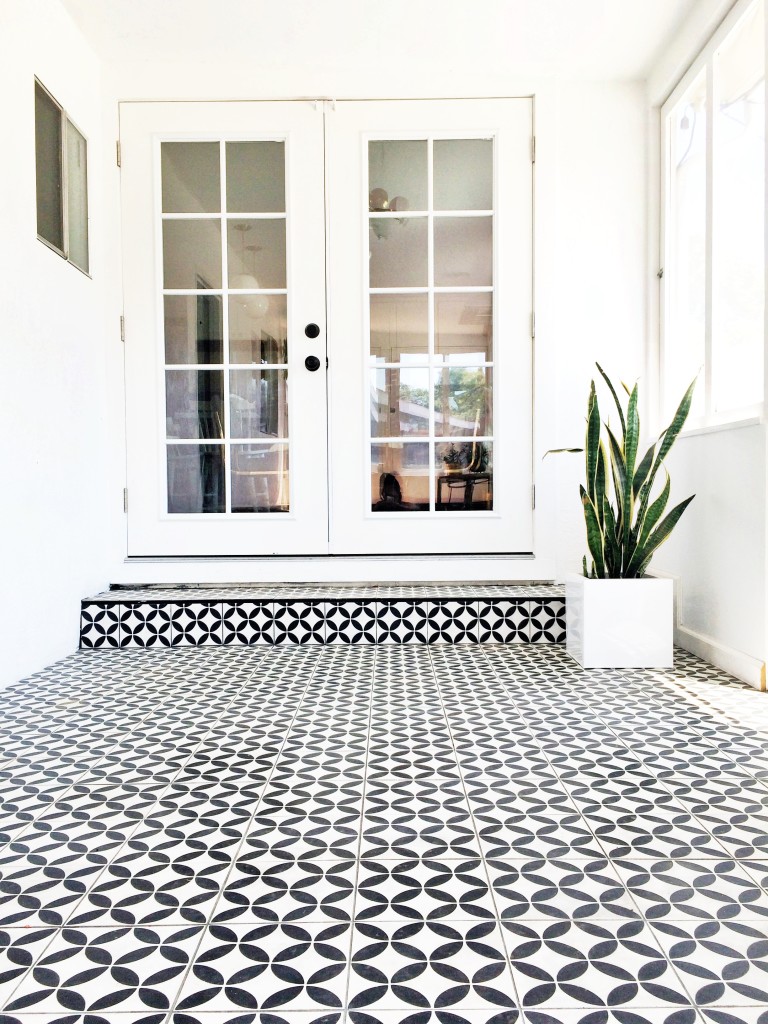
That’s where we’re at with the sunroom. Hopefully I get these bench cushions finished this week since we’re hosting another party this weekend! If it weren’t for these forcing functions my house would probably be full of half completed projects. No joke.

)
)





wow, brittany! that is AWESOME! love the wood with the tile!
Thanks Cassie!
Wow, it’s looking so good already, I can’t wait to see the finished space. Perhaps I should start planning social events as motivation to finish up some projects here…
Haha it’s seriously a great forcing factor!
LOVE this! Those tiles are gorgeous. Can’t wait to see the final result!
Thank you!
oooooh, love the tile choice! I can’t wait to see what this looks like finished.
Thanks!!!
love the use of the puppy pads!! ps, that tile is gorge!!
Haha it’s all I had to keep the stain from dripping in the tile
That tile is just dreamy, Brittany! Love how this room is coming together and I know all of your finishing touches will make it even more fabulous!
Aw thanks Jennifer!!!
I love it! Where did you get the tile!? I can’t wait to see what fabric your using for the benches!
The tile is from The Cement Tile Shop
Are you going to paint the doors?
Maybe! I was thinking black but haven’t pulled the trigger
Thanks Gwen!
Gah! It is looking so amazing, Brittany!! That tile is just delicious and the bench is perfect. I pretty much love any built-in of any kind!
Thank you!!
This looks amazing! Well done! :)
thank you!
I love those cement tiles! They definitely should pre-seal though, for sure!
Those puppy pads had me cracking up. So great. hahaha.
Looks so good!! Parties ALWAYS motivate us to finish projects at our house! We’d be living in DIY hell without them, ha!!
Glad I’m not the only one!!!
The room looks so gorgeous! I love the stain color you chose. Can’t wait to see it all come together!
Thank you Caitlin!
Obsessed!!!! So so good, Brittany!
Thanks!!!
wow, this looks SO good! nice job. i noticed that you no longer have that beautiful lucent lightshop hanging over your kitchen table…where did it go??
actually, I do! that photo was before I installed it :)
So jealous of your gorgeous tile floor! It’s amazing
THANK YOU!!!
That is turning out fab and such a good solution with the bench. OH, that tile!!!! xo
I love this tile!!
thank you!
It looks so beautiful! I can’t wait to see what comes next :)
thank you!
Uh may zing. That is all friend.
Wow, what a beautiful space! That tile was the perfect choice!
thank you!
I’m obsessed with this space! I recently purchased some cement tile for our entry way and was hoping you could tell me what you used to pre-seal the tile? Thanks so much!
Thanks! Our tile guy recommended 511 impregnator sealer. I definitely recommend over-sealing each tile!