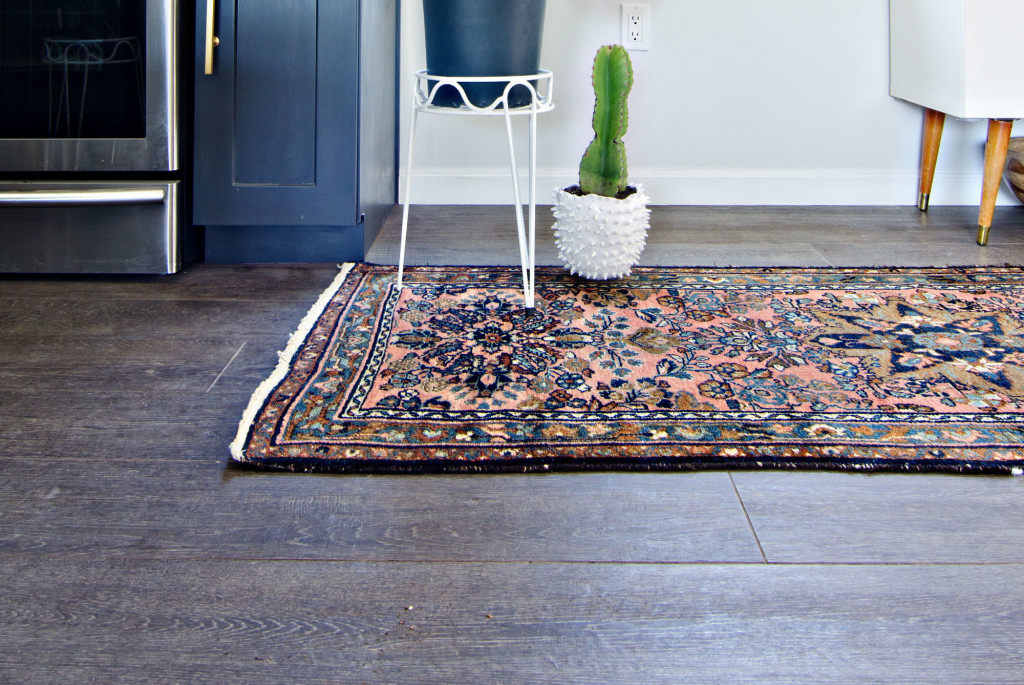
Behold, our floors!
New flooring is one of those things I thought we would never have. That we would perpetually live with this Bermuda Triangle of hideous flooring only able to go on each day with the thought of ‘some day we’ll have flooring’. I barely remember what it was like not to have our tile floors. Goes to show you just how good I am at compartmentalizing memories, ha! Let’s take that to a therapy sesh..
The process of installing new flooring (and any remodel for that matter) is not magic like it is on TV. It’s not a before & after with a 4 minute commercial break in between. It’s exhausting, and we didn’t even do the work! Maybe I take that back. Our contractor is pretty much a magician. Our floors are so beautiful! I’m so happy we didn’t DIY them ourselves. I’m a firm believer some things are just meant to be done by a professional.
Some folks are smart during a remodel, they pack up and move into a hotel or stay with family. We didn’t. We lived in the house during the entire remodel. Something I probably wont ever do again!
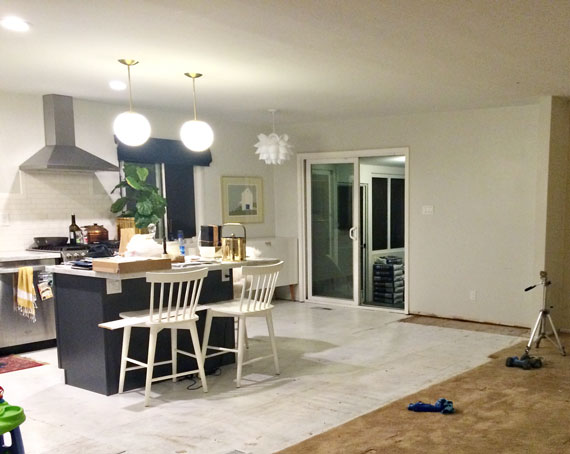
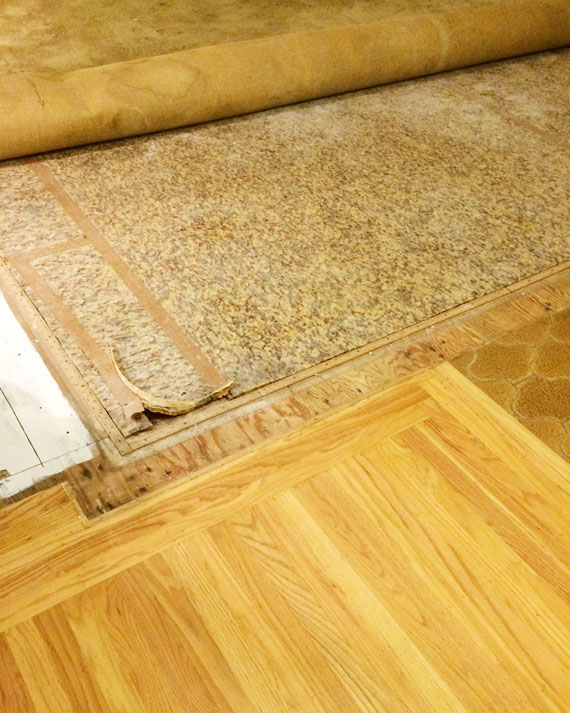
The first phase was removing the existing flooring. The carpet was removed, the ‘vintage’ entryway tile was removed, and the hardwood in the bedrooms was removed.
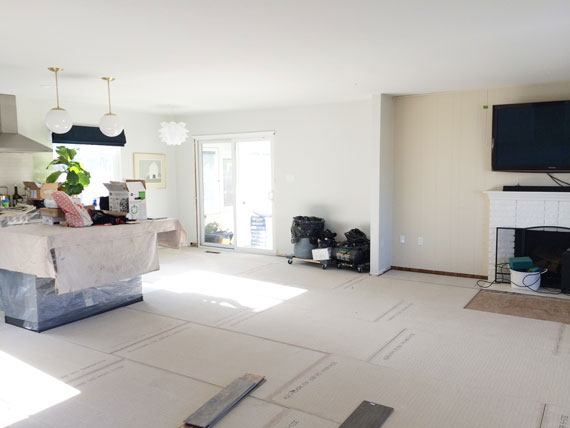
The process of tiling the floors can be different depending on the foundation of your house. We are on a raised foundation, versus other homes that sit on cement slab. Since we’re on a raised foundation, our contractor had to create the most solid and sturdy sub floor possible. He laid cement board first over the entire house. Cement board is exactly what it sounds like it is, it’s a very thin cement material that is laid on top of the plywood subfloor, is secured with nails or screws, with the purpose to eliminate any flex in the flooring. If you laid the tile straight onto the plywood subfloor, chances are the tile would crack and the grout wouldn’t stick. Basically, a very bad situation.
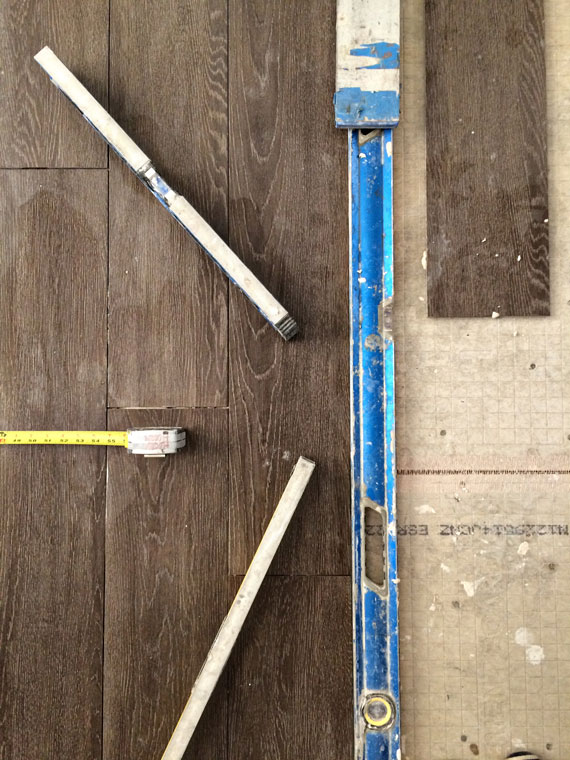
I noticed there are a LOT of tools involved in laying tile. The most important being the level. Our house is fairly level, but one of the bedrooms slopes downward about an inch. Our tile guy had to float that area with extra thinset to bring that area level with the rest of the floors. We were pretty lucky that it was only that one area that needed float, because floating anything – floors or walls – adds a LOT to the cost of installing tile.
Making the grout selection was fairly painless. My best advice is to go with a grout a shade darker than your tile. We decided to lay the tile with very thin grout lines, just a hair larger than 1/16″. Standard grout size is 1/8″, and if you want your tile to look like wood, you have to go with a thinner grout joint.
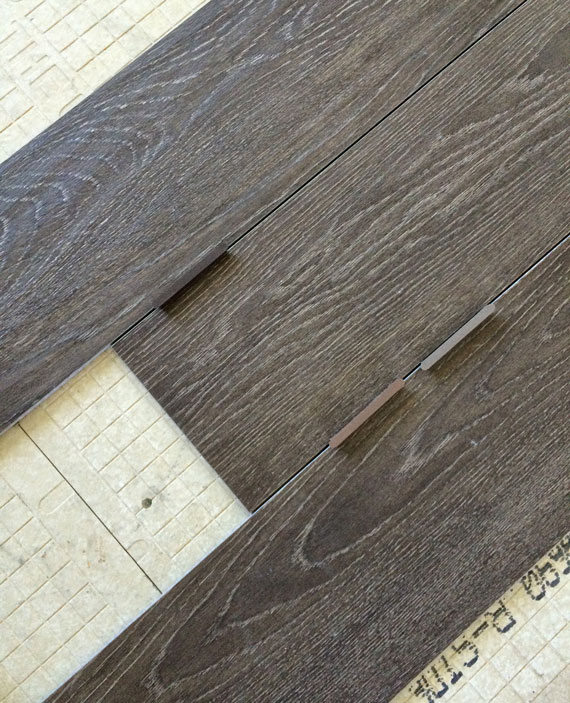
Our contractor’s main trade is laying tile. He worked so quick! He would lay out all the full length tile pieces, make a cut list, then go cut the pieces he needed in one go rather than going back and forth to the tile saw. Talk about efficient! Also, you’re probably wondering what’s going on with that wall. The previous owners had a faux wood paneling focal wall surrounding the fireplace. We had to pry the paneling off, chisel and sand off all of the glue then mud & re-texture. It was kind of an annoying task but now it looks a million times better.
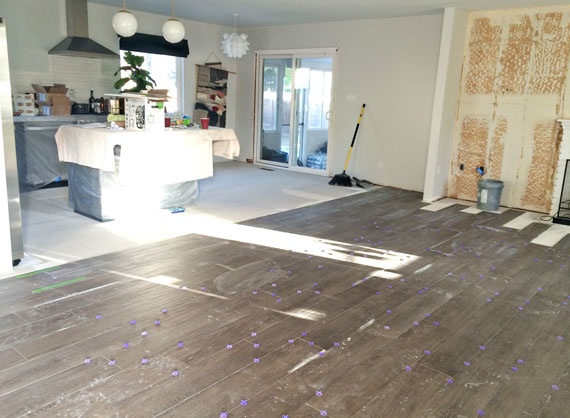
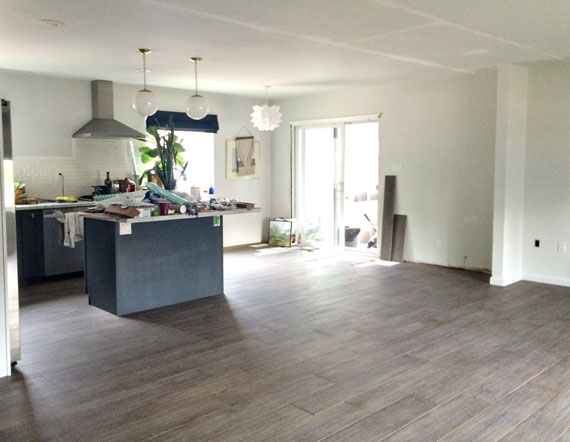
What a transformation, right?! Here’s the transformation process of our bedroom, just for kicks –
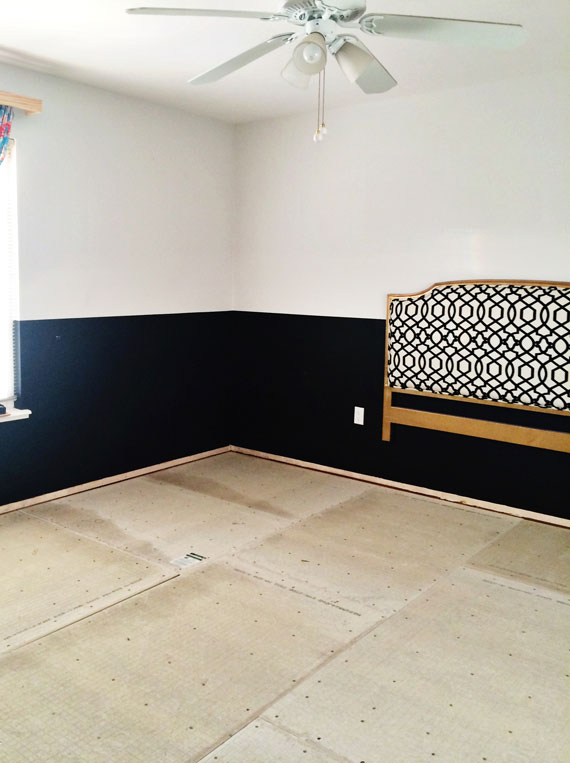
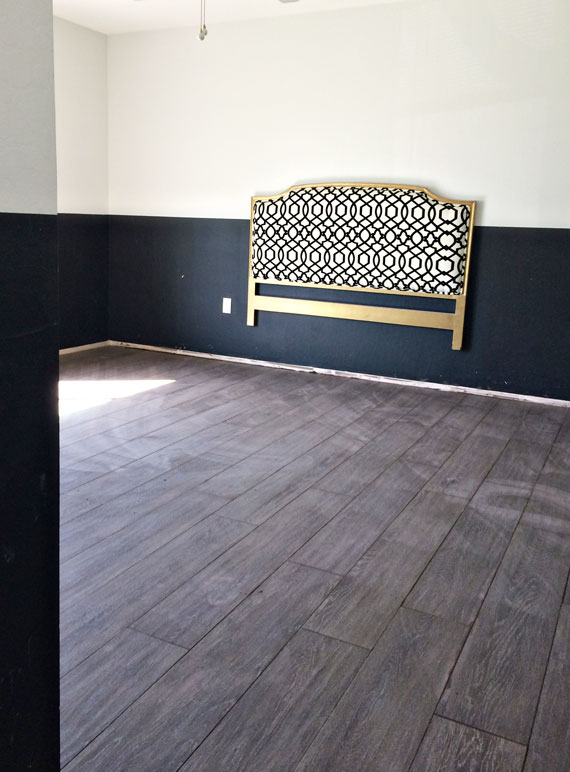
After the floors were tiled and grouted, our contractor installed new baseboards & trim. Seriously, our house has never looked better! I’m really glad we went with the faux wood tile. I actually walk around without shoes or socks every day, and it feels just like a normal wood floor. Someone asked if it was cold underfoot, but I have to say it doesn’t feel any different temperature wise. I think we only feel the texture difference from our floors compared to other people’s wood floors.
In case you missed it, check out why we chose wood tile and the before photos of our house, I can’t believe this was our house just a year ago!

)
)


oh i love it! just gorgeous!
Thank you Cassie!
Gorgeous! The color is perfect :)
Thanks!!!
WOw, it looks so good.
Thank you Julia!
I love the tile, amazing transformation.
Thank you!
This looks awesome!
Thanks Haley!
Do it!!!! It feels so luxurious to have some of the work done by professionals! I feel snotty saying that LOL. But seriously, we feel at ease knowing the pro knows exactly what he’s doing.
i am obssessed with your wood tile. i’ve been looking for ages…your’s is the first i’ve loved that doesn’t look plasticy or like tile! beautiful! can you tell me the color/brand of grout you chose?
hey Lizzie! Thanks for your compliments! we LOVE it, seriously. I don’t know the brand or color of the grout. We were given a grout sample card and we selected the color that was almost identical to the tile color. Wish I could be more helpful!
Looks fantastic! Did y’all grout the baseboards to the flooring?
Thank you! The flooring was put in first, then the base boards sit on top of the flooring.
Where did you buy the wood like rile and do you know the cost per sqf
I love the color of the tile! What is the name and where did you purchase it?
Thank you! We love it so much! It’s by Allways in the color “Cabin”
SORRY! Ours is the color “Pier” http://www.bedrosians.com/en/product/detail/allways-tile/?itemNo=MIRALLCAB848