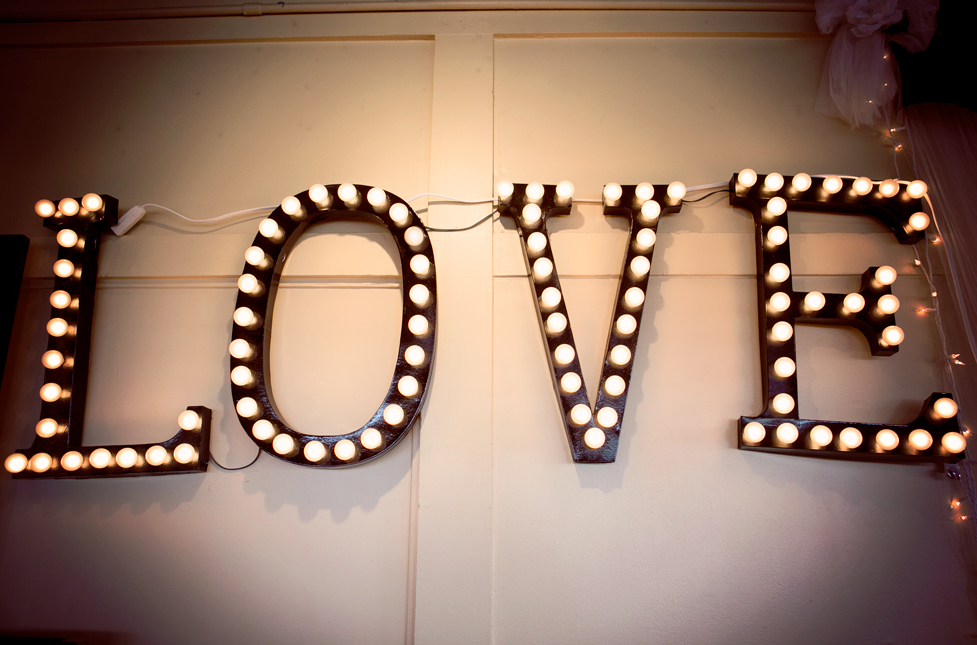
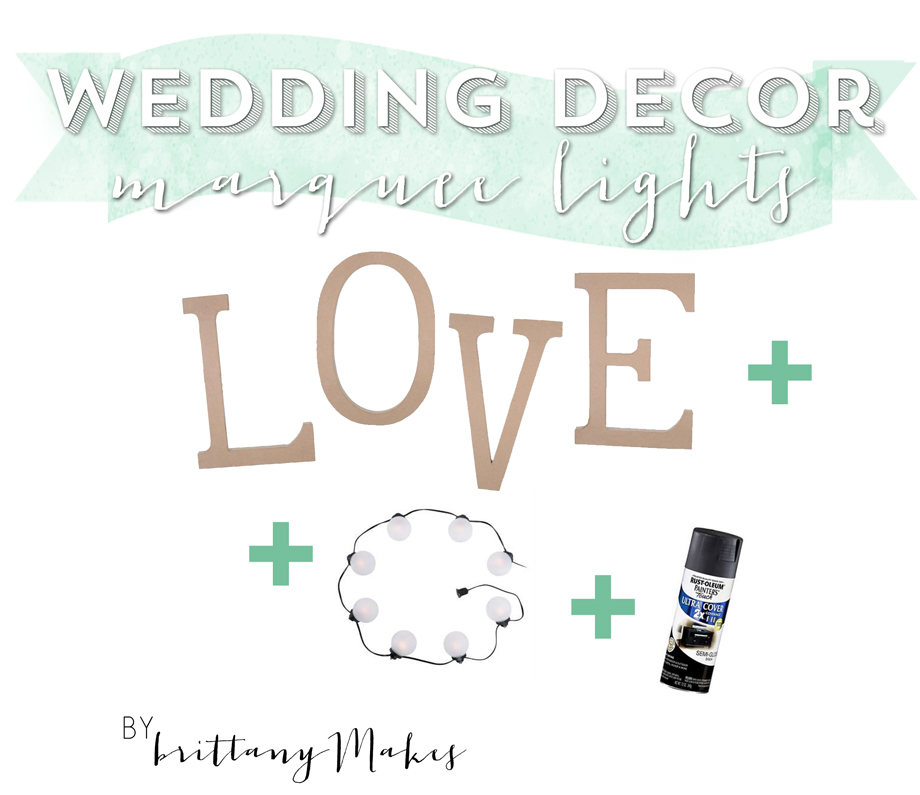
Happy Monday friends! I promised some fabulous wedding DIYs, and now that the wedding is over, the honeymoon is over (boo! come back to me Italy!) and we’re finally unpacked, I’m going to share with you the crazy ideas that went into our big day. First up, DIY marquee lights from paper mâché letters!
I crafted these marquee lights out of the 24″ paper mâché letters from JoAnne’s. I believe they’re about $12 each, but you can get them cheaper if you have a coupon. These letters were going to be indoor decor, which is why we opted for the paper mâché ones. I don’t recommend using paper mâché for outdoors! If you’re interested in making an outdoor marquee letter, Kristin has a great tutorial on crafting outdoor marquee lights.
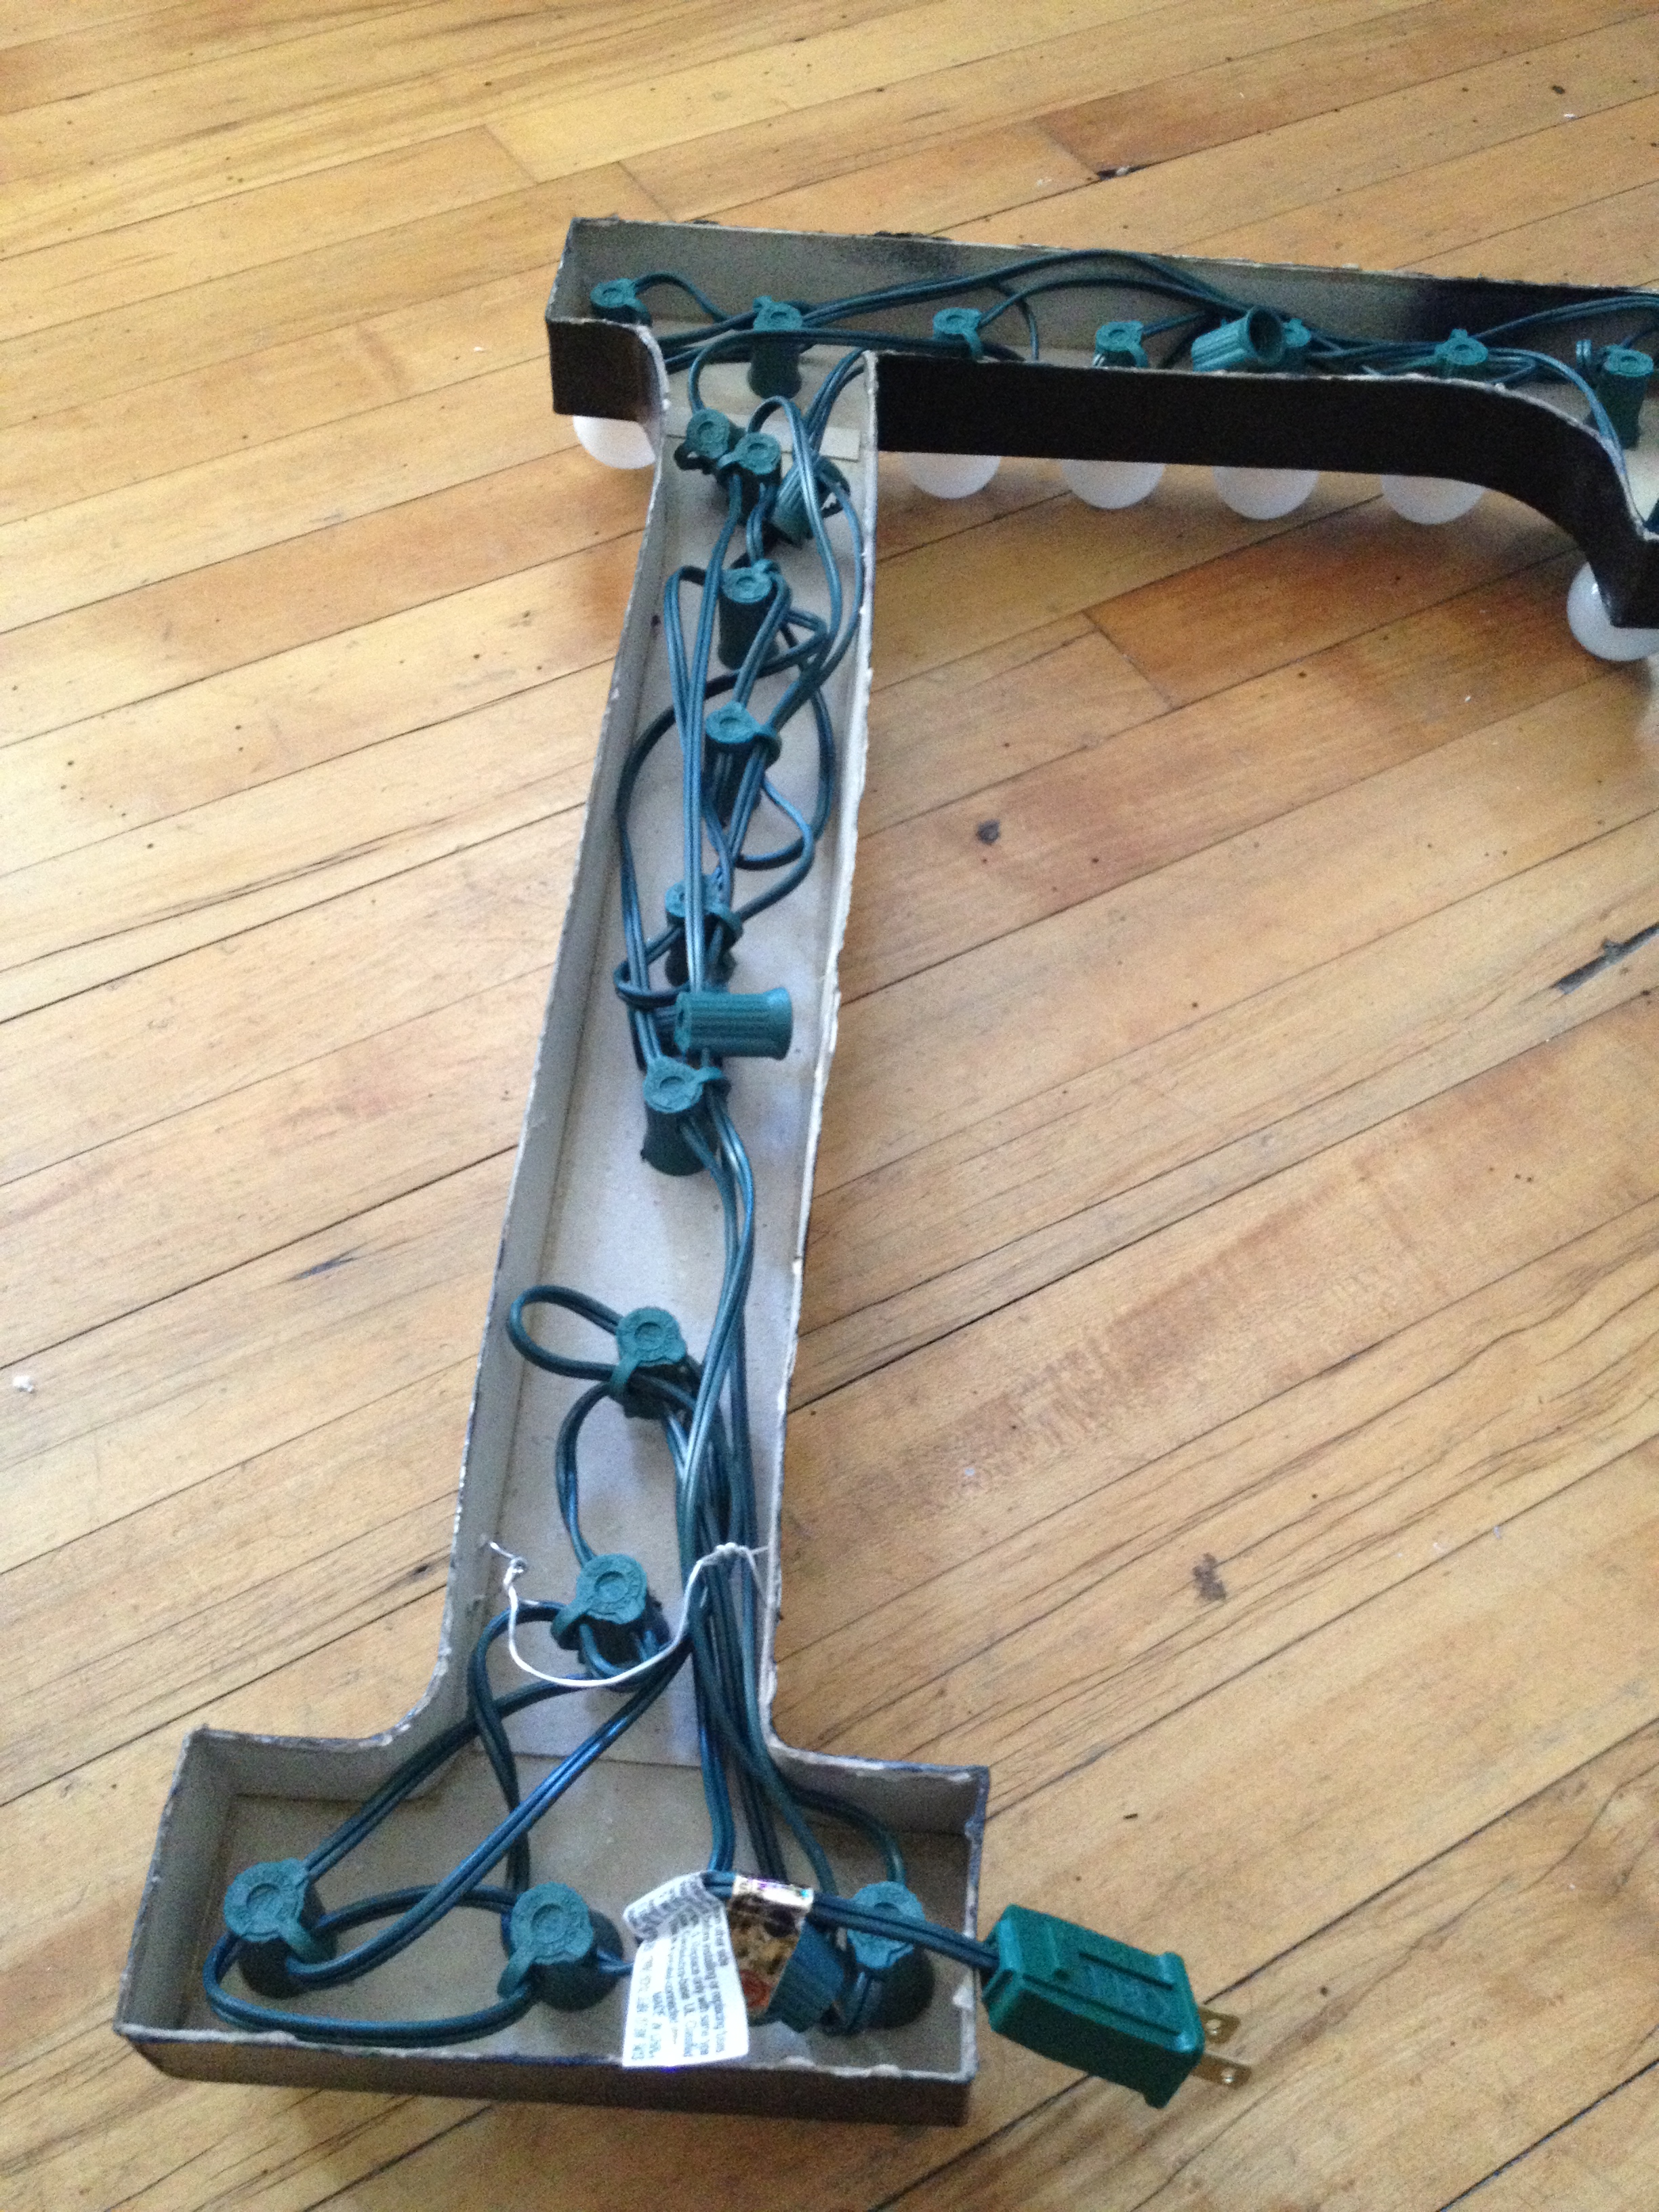
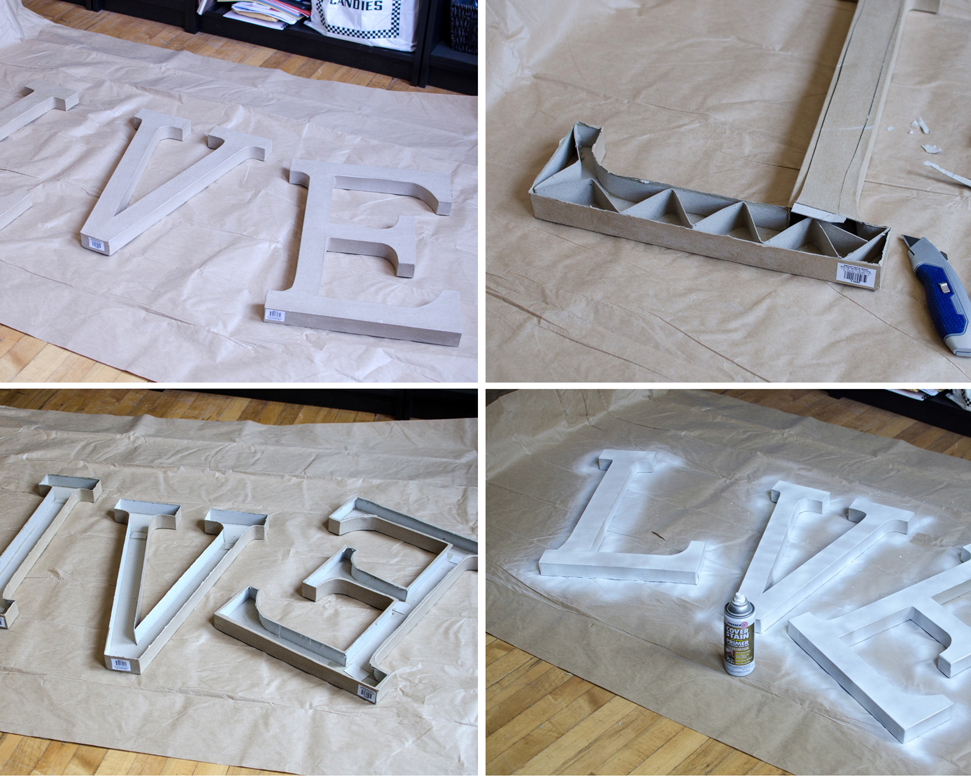
Alrighty! Let’s show you how to make these bad boys. First, I flipped the letters on the reverse side, took an Xacto knife and cut out the backside. You’ll find some crimped cardboard inside the letters which the manufacturers use as stability. You just pull out the crimped cardboard, it’s that easy!
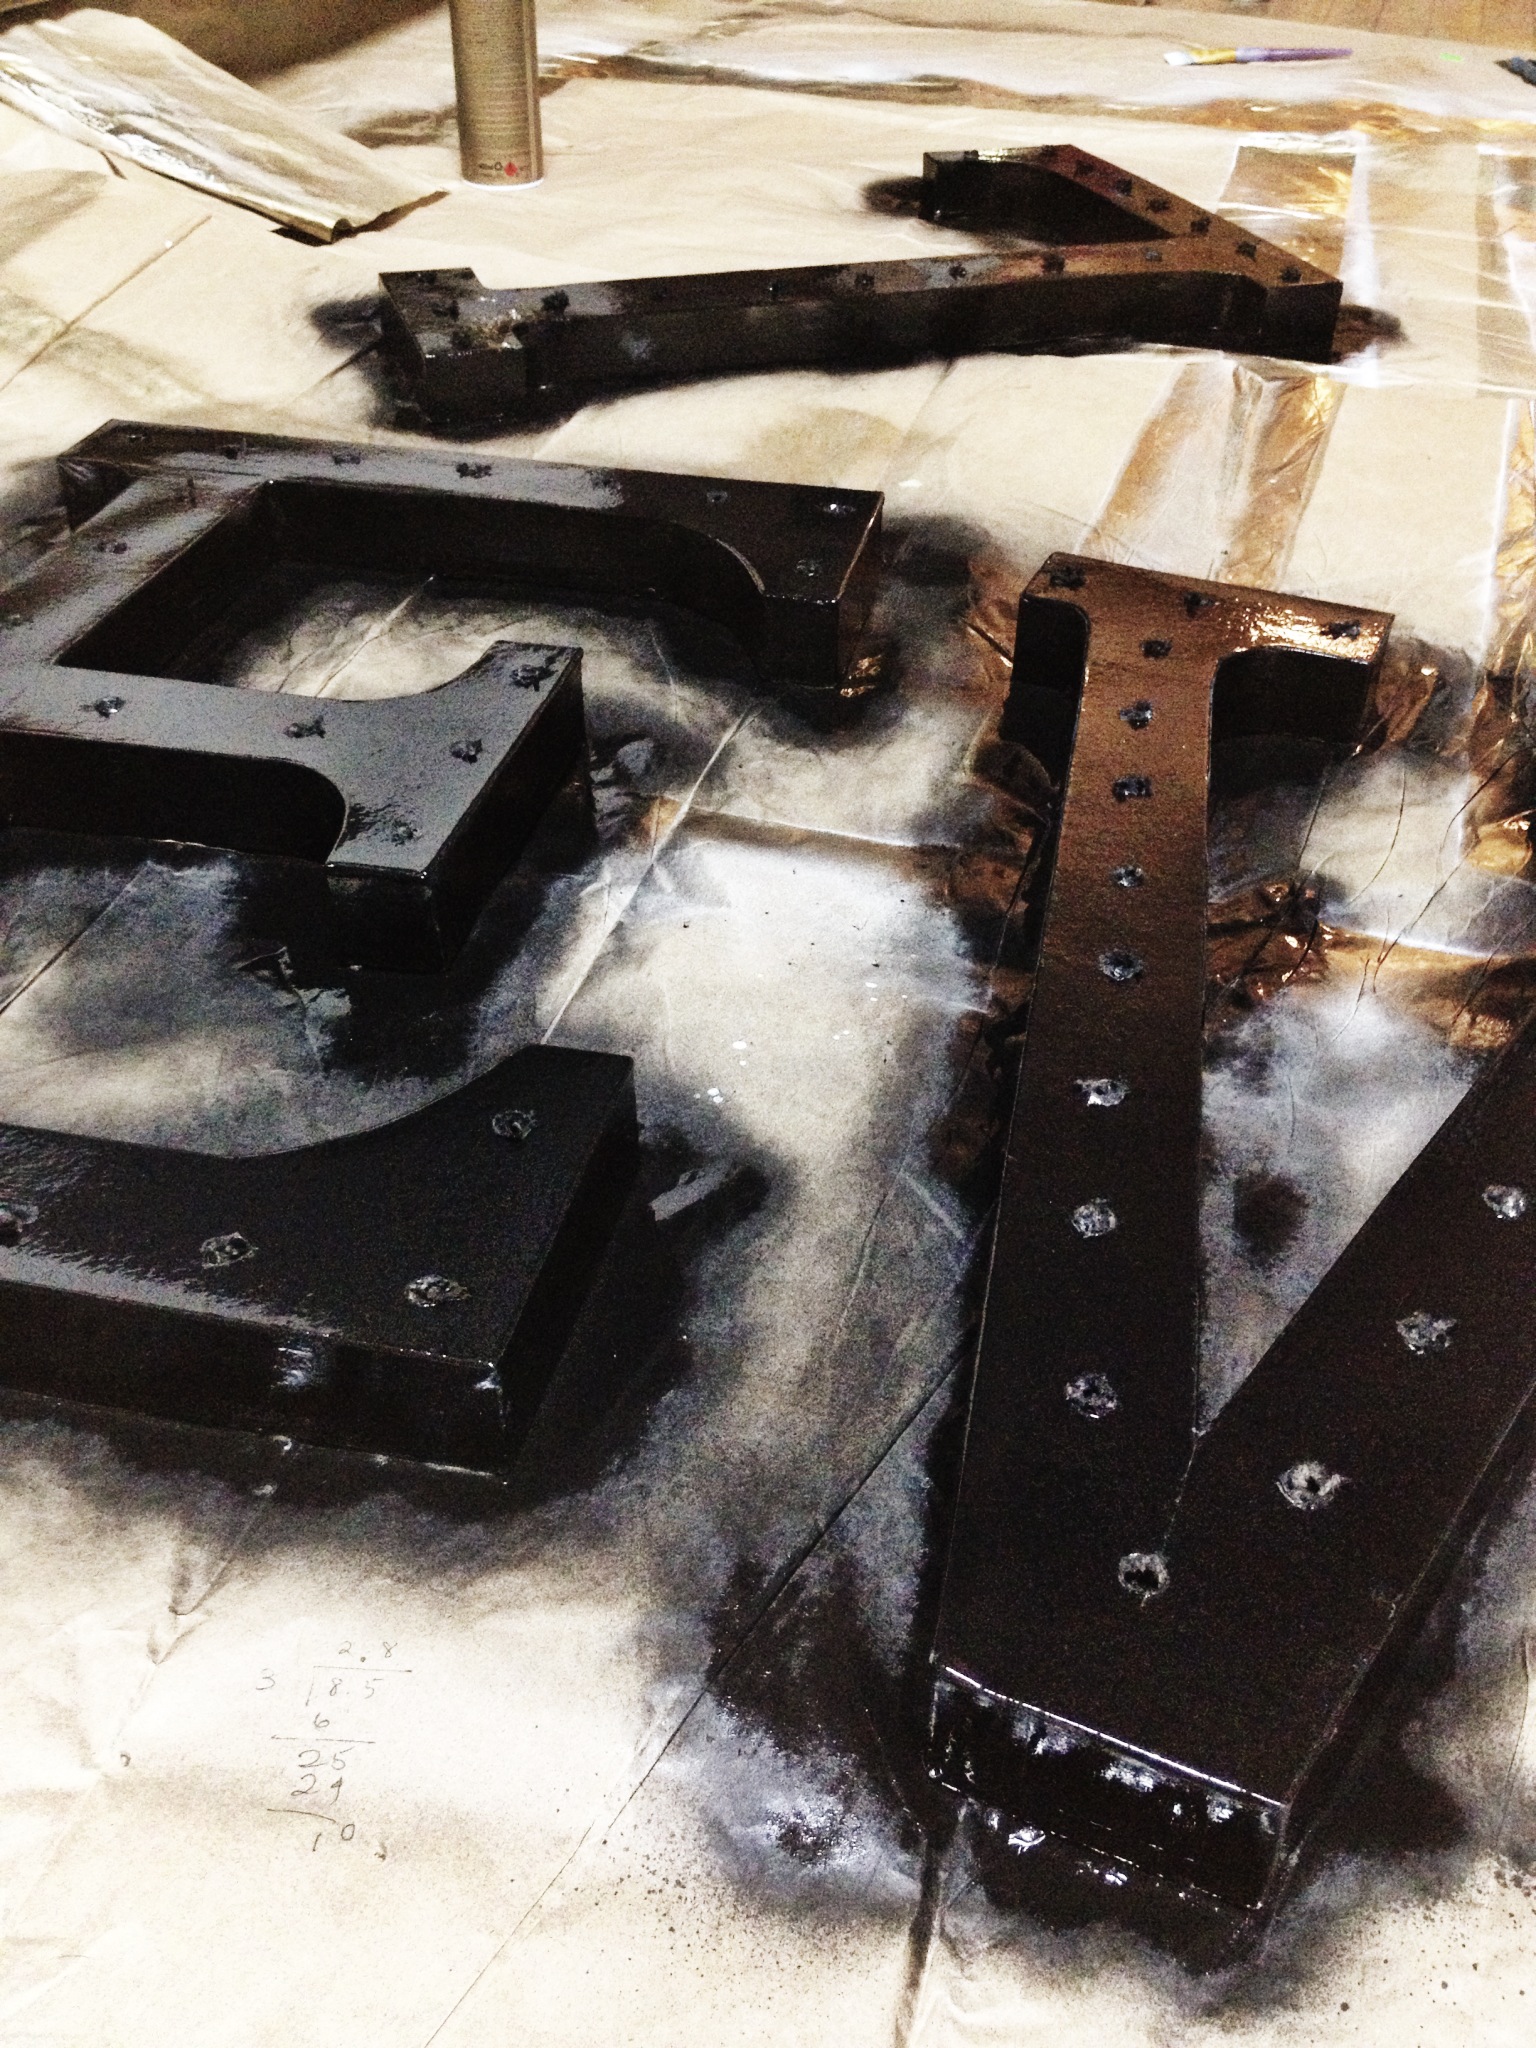
Next, I flipped them back over and primed them, then drilled holes every ~2-3 inches. You can actually see my math in the second picture below!
Once the holes were drilled, I sprayed 2 coats of high gloss black spray paint. I let the first coat completely dry before I applied the second.
Attaching the bulbs was so easy, but it started to get tricky once I had to attach the cord and sockets. I wanted the cord to be hidden inside the letter so that the letter would lay flush against the wall.
For these four letters I used 4 packs of the frosted bulb lights from Target, you can also find them at Cost Plus but I think Target’s are cheaper. I had some bulbs leftover which was no big deal, I just hid the empty sockets inside the last letter.
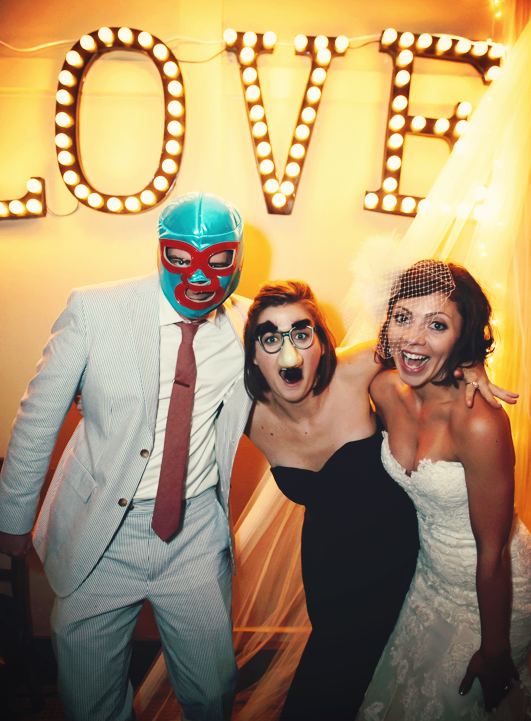
All of our guests were so impressed with the sign! Our initial plan was just to have the sign hanging behind the dance floor, as a neat background for any pictures taken while we were dancing.
But then the party got cray cray and the LOVE sign became the backdrop for our costume/photo booth!
I have to thank my husband for owning that Mexican wrestler mask.
It’s so awesome how some things turn out a thousand times better than planned.
)
)




this is gorgeous!
these are AWESOME!!!!!!
Awesome. You should hang these over that fab new bed. Just kidding. Or maybe not.
hahaha, seriously! they just might have a space in my room tho, good call!
These directions are not showing. Can you repost?
I love these so much! This is on my “someday” DIY project list! HA HA to Jennifer’s comment!
I was swooning when I saw these on your instagram, I would have never guessed that they were paper mache! What an adorable custom element for your wedding!
These look fabulous! I would never have guessed they are paper mache!
So adorable! (You made it look so easy!)
I can’t believe you even had the time. Looks so cool!
LOVE it! Great job…and I would have never guessed they were paper mache.
These are gorgeous! How did you hang them?
Hey Erin! I hung them first by fastening/looping a piece of wire in the back of each letter, kind of like you would do with an Ikea picture frame, then hung them with command hooks. You could also hang them on nails (they can be a bit heavy for command hooks)
These are beautiful! Can you please provide info on how you hung them on the wall? Thank you! :)