If there’s anything lacking in our loft, it’s NOT chalkboard space. We have a giant chalkboard wall connecting our kitchen/dining room down to our living room, and a second giant chalkboard wall in our guest bedroom (aka, man cave), and if that wasn’t enough, we have a gilt framed chalkboard hanging in our kitchen.
Ironically, despite all this chalkboard space, I still had a desire to make my own giant leaning framed chalkboard.
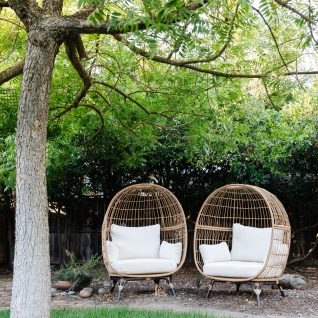
Truthfully, I made this giant leaning chalkboard as a prop for our patio make-over. You’ll get to see it soon, I promise! But I did you all a solid and decided to share the tutorial so you can make one for yourself!
Supplies:
- miter saw
- ~20 feet crown moulding
- 6′ pre-primed MDF board – Home Depot sells an 8′ board about 1″ thick, which I had them cut down to 6′
- finish nails
- hammer
- wood glue or liquid nails
- chalkboard paint
- caulk
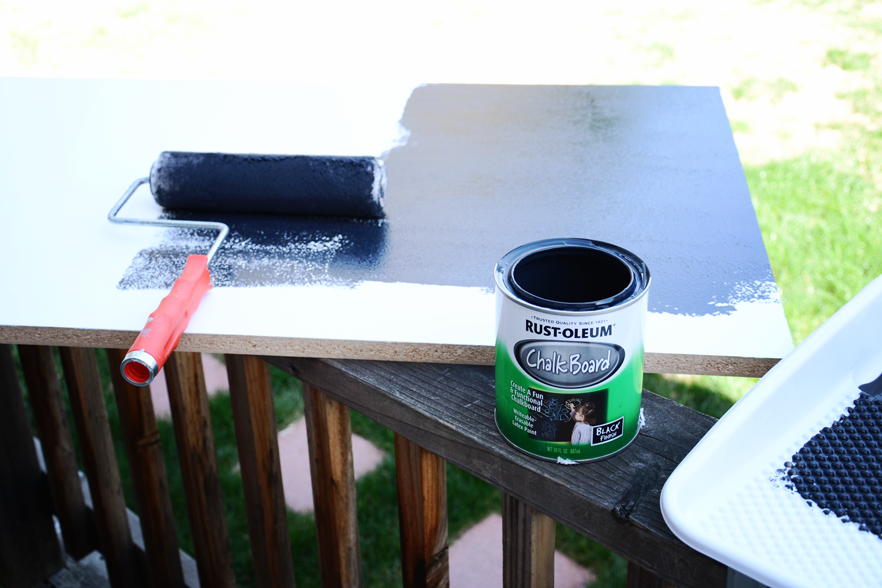
STEP 1 – Give your MDF board 2 – 3 coats of chalkboard paint
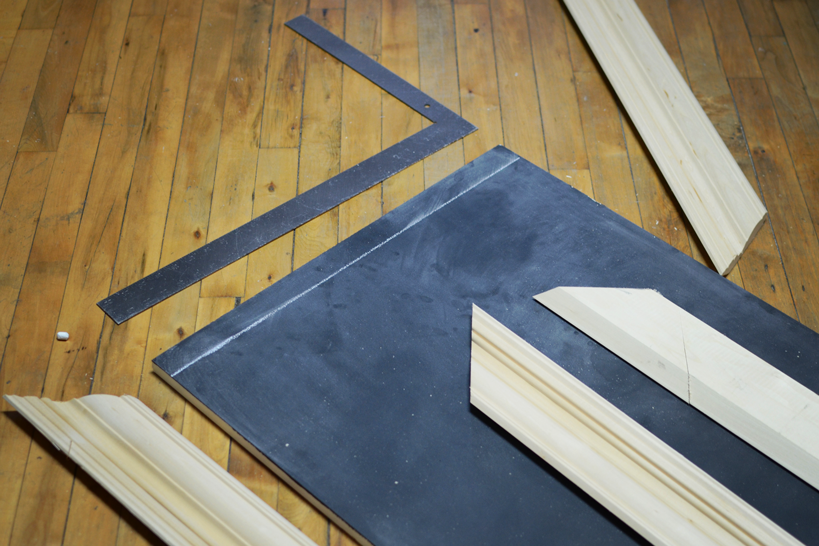
STEP 2 – Measure the length needed for your crown moulding. Miter the edges at 45-degrees.
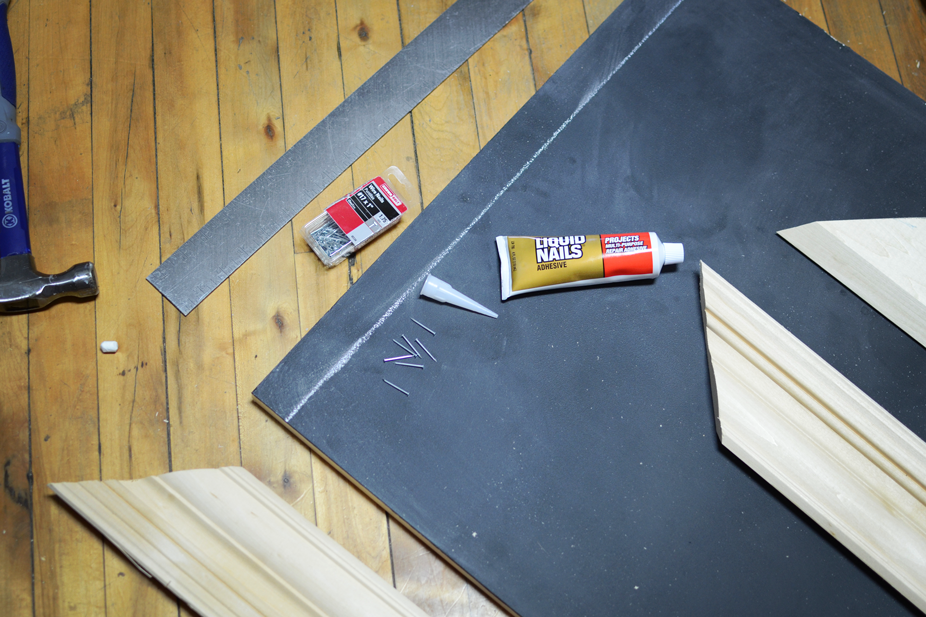
STEP 3 – Using a ruler and chalk, measure a 1″ boarder around the chalkboard. You will be attaching the crown moulding to the board within this boarder with glue and finish nails.
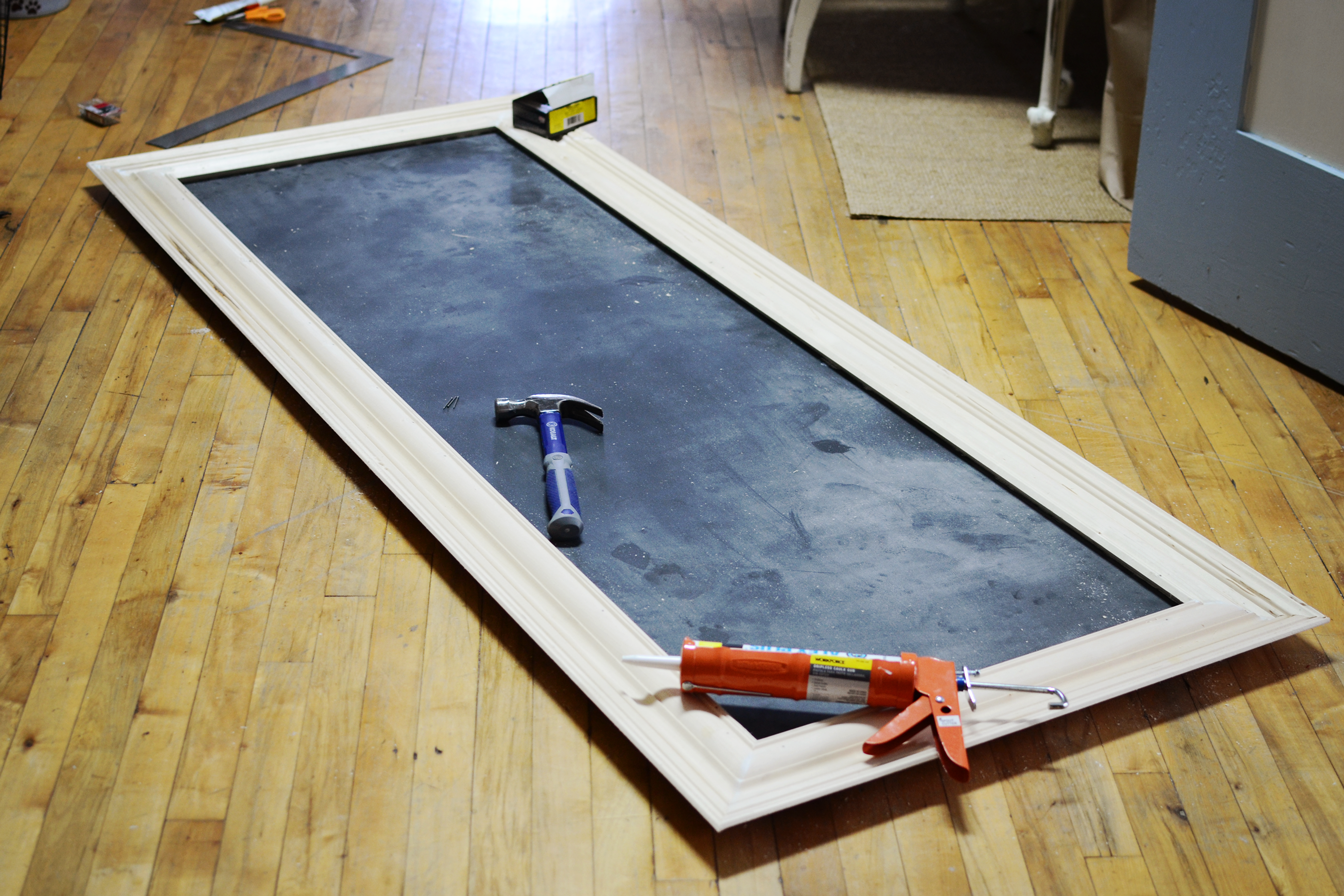
STEP 4 – Nail the crown moulding in place. I do not own a brad nail gun so I used my handy dandy hammer, but if you do own a brad nail gun, first – I’m jealous, second – I recommend using it over the hammer.
STEP 5 – Using a caulking gun, caulk any gaps where the corners meet. Perhaps you’re awesome at using a miter saw, so you might not need this step! The miter saw frightens me so I tend to make my slices quickly then turn to caulk for comfort.
STEP 6 – Paint and distress as needed! I first painted the trim in Pure White Chalk Paint, then applied top coat in Duck Egg. I chose Duck Egg blue for the patio project, but I’m considering going back to white… we’ll see!
STEP 8 – Enjoy as you see fit!
I’m workin’ on my girlish figure lately so I can strut my stuff down the aisle in a couple months. This is what my weekly workout currently consists of – running, to stay slim; core, the path to a flat belly; yoga, to tone the arms and relax the mind; and of course, more running, because I’m crazy!
On a side note – I found this super cute pillow the other day. It’s the perfect little reminder that we all should smile more at home. Sometimes I forget this after a long day’s work…
Have a happy Thursday!
)
)
