Have I mentioned I love Ikea? It’s true. We’re in love. I actually frolicked through the store Friday night, it sounded like a better thing to do than an hour at the gym, plus it’s like 2 blocks from my office and absolutely irresistible during those moments I’m trying to dodge a workout.
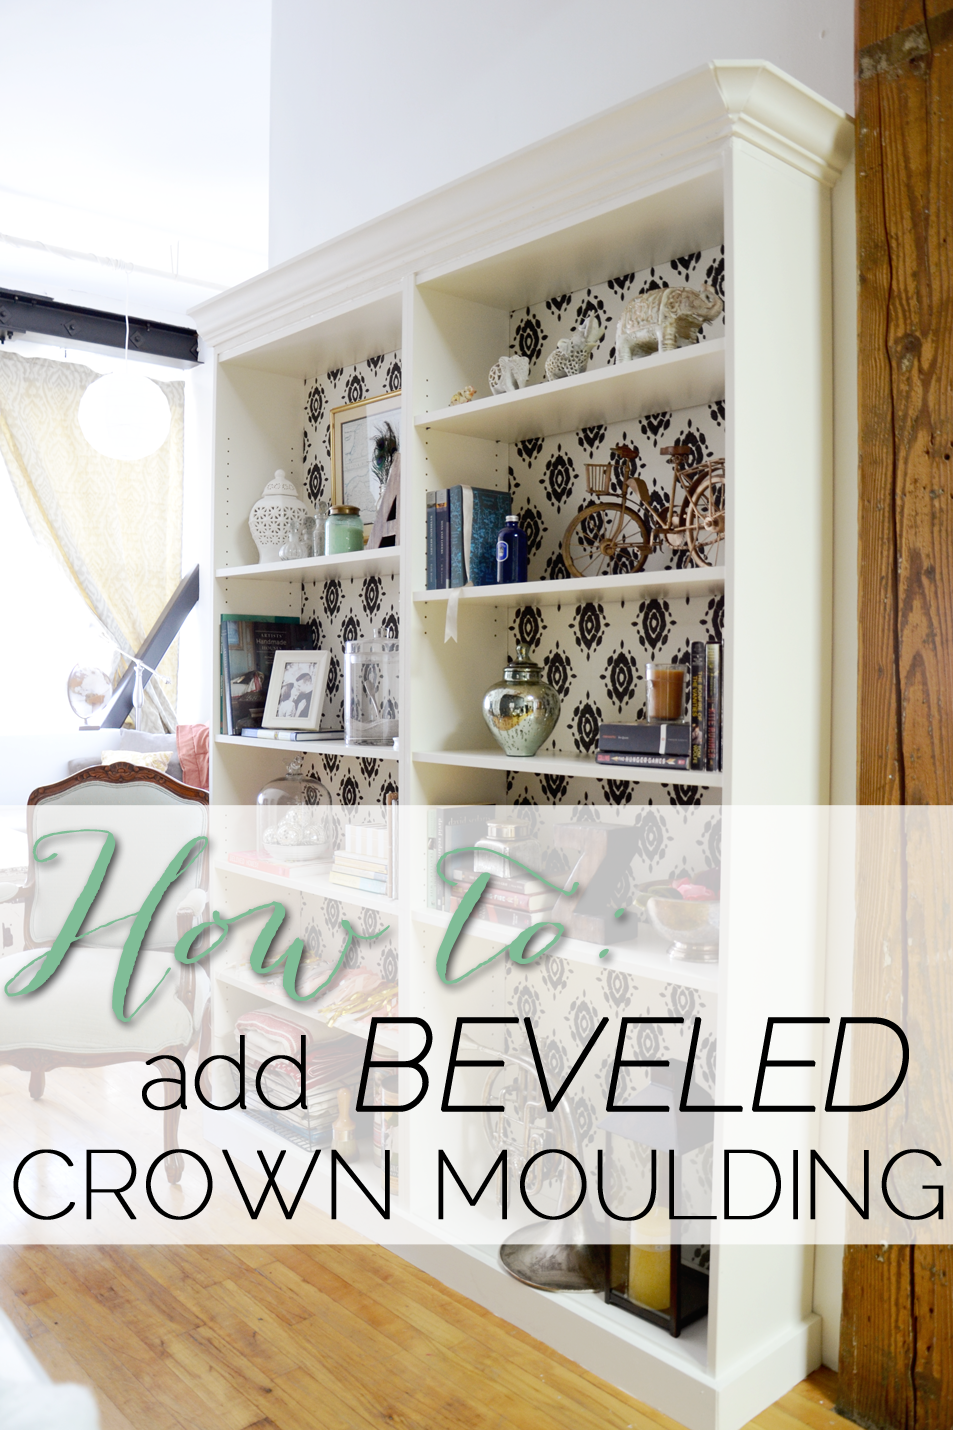
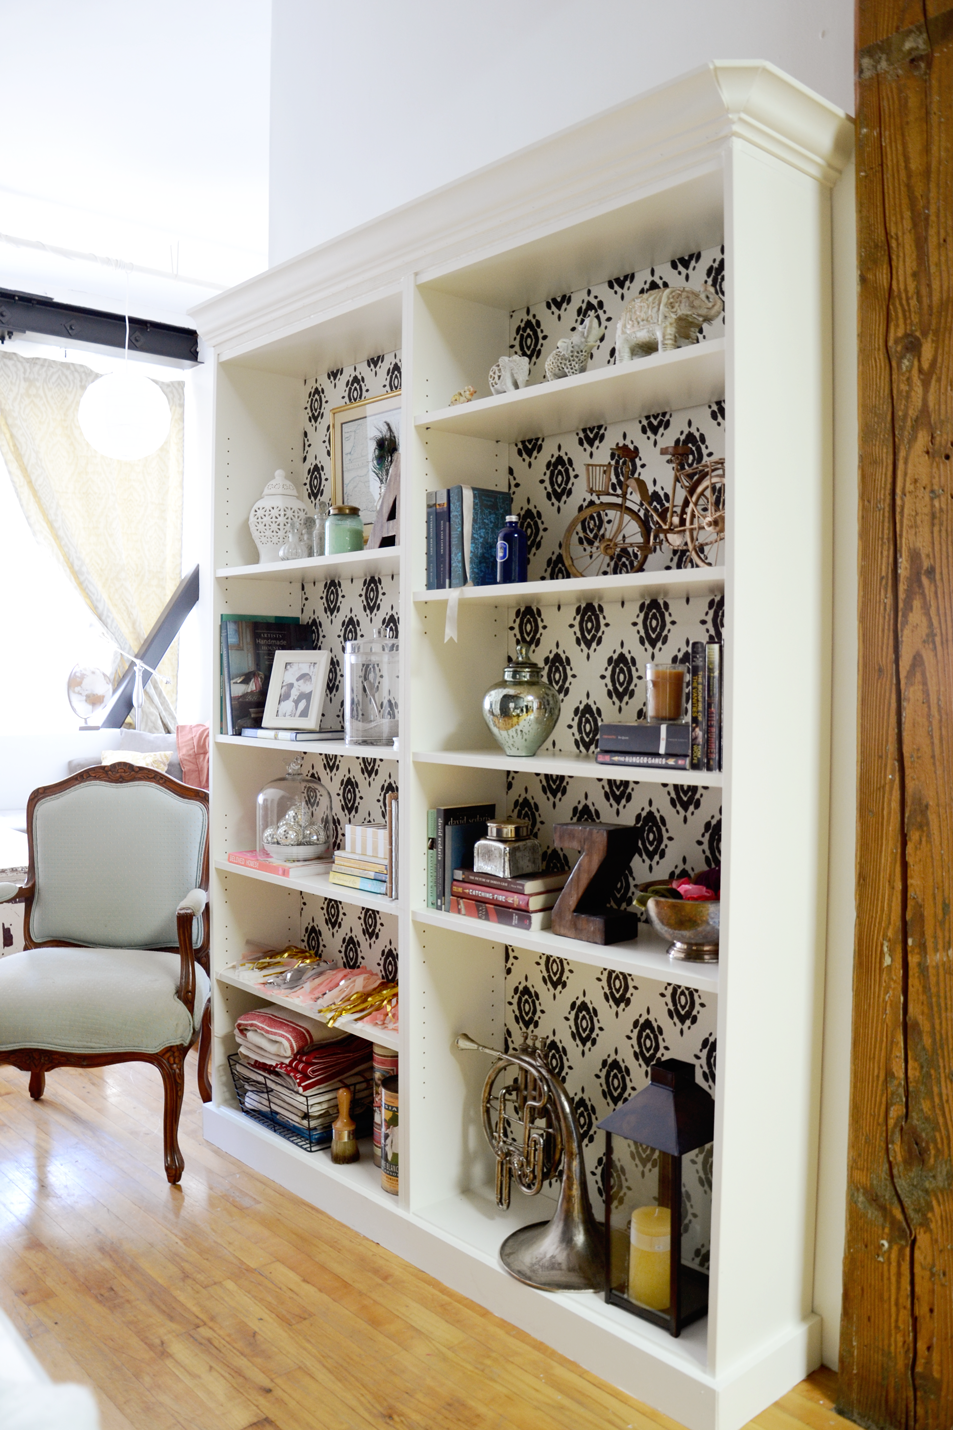
Remember these Ikea Billy bookcases? I stenciled them using an ikat stencil and Graphite Chalk Paint. It was a painful process and took me 2 hours per bookcase. Apart from the stenciling pain, I’m absolutely smitten with the result! I wish I could say I won’t be stenciling anything anytime soon.. but I have a secret suspicion I’d be putting my foot in my mouth. A few readers asked for full view shots of the bookcases, which you’ll see today as I’m sharing how I added beveled crown moulding to these Ikea Billy bookcases, which happened by complete accident!
Supplies:
1″ x 4″ x 8′ basic pine board
1″ x 2″ x 8′ basic pine trim
8′ crown moulding
Caulk
White paint, color matched to the bookcase
Cut list:
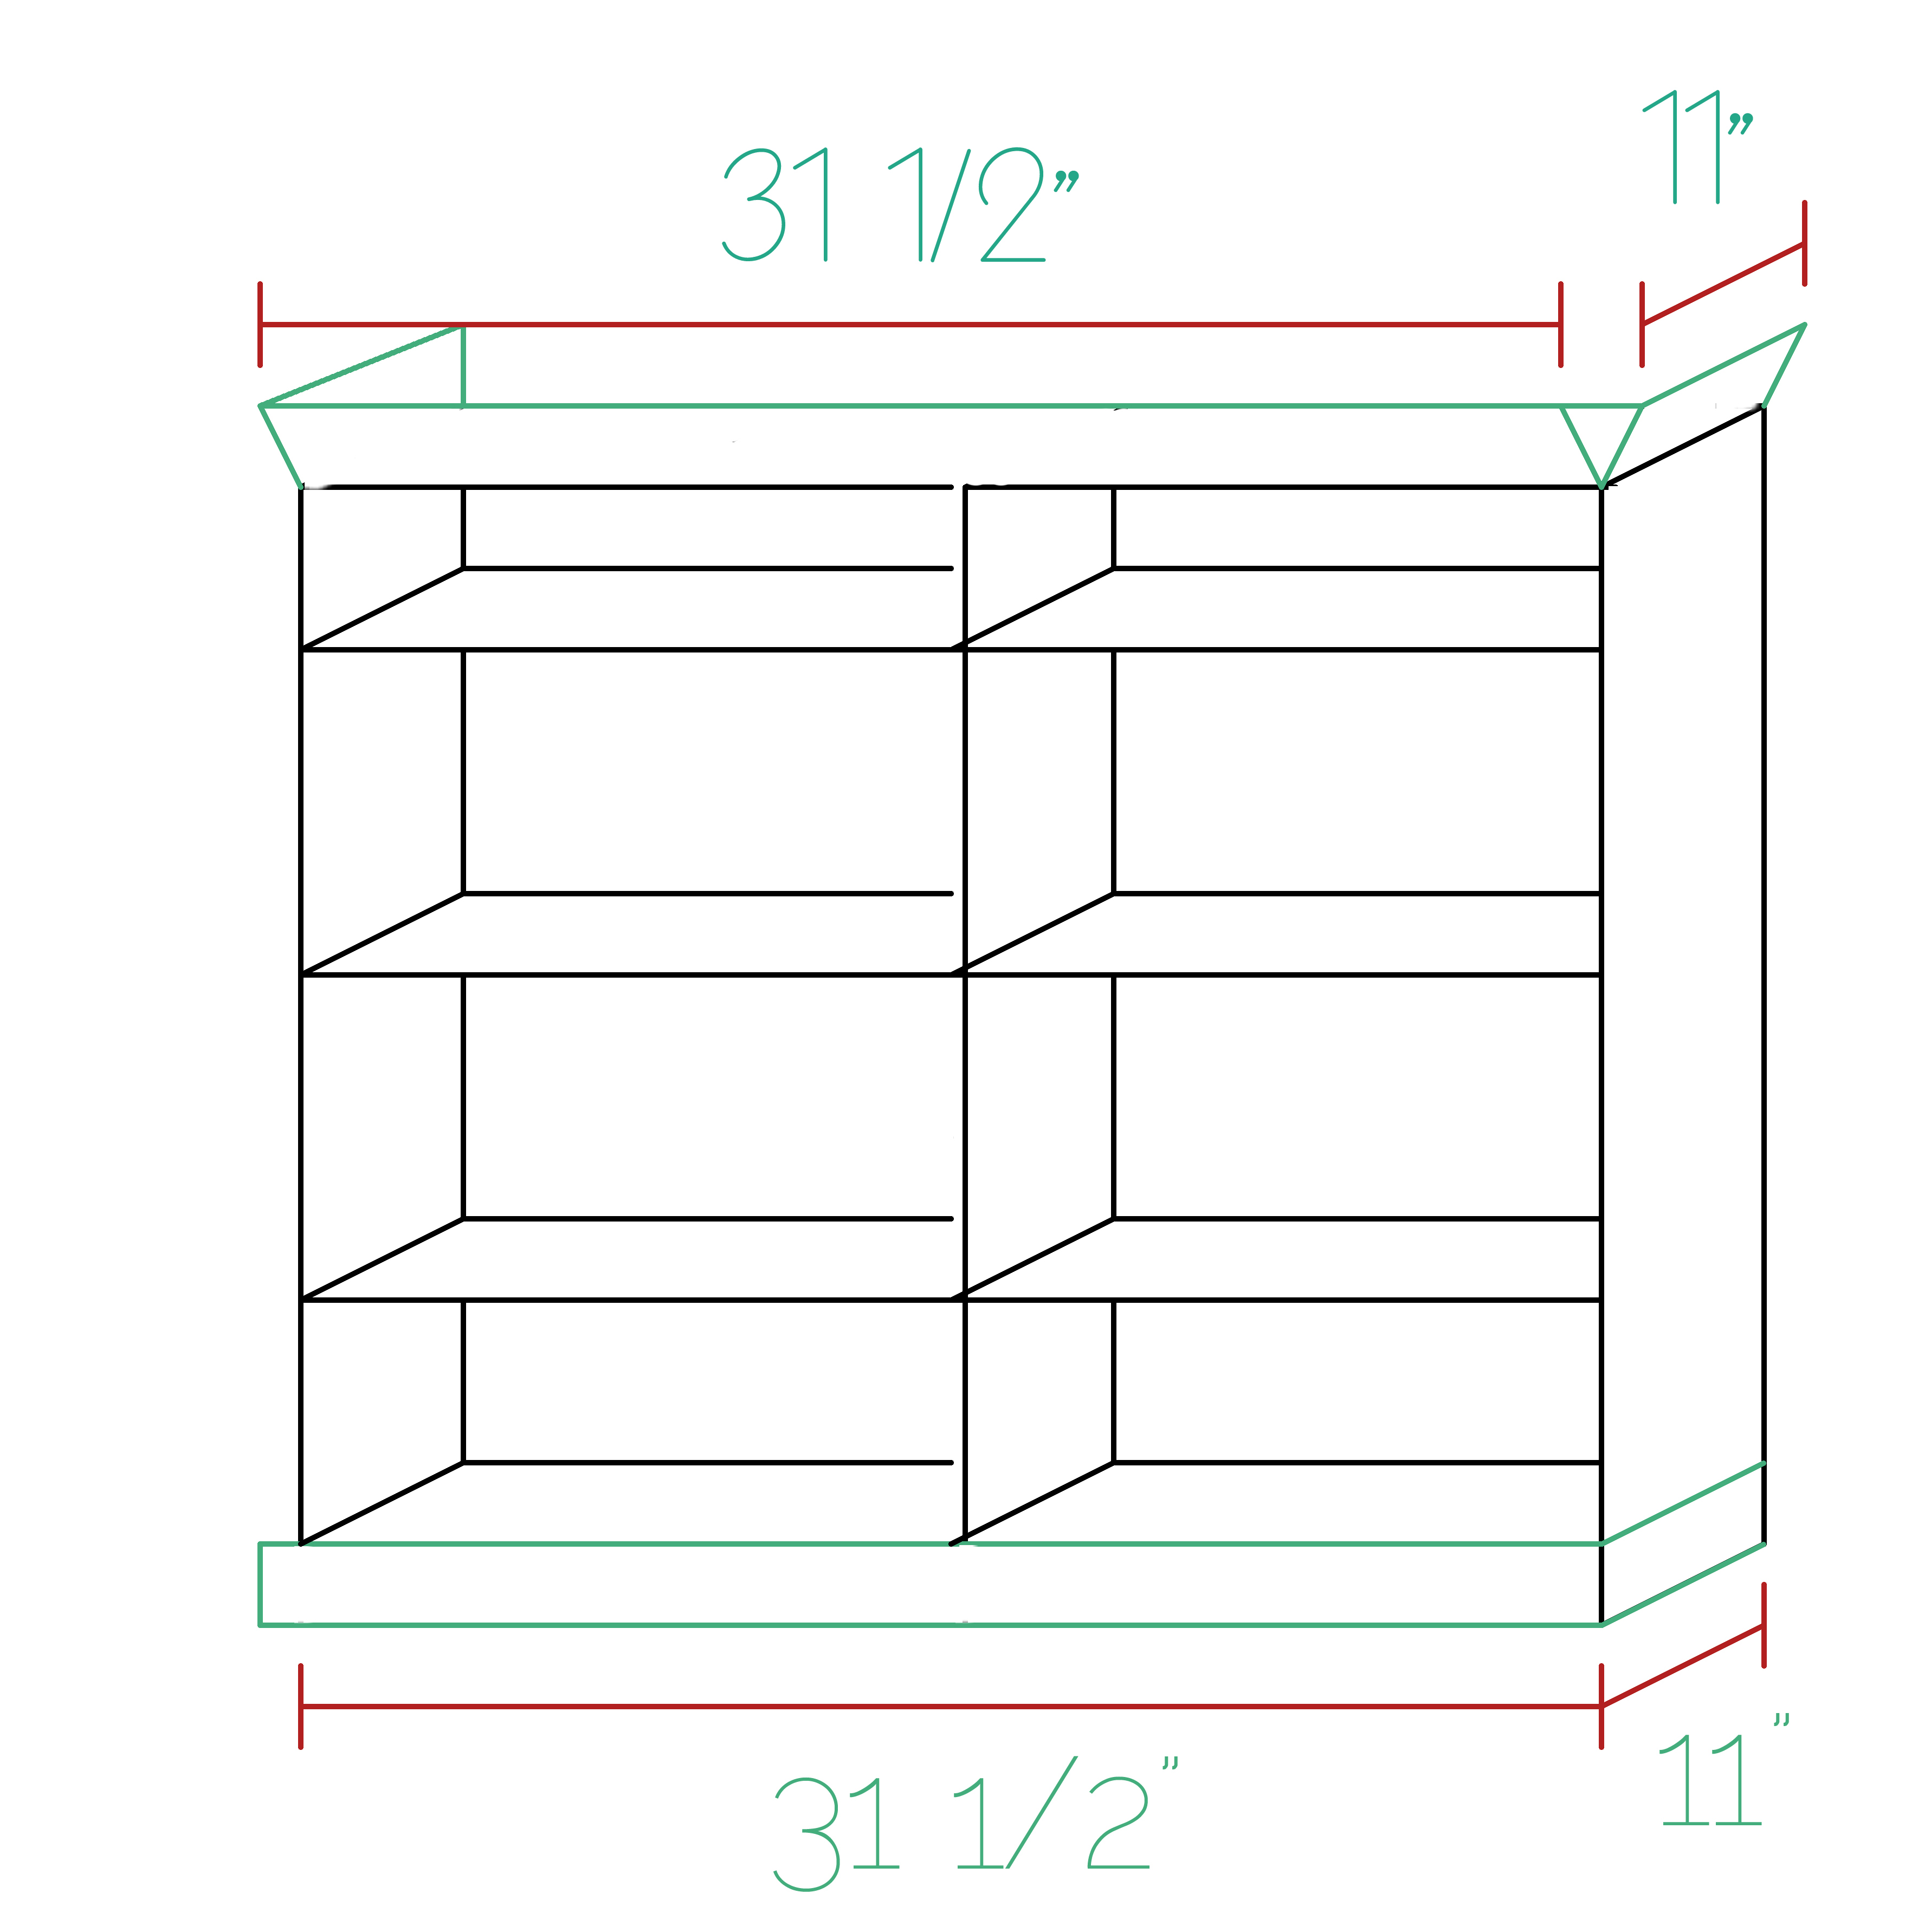
A) cut two 11″ pieces of the 1″x4″ board
B) cut two 11″ pieces of the 1″x2″ trim
C) cut one 31 1/2″ piece of the 1″x2″ trim
D) cut one 31 1/2″ piece of the 1″x4″ board
E) cut one 31 1/2″ piece of the crown moulding*, beveled at 90-degrees, and mitered at a 45-degrees (*note: the 31 1/2 is measured at the bottom)
F) cut two 11″ pieces of crown moulding*, beveled at 90-degrees, and mitered at a 45-degrees (*note: the 11″ is measured at the bottom. One piece should be cut in the opposite direction as the other)
Directions:
Glue and nail both A pieces to the outside base of the bookcases. Lean something heavy against them as they dry. Glue and nail piece D to the front of the bookcase. Add caulk to any obvious gaps between the pieces of wood. Smooth out the caulk with your finger.
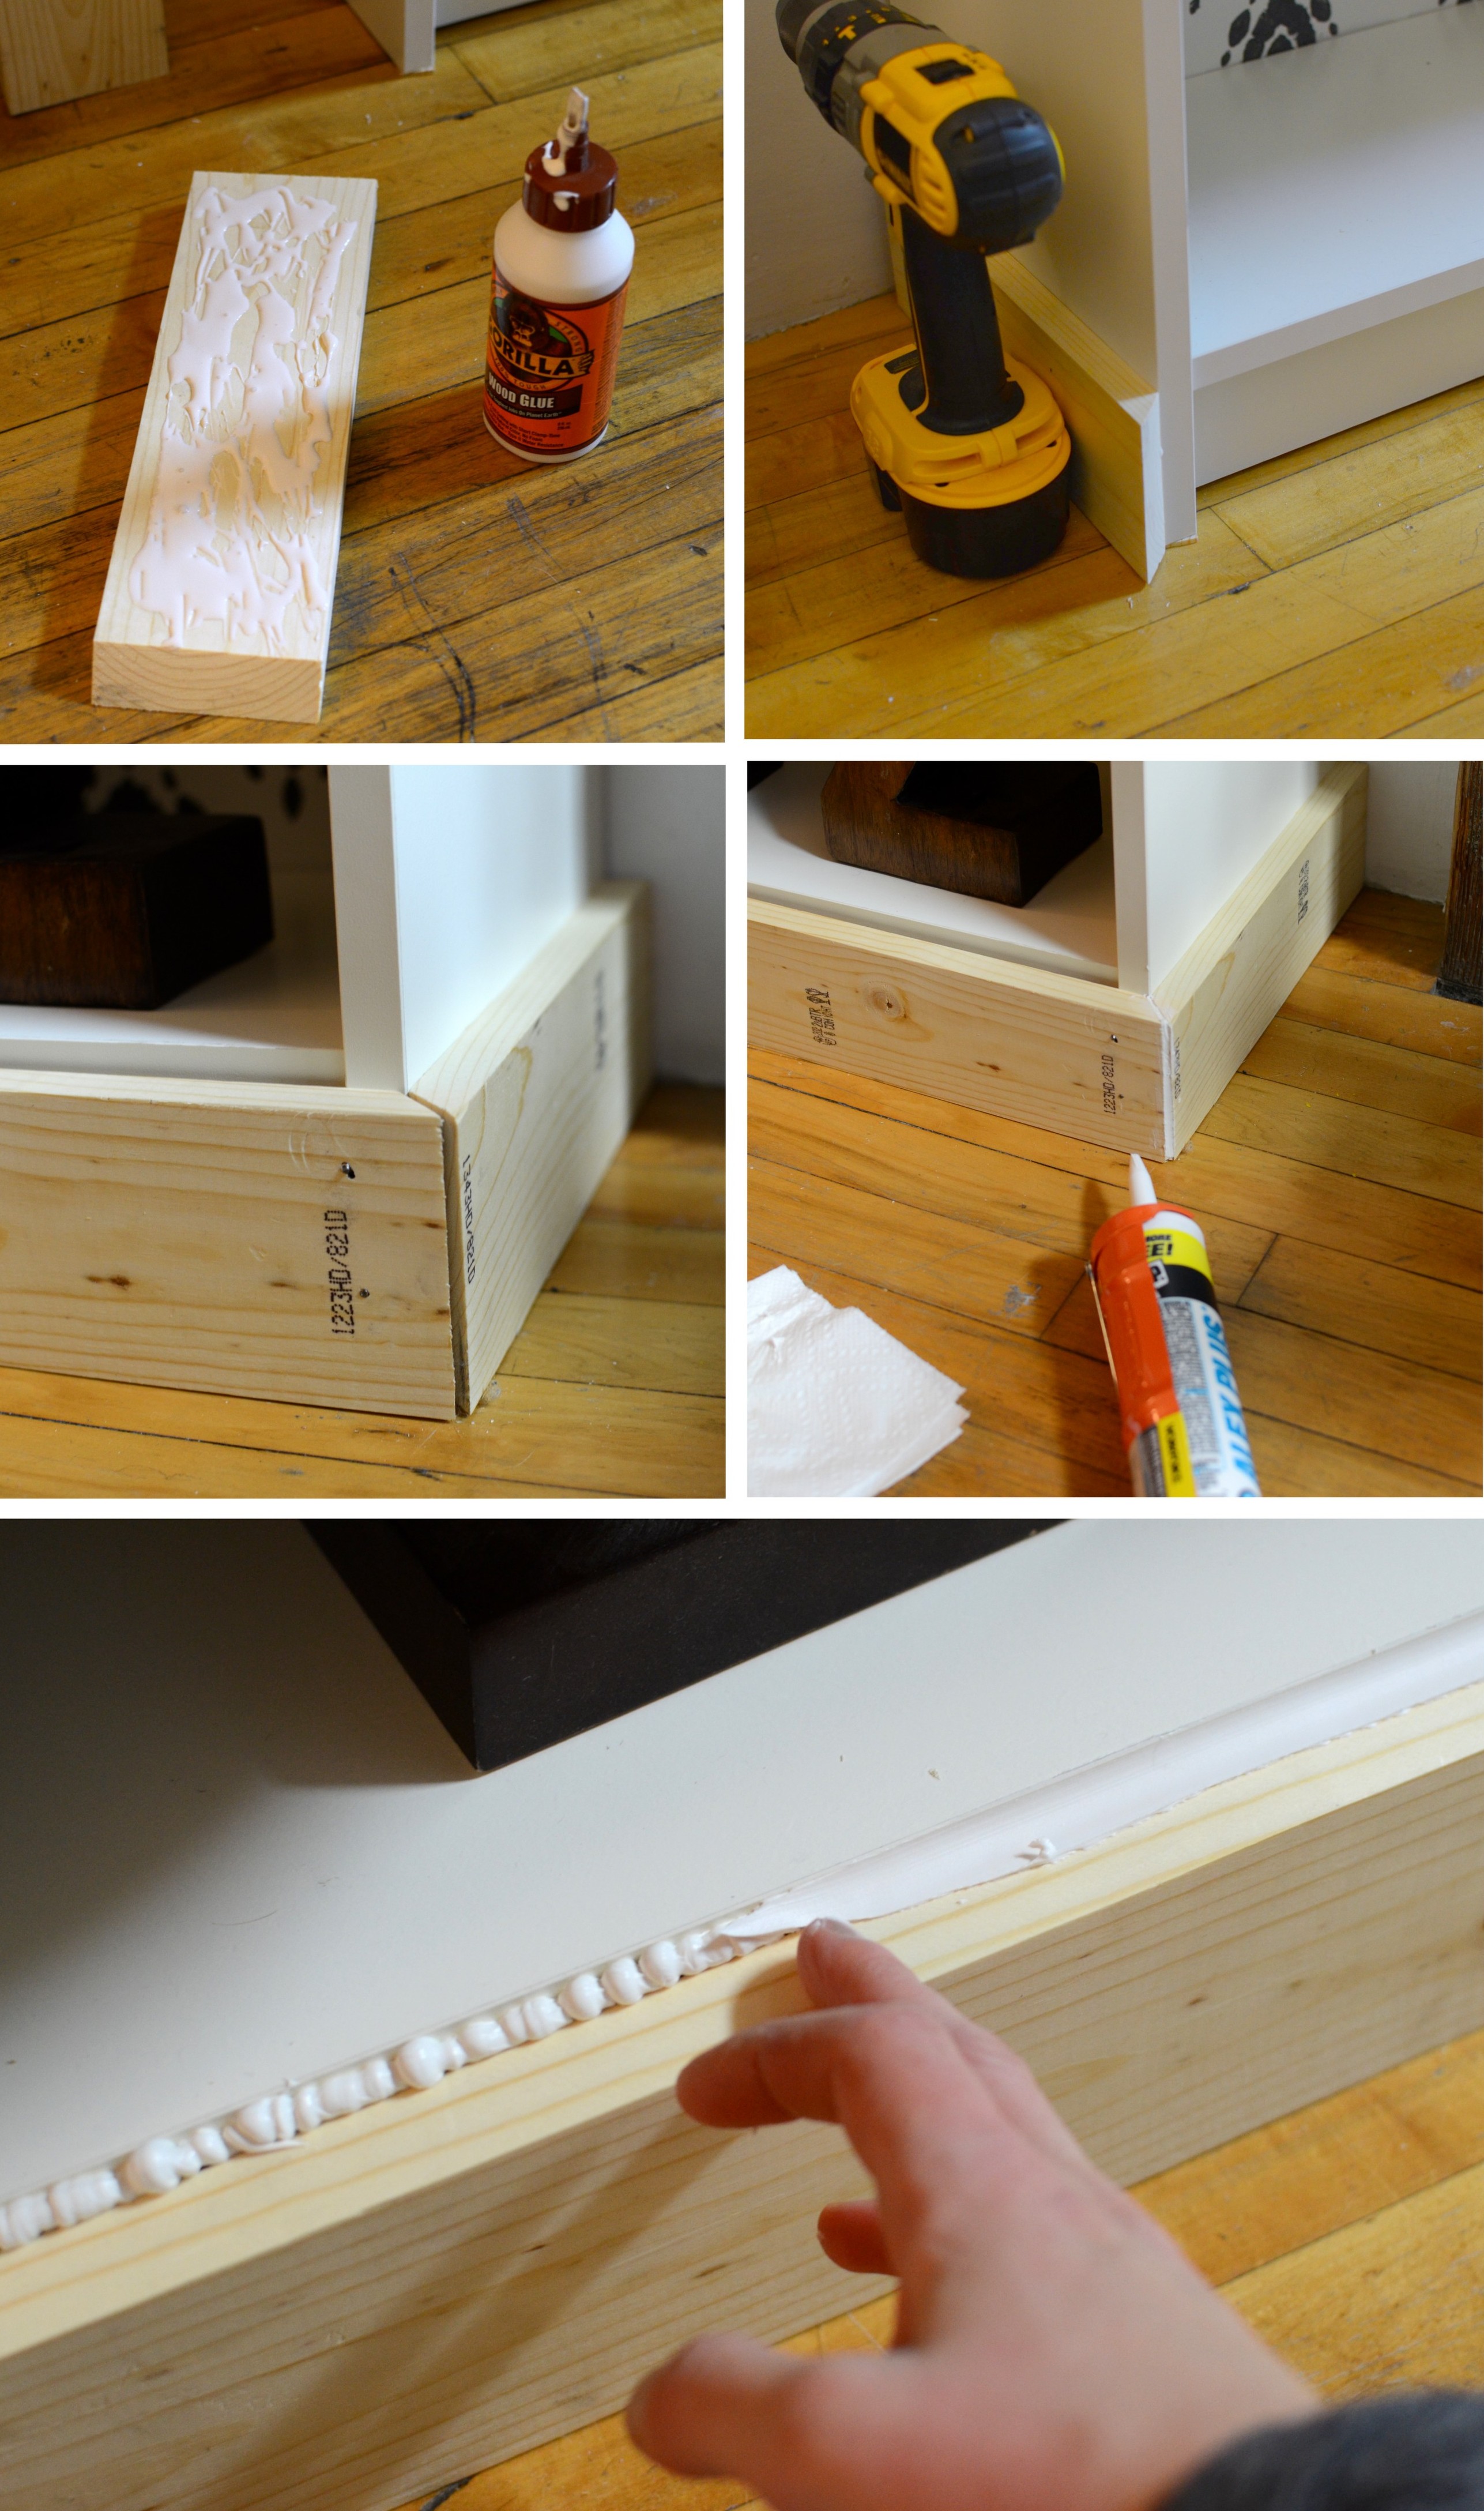
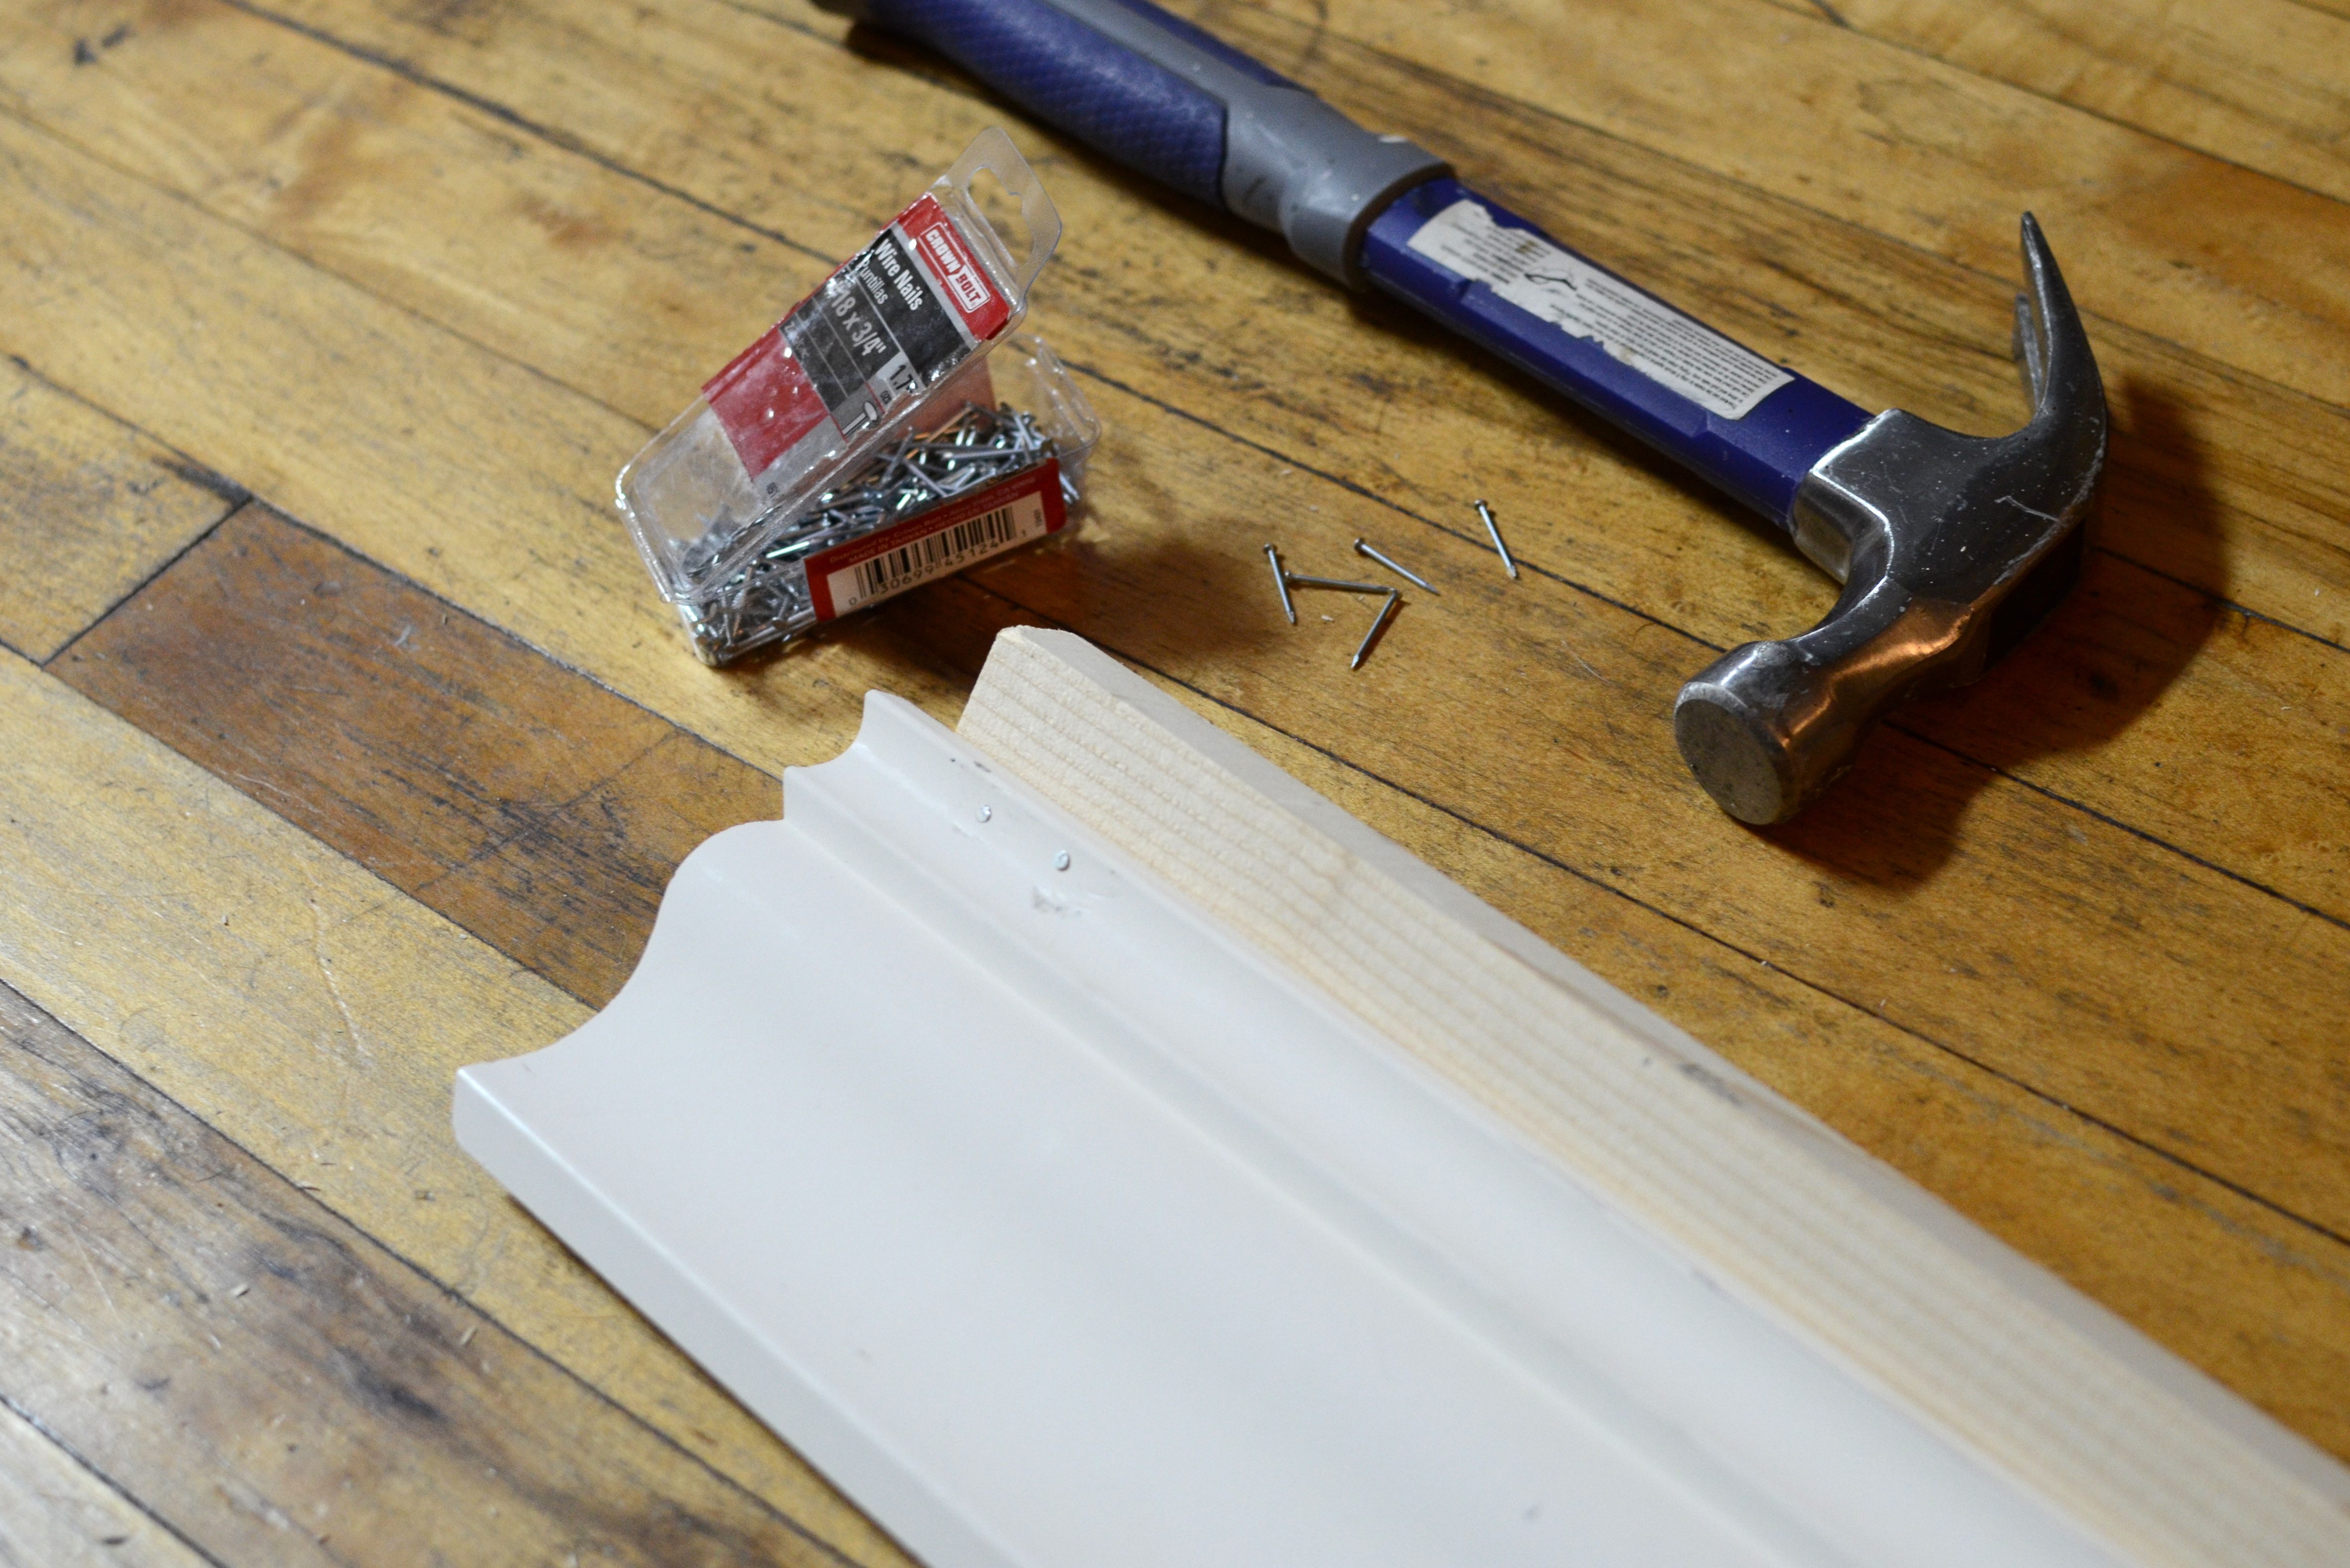
Once you’re finished with the base, begin working on the top of the bookcases. Glue pieces B to the top edges of the bookcases. Stack something heavy on top of these pieces to help them dry in place. Grab piece C and E. I do not own a nail gun, so I chose to nail piece E (the long piece of crown moulding) to piece C (the long piece of 1″x2″ trim) to each other before attaching to the top of the bookcase – see pic below. Repeat this process with both F pieces of moulding, although these pieces are much easier to attach with the 1″x2″ trim already glued to the bookcase. Just position piece F against the already glued on B pieces, and hammer in a few brad nails.
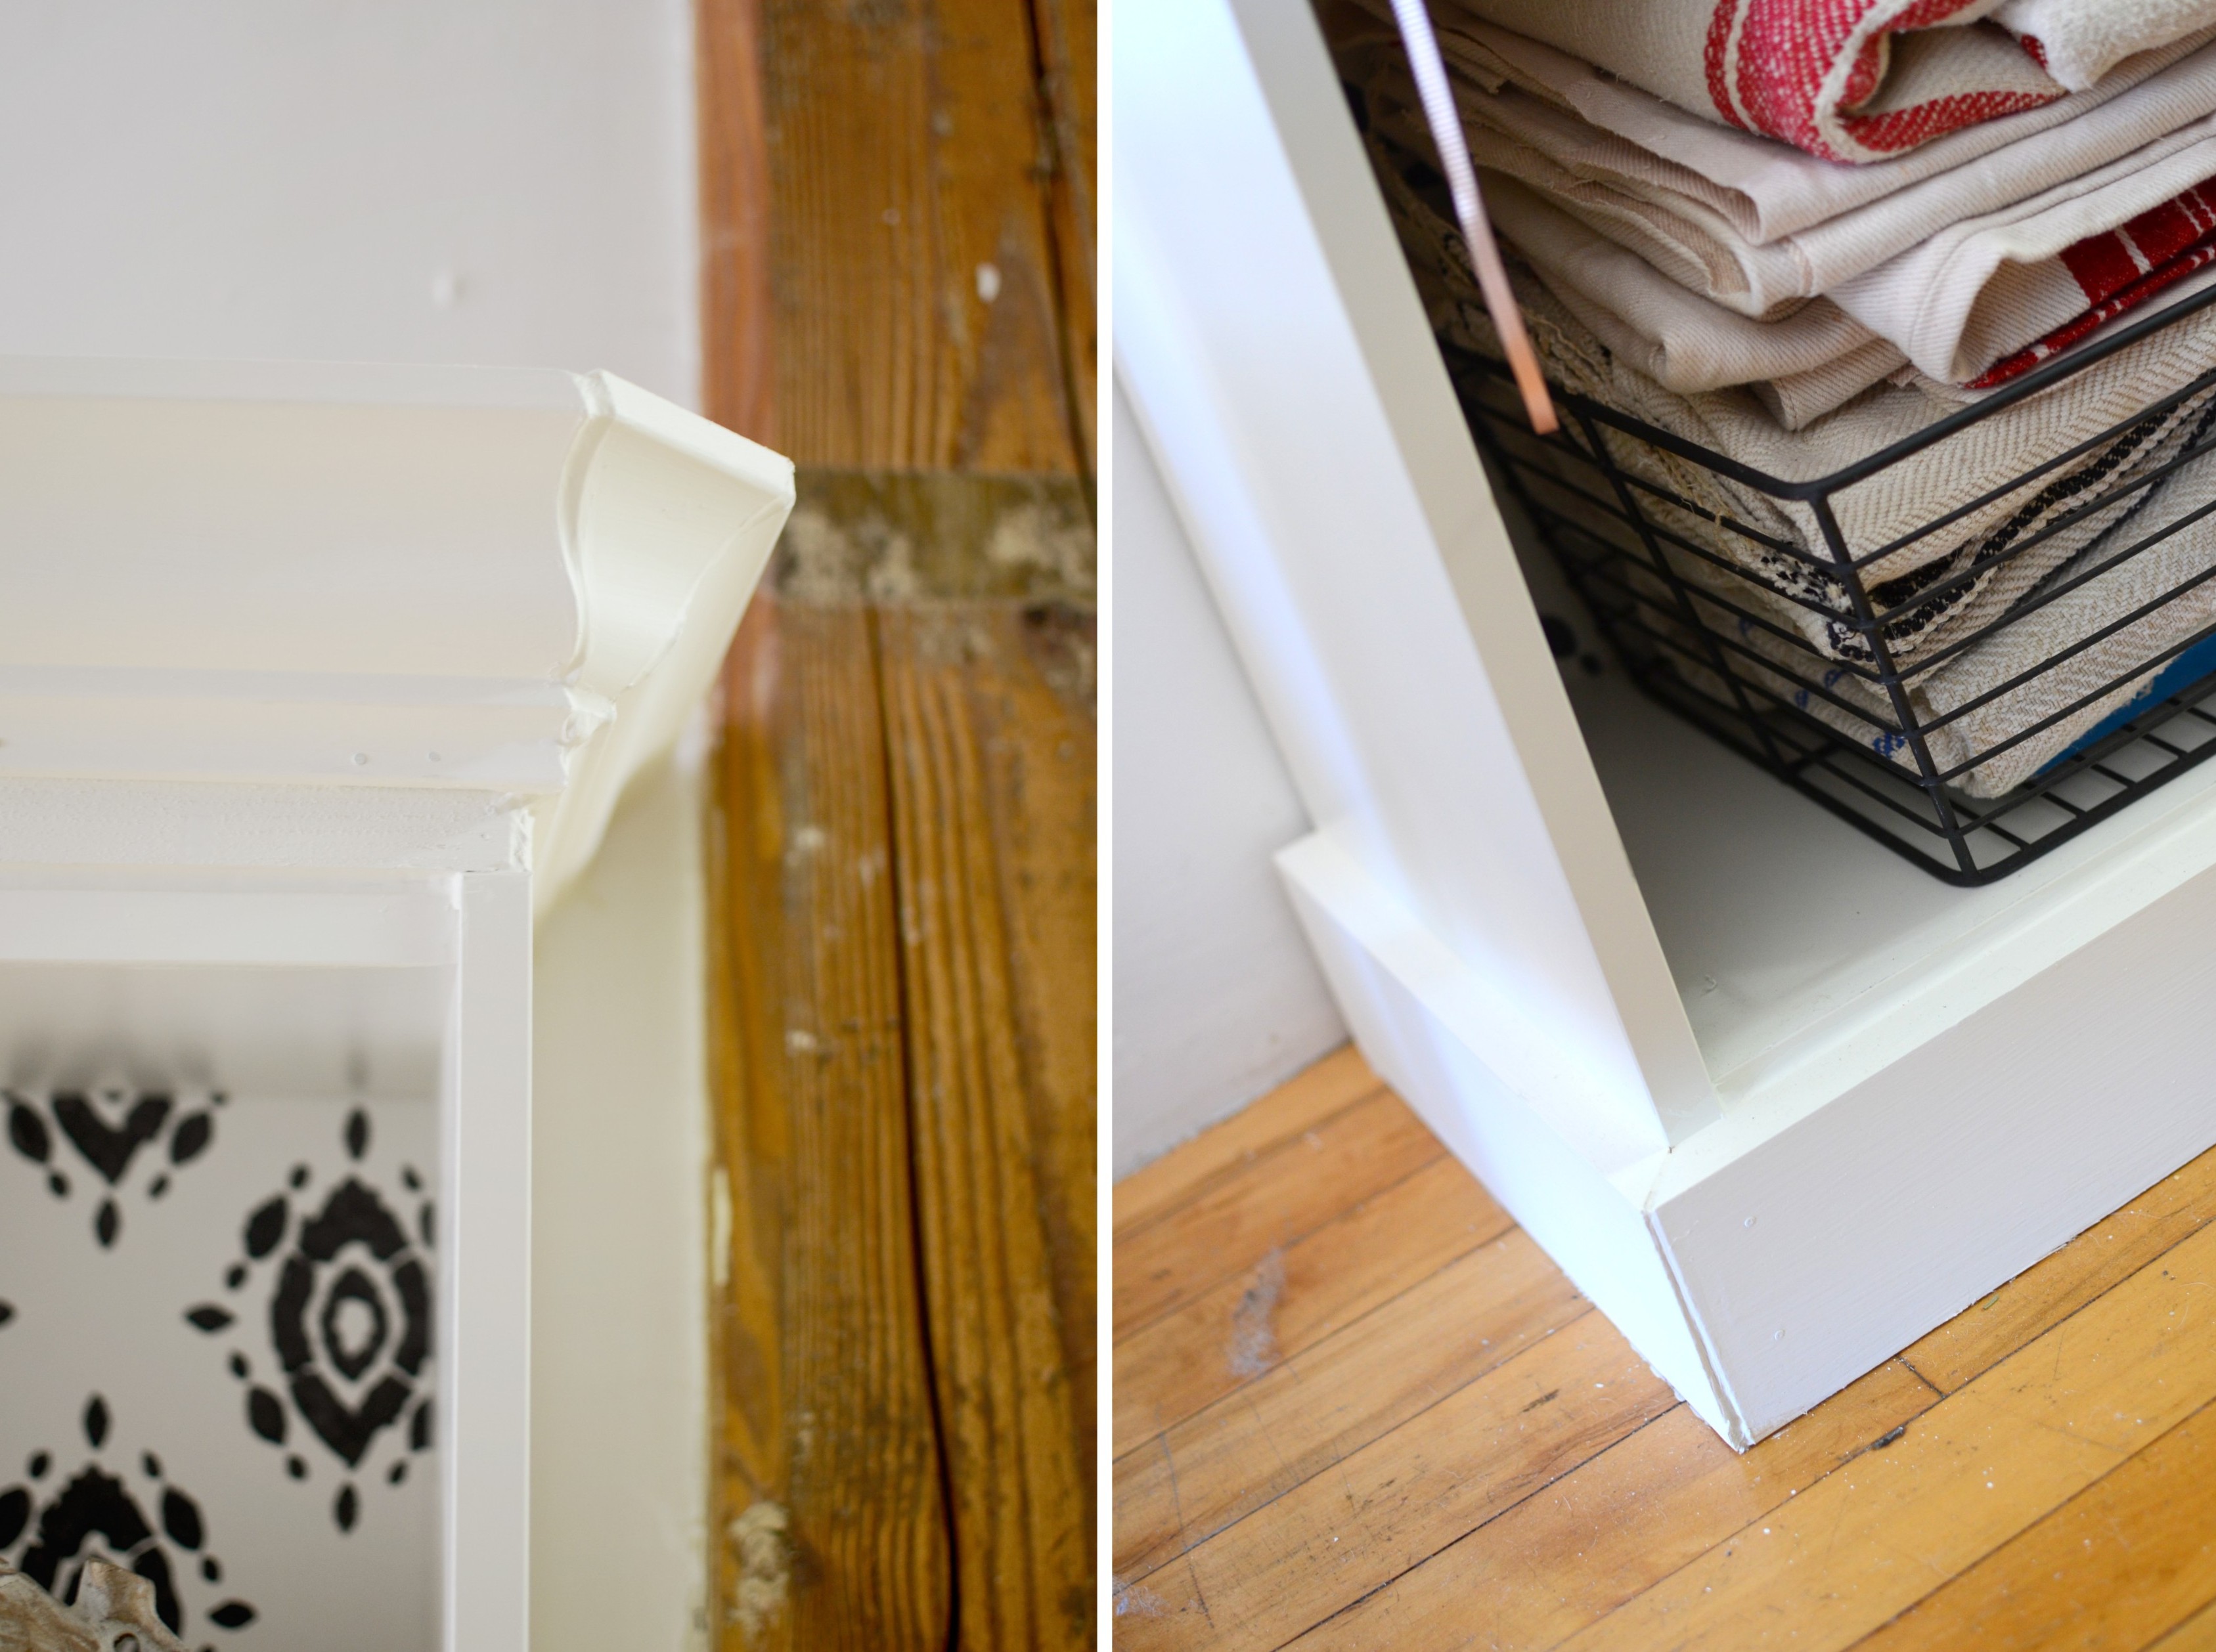
It was at this point I found out I’m not a mathematician. Here’s the mistake I made: I cut both the 31 1/2″ piece and the 11″ of crown moulding at the wrong angle. The bottom corners touched perfectly, however the top angles did not meet. I thought I had my calculations correct, but something didn’t add up. I wasn’t too concerned though, I decided a beveled corner edge would look great! I had to cut a inverted-triangle piece of crown moulding to fit in the gap. Again, I’m no mathematician, and I don’t own a protractor, so it was a game of trial and error until I got the right cut for the beveled triangle piece.
If you prefer not to have a beveled corner edge, just cut the pieces of crown moulding at an angle of 45-degrees, it should give you pointed edges that meet, instead of what I ended up with. I really can’t complain about my mistake though, I think I prefer the look of beveled edges!
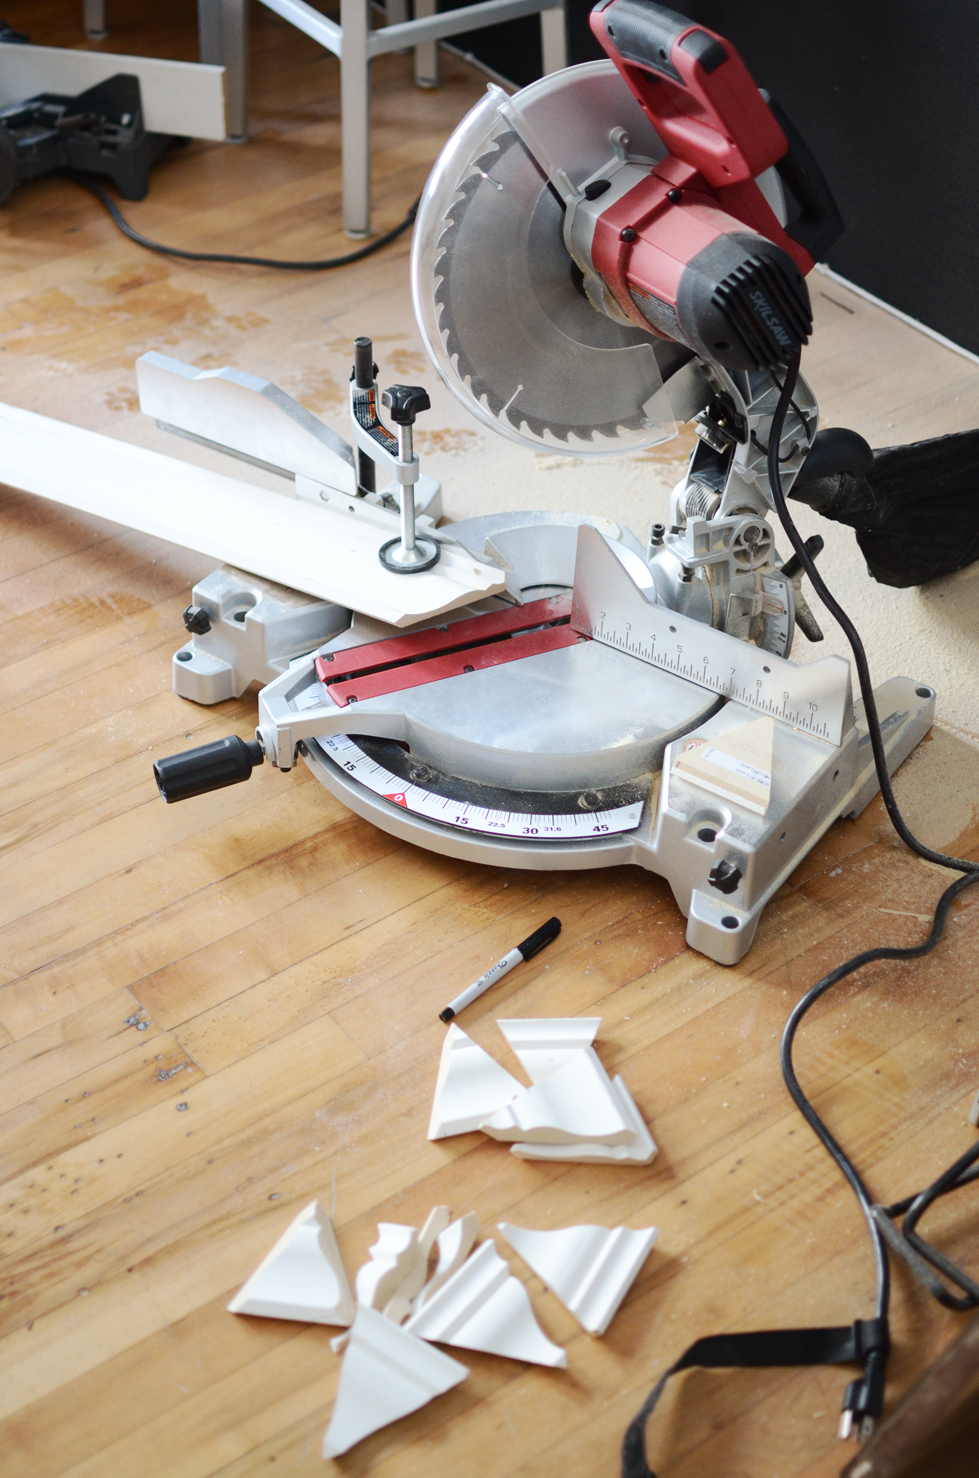
Once I got two pieces that fit perfectly, I caulked them in place and let them dry overnight. The next day I painted two coats over the entire base and the entire moulding on top of the bookcases with the color matched paint.
(Crossing my fingers you don’t notice the dust bunny in the picture!)
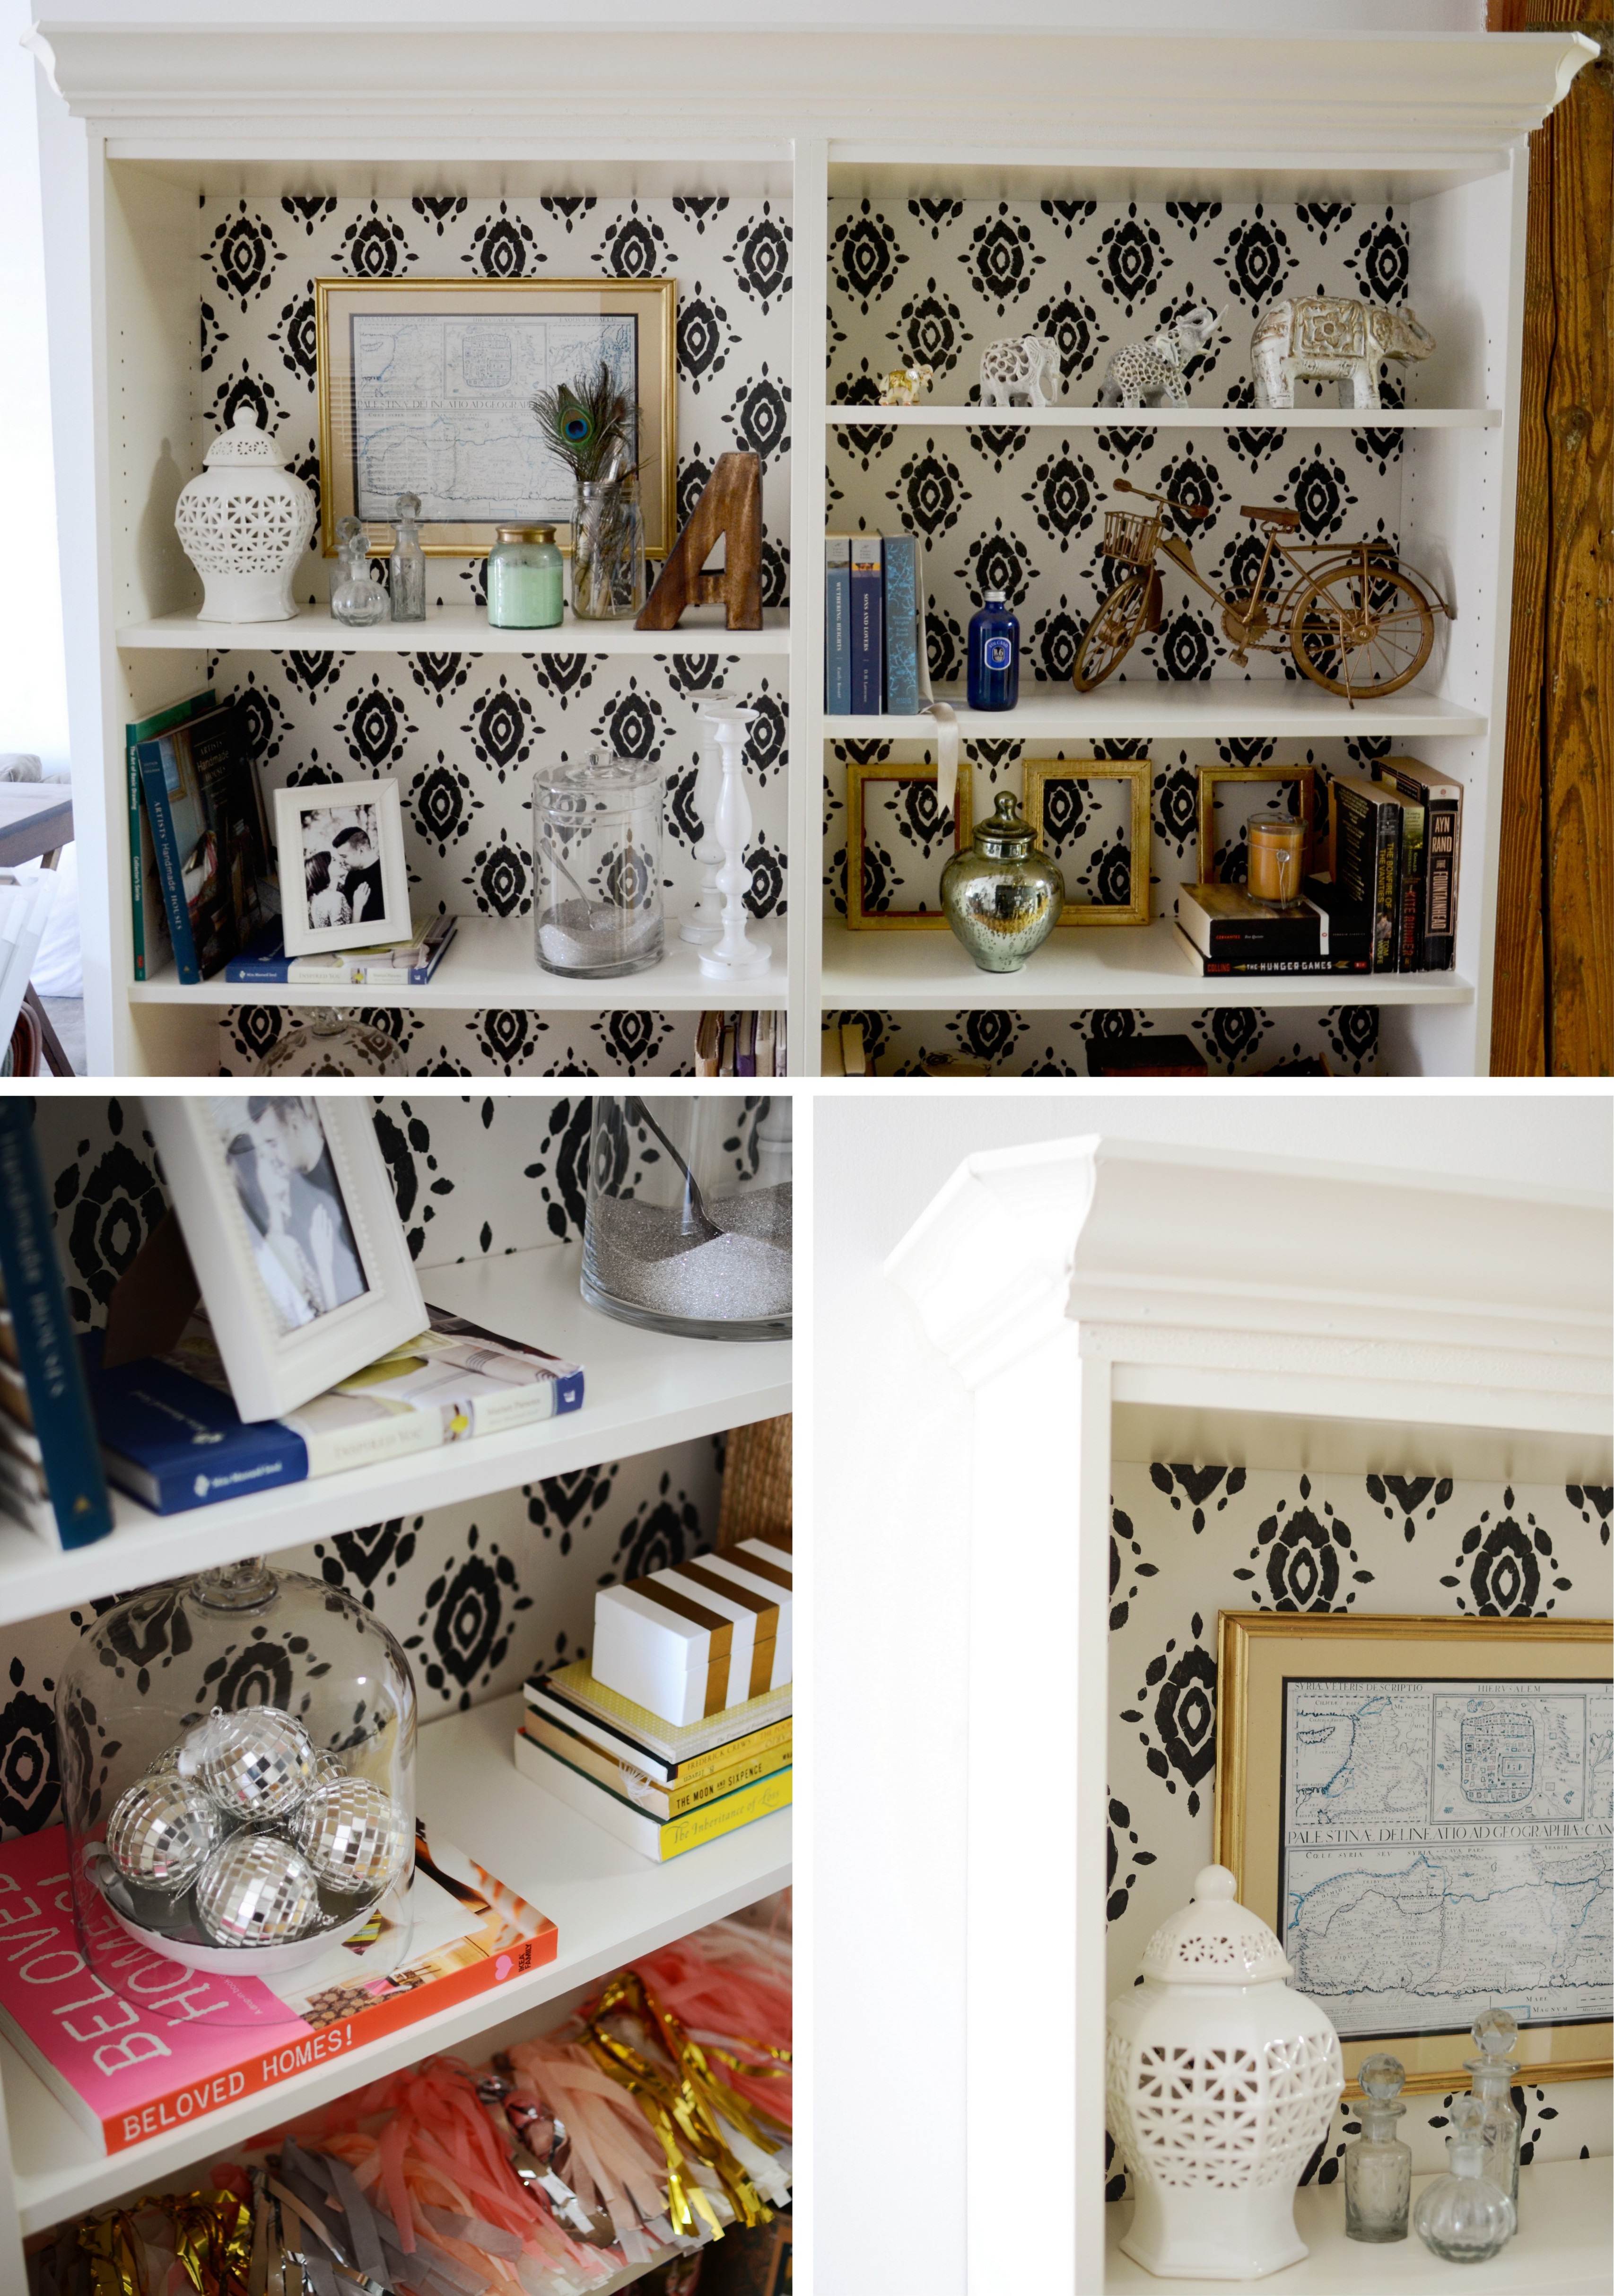
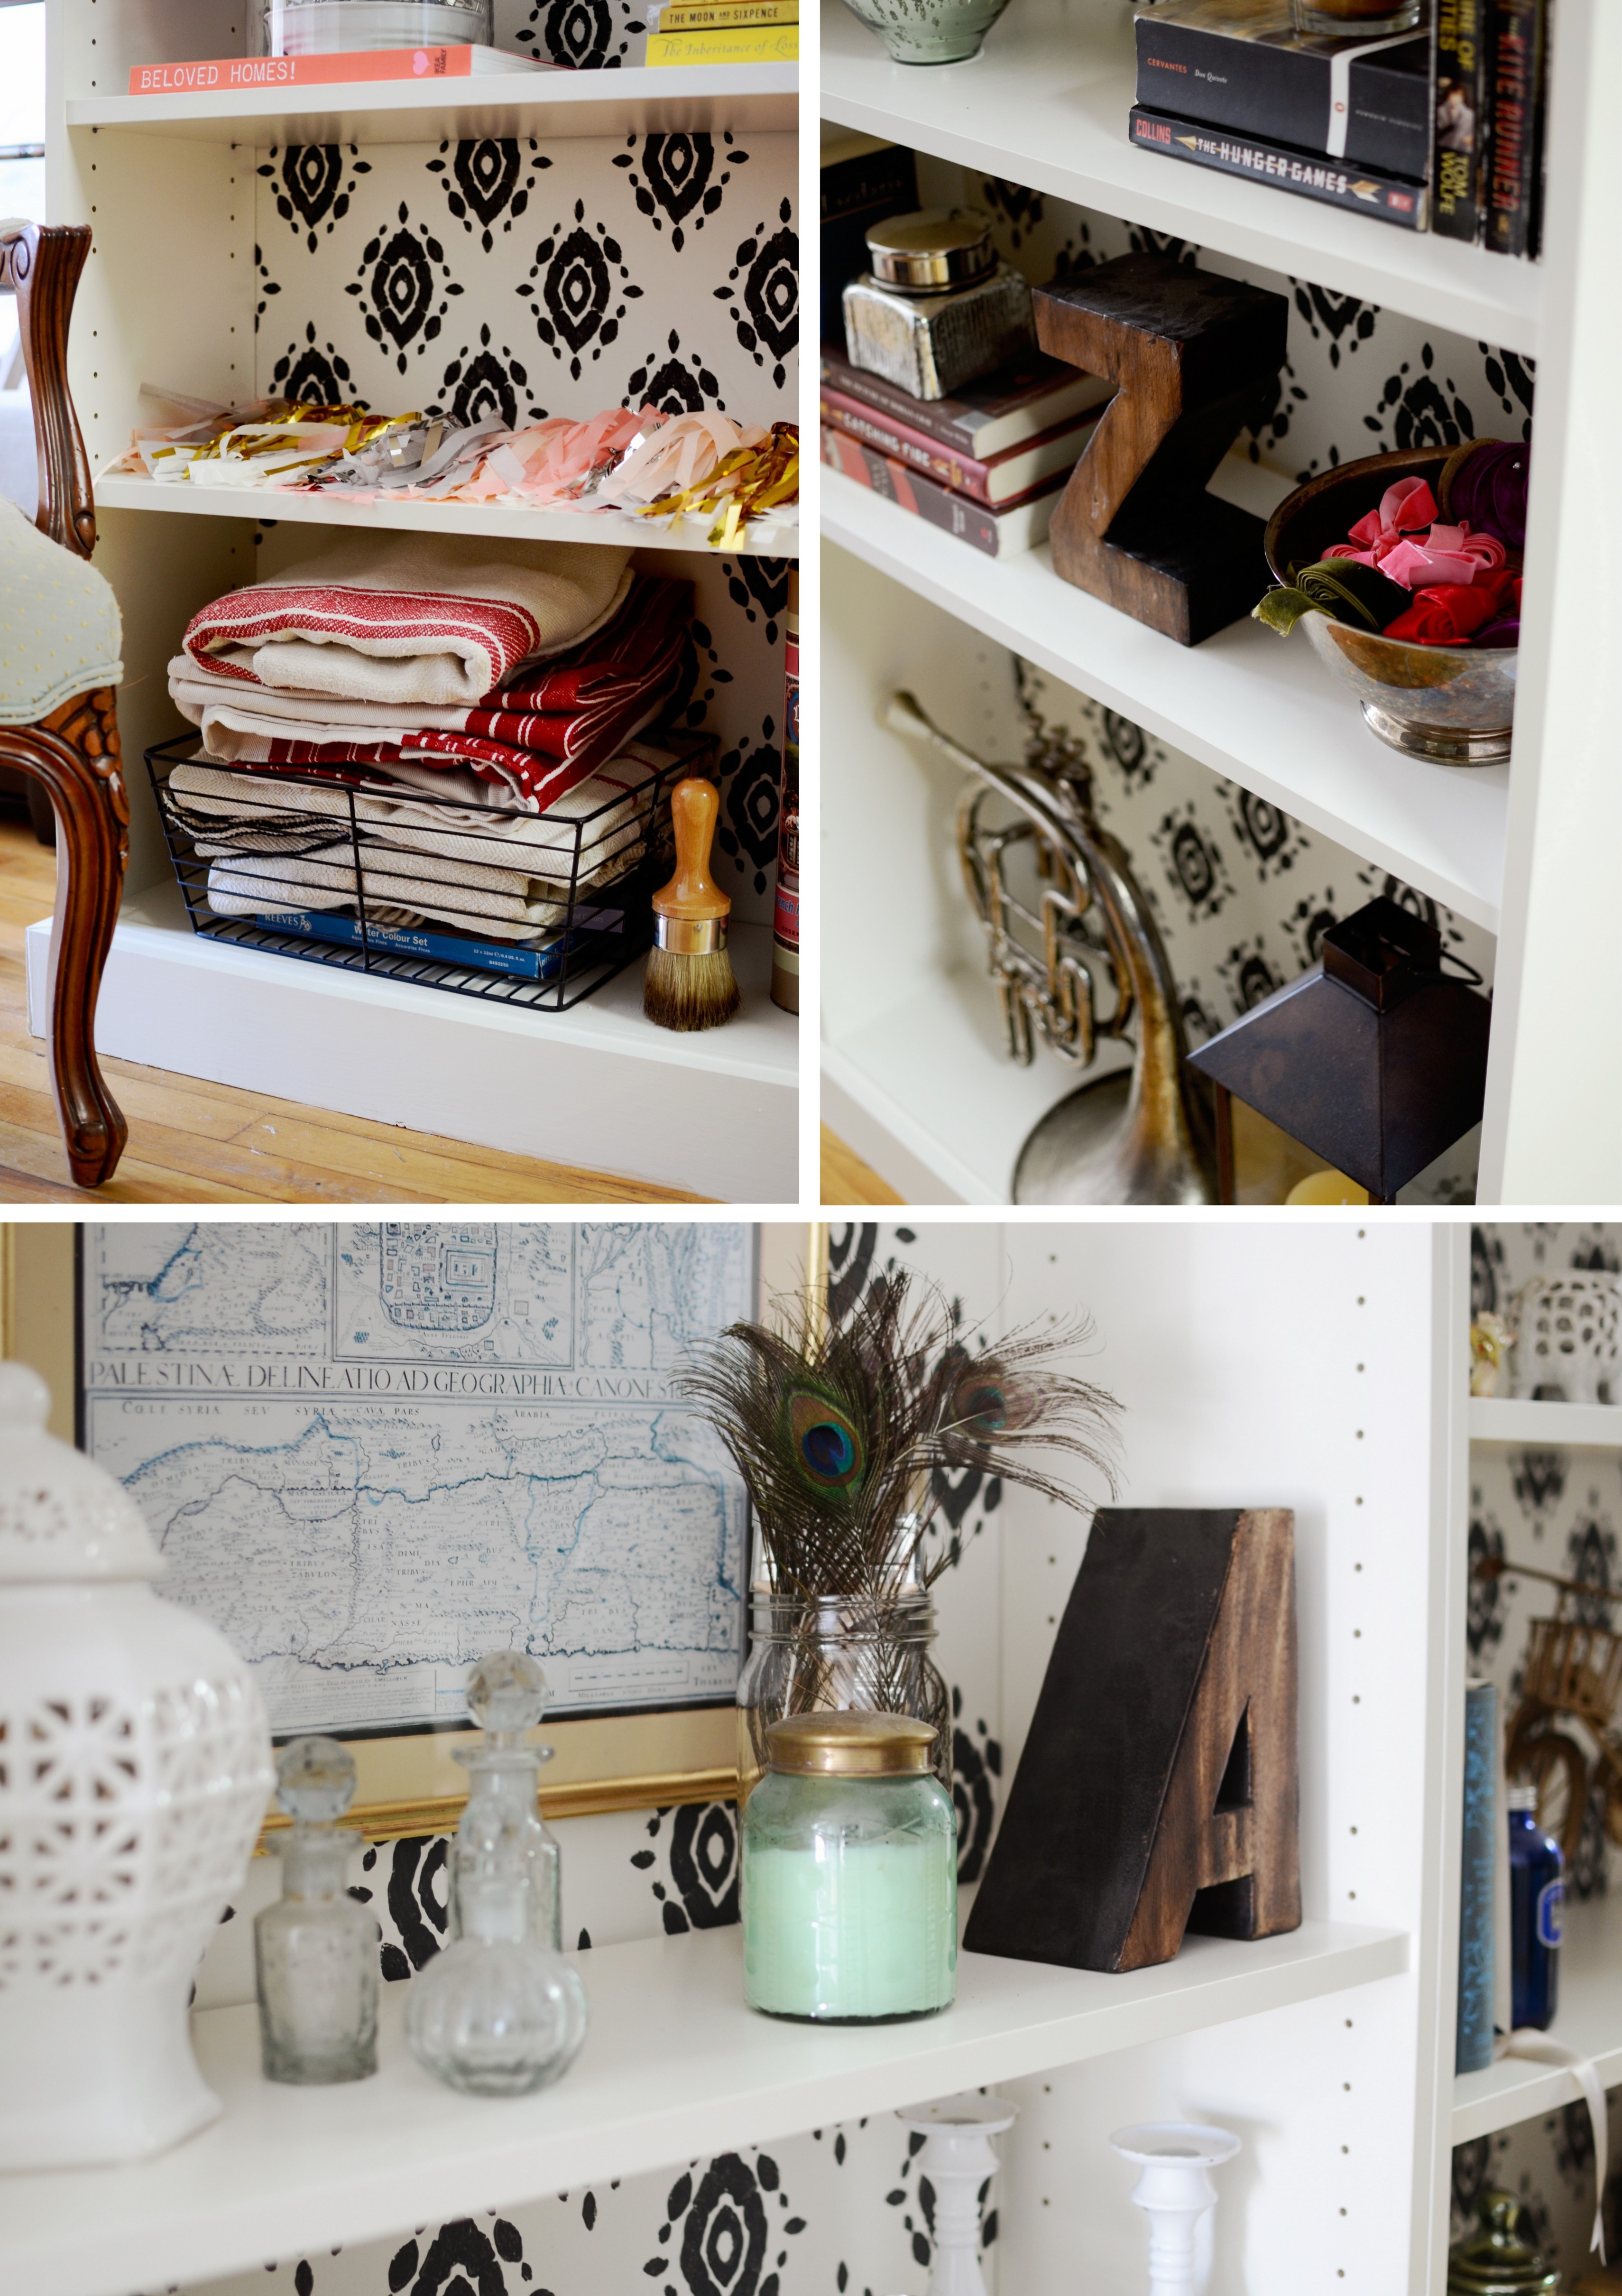
These beveled edges add a dimension to my bookcases that I didn’t have planned, but sometimes mistakes just happen to turn out to be better than your original plan!

)
)





Awesome!
Very classy! I love it!
How. No. Is this real life?
Wow.
Do you mind sharing what color paint you used to match the Ikea white? Thanks!
Great job. I am in awe.
amazing! how did you attach the two bookcases together? do they have to be attached or are they freestanding and only attached at the crownmolding and base?
That is awesome – just what I was looking for!
How can I see the pics?
Thank you
Its still IKEA press-board. that means it will break in a year or two. nice try.
5 years later and this bookcase is still going strong! and it’s survived two moves. nice try is right!
Amazing, did you do those mitres yourself?
Brittany, from your pictures of the molding at the bottom of the bookcase, there is a significant space that you are filling with caulk. I am wondering if the caulk wouldn’t settle down the space leaving a concave appearance. Could you give any insight into how to prevent that?
Mary
These look great! I’m going to attempt this project this weekend. :) What type of nails did you use?