Hey everybody! I hope you’re all having an excellent week, prepping your homes for the holidays and shopping for Christmas gifts (and not working as much as I have been these last few weeks, sheesh!). Even though I’m busy at work, I’ve somehow managed to squeeze in a project here and there. I haven’t had time to photograph some of them yet, but if you follow me on Instagram (@brittanymakes) you’ll see that I’ve been working on some fun things!
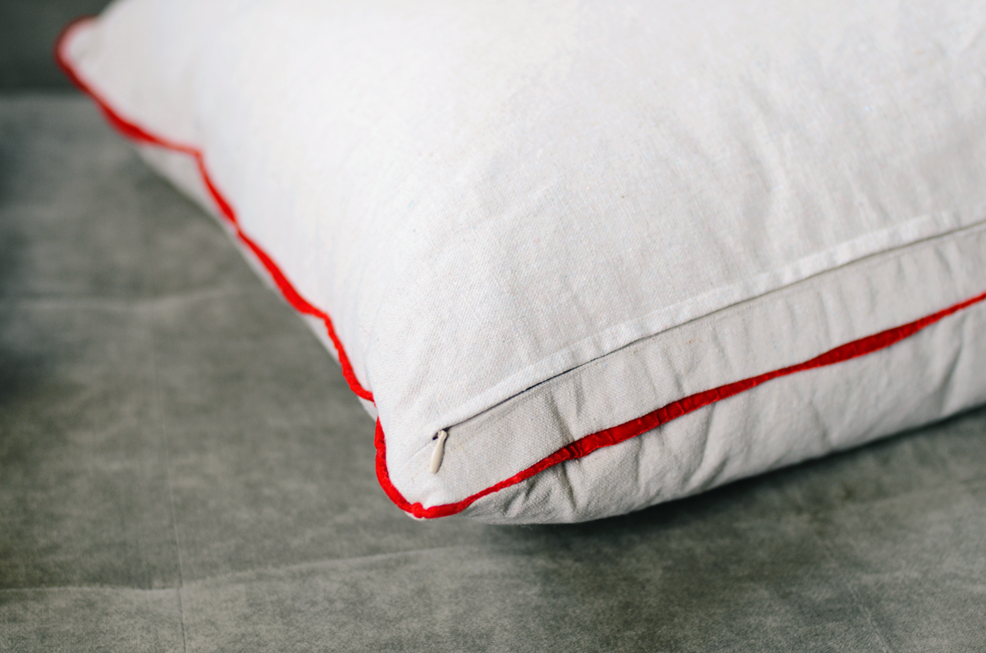
One recent project in particular that I want to share with you today is a tutorial on how to make velvet trim pillows. I’ve seen velvet trim pillows in a few stores recently, velvet just screams holiday warmth with it’s soft and fuzzy texture, so it makes perfect sense that someone thought to trim a pillow form with a bit of velvet! The best part about my version is you don’t have to deal with piping or cord! I don’t know about you, but I’ll do anything to dodge cord or piping.
Alright! Here are the materials you need for this project:
- L-shaped ruler (I bought mine at Home Depot for less than $10, best tool to get those 90-degree angles!)
- 1-yard fabric (I always buy just a hair extra, if you’re worried 1 yard is too little, buy 1.5 yards, better safe than sorry!)
- 8 feet of 3/4″ velvet ribbon
- scissors
- zipper
- 22″ x 22″ pillow insert (I order all my pillow inserts from The Online Fabric Store, their price/quality ratio is unbeatable)
- seam ripper (my BFF)
STEP 1 – Cut the front and back pieces out of your fabric as laid out in the diagram below. Because we’re making a pillow with trim, the best spot for a zipper is a few inches above the seam on the back side of the pillow form. You can attempt to add a zipper along the seam with the trim, but this method is very difficult, (and if you have a cheap sewing machine like mine) this method is also hard on the machine. SO, the front piece of your pillow will measure 22″x22″, the back side will actually be 2 pieces, the first measuring 22″x19″, and the second measuring 22″ x 3″. You need a little extra inch on the back piece as a seam allowance when you insert the zipper. Once you’ve inserted the zipper, your back side should measure up to the front.
STEP 2 – Insert your zipper to the back side of the fabric. I usually don’t follow the instructions provided with the zipper. Instead, first I put the two pieces of fabric together, in this case the 19″ piece (right side in) against the 3″ piece. Give yourself a half-inch seam allowance, and on the top side, sew one inch deep, and do the same for the bottom side – sew one inch up. It should look something like this:
STEP 3 – Next, to prepare for placement of the zipper, lay the fabric right-side down and iron the seams flat
STEP 4 – Attach the bottom end of the zipper to the fabric. I usually hand crank the sewing machine by hand for this step, back and forth about 3 times. Otherwise my machine might explode or my needle will break and hit me in the face.
STEP 5 – Using a proper zipper foot, sew the zipper in place. I start with one side of the zipper first, then follow up on the second side. I prefer having the zipper closed while sewing so that everything lines up correctly,

STEP 6 – Prep the ribbon by folding it in half, and ironing it quickly. Some velvet will burn or melt easily, so I recommend either placing a piece of fabric on top of the ribbon when ironing, or turning the temp down a few degrees and move quickly!
STEP 7 – Pin the ribbon in place by tucking it between the 2 pieces of pillow fabric. Make sure the open edge of the ribbon is facing outwards. I may or may not have started sewing the ribbon facing the wrong direction :o
STEP 8 – Carefully sew the pillow form together. It helps to peek at your ribbon every couple inches to make sure everything is lined up correctly. This is perhaps the trickiest step, just be patient and have a seam ripper within reach.

And viola! You have yourself a pillow that is both stunning and perfect for your holiday decorating! Get creative with your choice of velvet ribbon, I have yards of lush green, royal blue, and bright purple lined up for more pillow madness.


)
)


I seriously was just thinking about how I can do trim without piping! This is awesome–thank you for the tutorial.
I seriously was just thinking about how I can do trim without piping! This is awesome–thank you for the tutorial.
This is an excellent tutorial! Thank you so much!
This is an excellent tutorial! Thank you so much!