A couple weeks ago, I promised to share a post on how to sew your own drapes. Guess what? Here it is! First, let me warn you, this is not the professional or “right” way to sew drapes, this is the brittanyMakes way to quickly sew a pair of drapes (with a liner, no less!) that are just as stylish as the real deal.
I found this beautiful gray Ikat fabric at the same place I bought the fabric for our bedroom drapes, Home Fabrics & Rugs. I scored this fabric for $8/yard, and bought roughly 20 yards worth to cover our two living room windows. I wanted a black-out liner, without having to pay a lot of $ for more fabric, so I decided to use a flat bed sheet that I picked up at Target. I’ve heard Walmart’s flat bedsheets are like $5, but Walmart is super sketch in my town so I opted for, the safer, Target.
Before I jump into the tutorial, here’s a glimpse of our living room windows.
As you can see, we had *gasp!* nailed an old fitted sheet over the window as a make-shift curtain. Major no-no. But what can I say? I was desperate!
Here are the 10 easy steps to fab new drapes!

Step 1 – Prep your supplies! I had an L-shaped ruler, scissors, fabric, 1 Queen flat bed sheet (the black-out liner), sewing machine (not shown), iron & ironing board (not shown), and pins (not shown)
Step 2 – Lay out the flat bed sheet on a flat surface (I used my bedroom floor), and fold in half, long ways.
Step 3 – Cut down the fold. Now you have 2 liners!
Step 4 – Roll out your fabric on top of one of the liners, right side facing down. Measure and cut the length of fabric you need. I needed roughly 11′ from floor to curtain rod, plus roughly 4 inches for the bottom hem, and 4 inches for the top ruffle. I cut 12′ of fabric just to be safe. Not everyone’s ceilings are as tall as mine, so be sure to measure what you need! I knew I had a lot of extra fabric on my bolt, so cutting a few extra inches didn’t bother me.
Step 5 – Line up and pin the top edges of the fabric and the liner. It’s OK if your liner is skinnier than your drape fabric. I didn’t want my liner to peek through the sides of my curtain panels, which is why I chose a Queen bed sheet. Try a King if you want more liner material! Some people like to sew what looks like a giant pillow case as drapes, where all sides are sewn together. I didn’t want this, I wanted to be able to pull the curtains back but leave the liner covering the window, which would allow white filtered light to shine through my windows (awesome for photography lighting!). Do what works for you, if you want your liners attached to the sides of the drapes, pin that sucker like a giant pillow case!
Step 6 – Prep your hems. Since the sides of my drapes are free from the bed sheet liner, all I needed to do was hem the sides. I plugged in my iron and prepped a 1/2″ hem on each side of the curtain fabric.
Step 7 – Sew the side hems.
Step 8 – Sew the top of the curtain panel. You got this!
Step 9 – Flip the fabric right-side out. Relocate the top of the curtain panel, then iron down the seam so that the fabric lays flat.
Step 10 – Prep & sew the pocket for the curtain rod. This is the where your top ruffle is created. I cut myself a piece of scrap fabric, 4 inches thick and equal to the width of my drapes, then laid the scrap fabric on the back side of the liner, 2″ down from the top of the panel. I pinned and marked the line I needed to sew in order to fit the curtain rod. My curtain rod is 3/4″ inch thick, so I needed 1.5″ of space to fit the curtain rod. Sew the scrap piece of fabric to your liner and drape fabric along the lines you just drew.
The next step would be to hem the bottom of your curtains. I like to let my curtains hang, relax, and breathe for a few days before I hem them. Do ur thang. If you’re like me, it’s now or never. The truth? My curtains are still not hemmed. It’s OK! I just hung the last one yesterday!
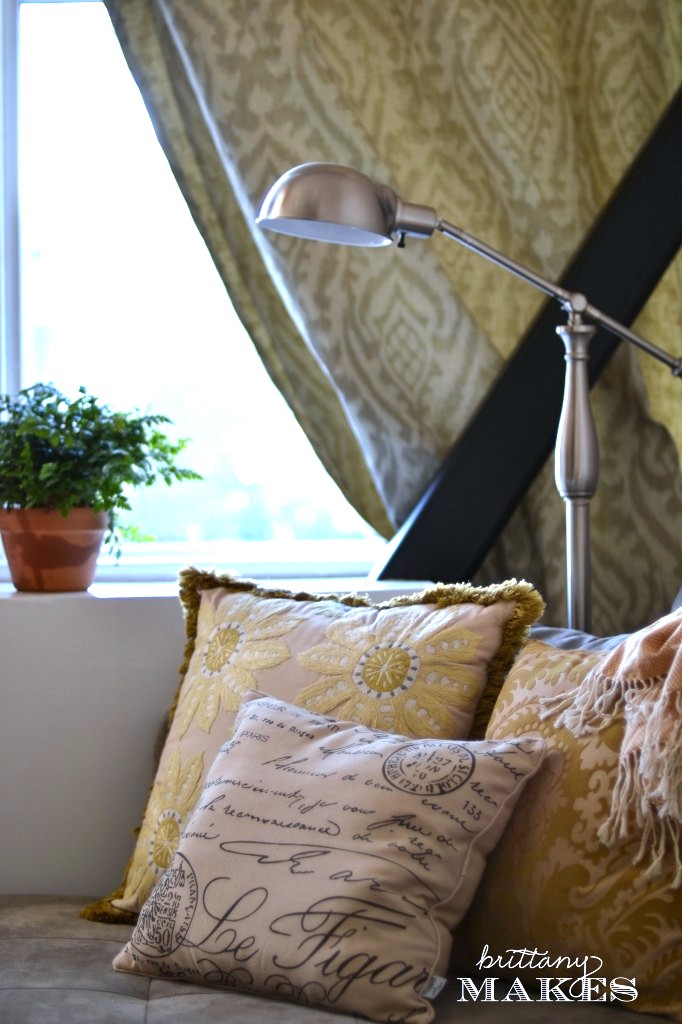
And they’re up! My living room feels soooo much more complete now.
)
)







Fantastic Brittany, they look so great in your new place!!
xo
The curtains look great. I’m super lazy at times and have also made curtains from sheets,table clothes,and napkins but used fabric glue or sewing tape.
that’s so smart, and useful! sometimes you just gotta use what you have to make it work! As you can see, I used rusty nails and a fitted sheet before I mustered up the courage to sew these bad boys :)
Pretty! I love the fabric!
Thank you!
They look awesome!!! I have been wanting to make curtains myself- but its been so hard to stick to one pattern, no pattern, color, neutral…. too many decisions. I really need to just go for it and stop over thinking :)
BTW I love the new site,with the white backdrop- it makes your photos POP!
Thank you! I’m enjoying the new site too! Apart from broken content :/ But yes, with the drapes, you just gotta do it. The sewing part is easy, choosing the fabric is hard. But, once you sew one curtain you can sew them all, and change them up if you get bored/tired of the look!
Whoa! Your living room looks awesome!