It’s December, people! Can you believe it? Christmas is coming! You know what else? I’ve been blogging for 6 months. 6 months! It might not seem like a lot, but it’s gone by so fast. Thank you everybody! For reading, for sharing, and for keeping me inspired.
I’ve been super excited all week to get our Christmas tree, hopefully we go tomorrow evening to pick one out, followed by some Chipotle and the new Twilight movie. Or the new Leo movie. My BF doesn’t know the last part yet, he he. All you Twilight fanatics out there, don’t hate, I was there when it mattered – standing in line for the midnight release of the BOOKS. Don’t get me wrong, the movies are great, they’re like candy for your eyes, but I don’t have that same urgency to be the first in line as when the books were released.
Good news for you guys! My Christmas tree excitement has turned into the next part of My DIY Christmas series – glittery ornaments! And not just any glittery ornaments, German glass glittery ornaments! (oooohs, aaaaahs).
I learned a lot during the photo session I took with these ornaments. I think I’m finally figuring out how to get proper bokeh in my photos. I also realized, my garage has the best lighting in the house, during the evening that is, when there is no natural light.
Enough rambling, do you want to know how to make these ornaments? Read along…
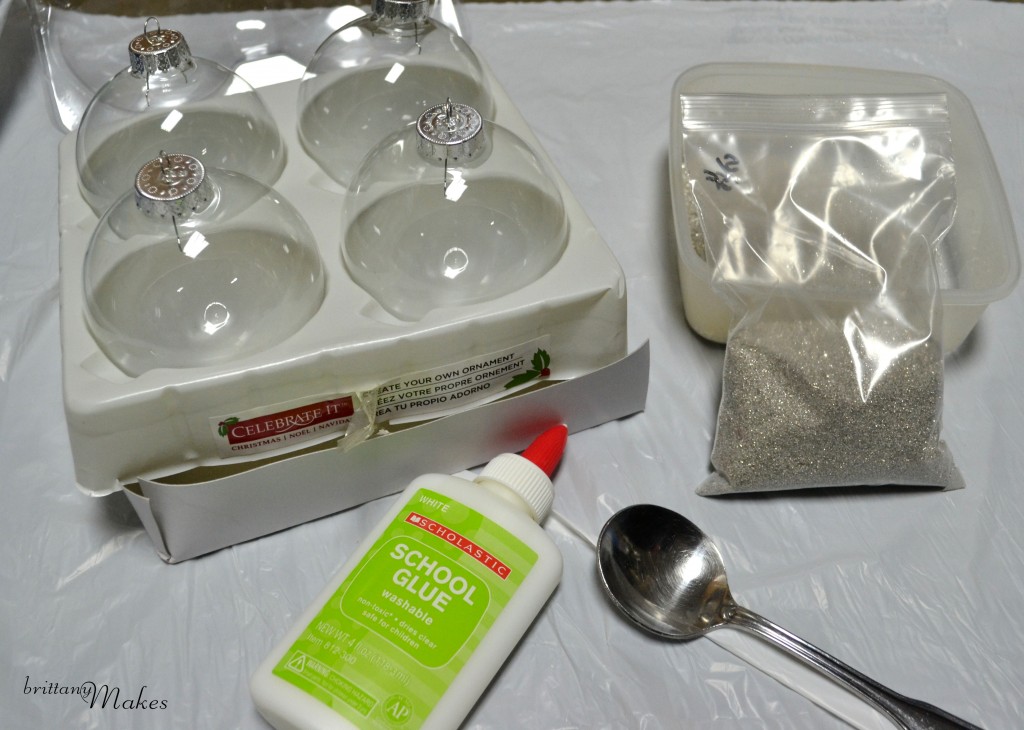
SUPPLIES:
- Clear glass ornaments, from Michael’s, on sale ~$2.99
- School Glue, $.99
- Spoon
- Tupperware (to control glitter spillage)
- German Glass Glitter

Next, set yourself up properly by first pouring your glitter in the tupperware container. I hate waste, it’s either my personality or something I learned in business school, but I hate throwing away or wasting product. I plan to use every last speck of glitter in that bag!
Then, apply the glue to the glass ball as crazy and silly as you wish. BUT, be careful to not do what I did the first round:

I applied way too much glue the first go-round. No bueno. I didn’t realize it would spread and ooze as much as it did. You want to place the tip of the glue bottle directly on the glass, then slowly squeeze the glue out while making your design. Glue tip touching the glass, remember it.
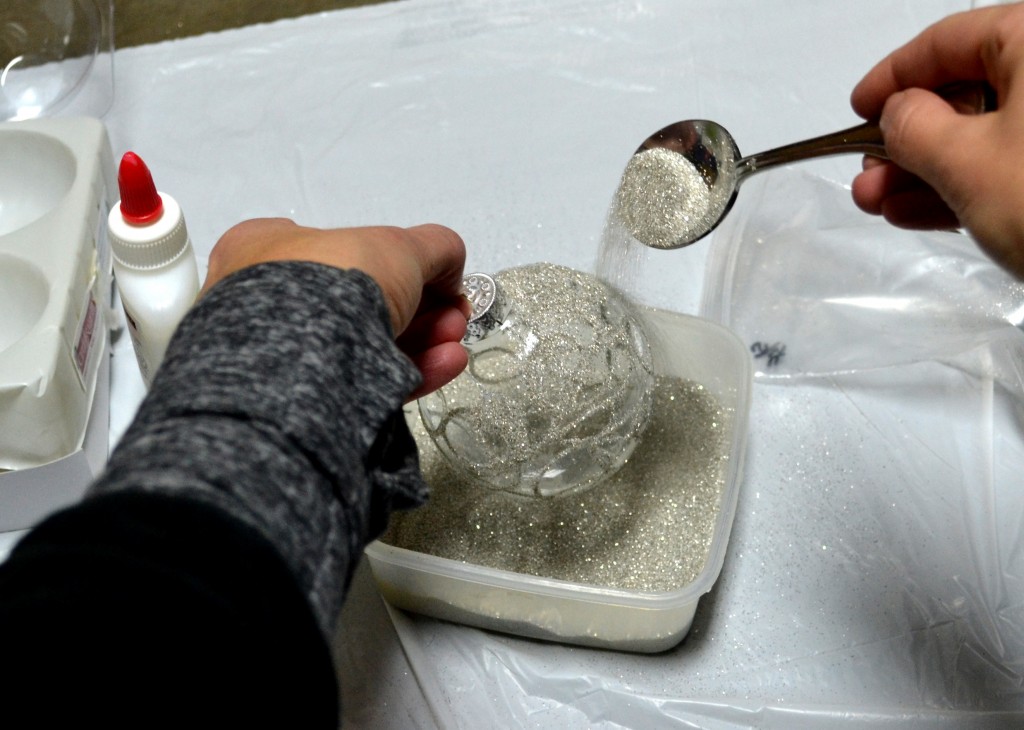
Next, apply glitter!

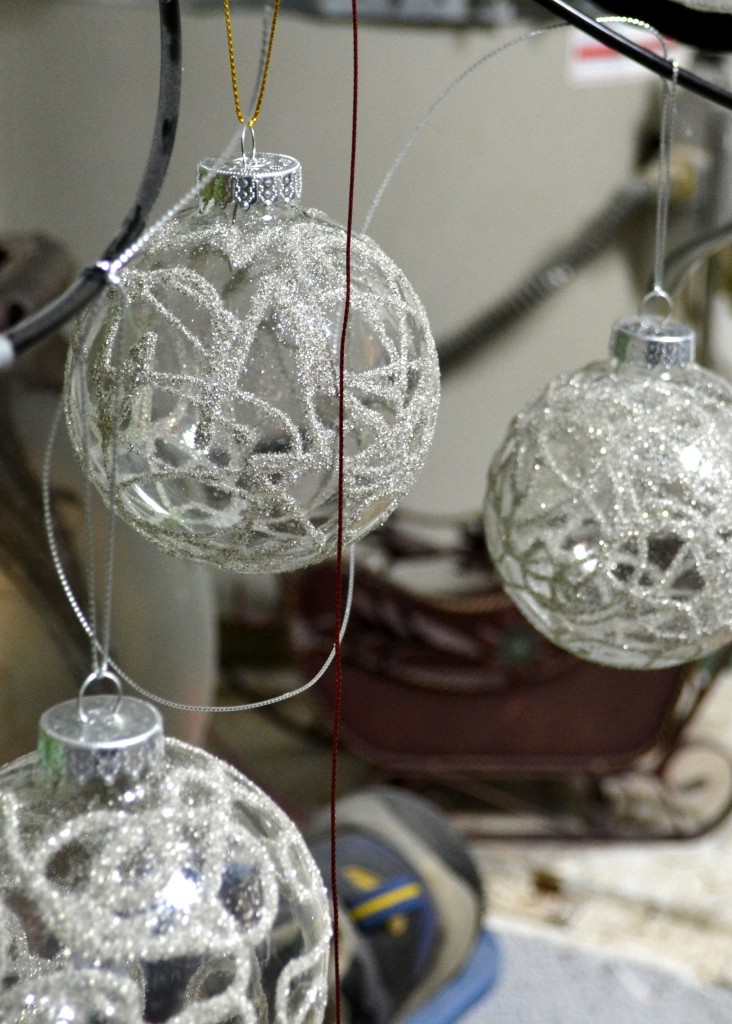
The glitter will set in the glue just a little, so make sure you apply enough for complete coverage. Once you’ve finished that step, hang them somewhere to dry. I hung my ornaments on the mounted bikes in our garage, where I knew they wouldn’t be disturbed.

Feel free to get wild with this project, the design is up to you, as well as the glitter choice. I love the antique-y look of German glass glitter, which is why I chose it for this project. Who knows, you might just see my tree decked out in these gorgeous glittery ornaments!

You can also give these away as gifts! Hang a little tag on them, put them in a box with silver tissue paper, so cute!

)
)


so lovely! Maybe this is a really weird idea, but… do you think you could do the same type of thing with plain ol’ sugar instead of German glass glitter?
so lovely! Maybe this is a really weird idea, but… do you think you could do the same type of thing with plain ol’ sugar instead of German glass glitter?
Where did you get the german glass glitter?
Where did you get the german glass glitter?
eBay!
eBay!
These look like miss mustard seeds ornaments this year!
These look like miss mustard seeds ornaments this year!
I love glass painting and fashion designing but it is very informative and helpful.
I love glass painting and fashion designing but it is very informative and helpful.
Great tutorial, thanks! I shared on my website.
Great tutorial, thanks! I shared on my website.
Love your blog and this project – so creative and fun! Just wanted to let you know I featured it in my roundup of glass ornament crafts here. Feel free to check it out if you want and hope you like it! : )
-Mel the Crafty Scientist
Love your blog and this project – so creative and fun! Just wanted to let you know I featured it in my roundup of glass ornament crafts here. Feel free to check it out if you want and hope you like it! : )
-Mel the Crafty Scientist
Beautiful – simplicity is becoming my favorite winter way. The glistening of snow flakes in the moonlight has convinced me that Nature knows best! These are so pretty. I’ve learned the glue tip on glass ornament in projects past, too, but thanks for the reminder as I sometimes forget what I learned. I am sure they will brighten any tree, mantel, clear bowl as a centerpiece. I’ve got some ideas from your inspiring ornaments. Thanks again.
Beautiful – simplicity is becoming my favorite winter way. The glistening of snow flakes in the moonlight has convinced me that Nature knows best! These are so pretty. I’ve learned the glue tip on glass ornament in projects past, too, but thanks for the reminder as I sometimes forget what I learned. I am sure they will brighten any tree, mantel, clear bowl as a centerpiece. I’ve got some ideas from your inspiring ornaments. Thanks again.
Does the glitter shed from the ornament?
No! Any excess glitter not stuck to the glue will fall off initially once the glue dries, but that is the only shedding I experienced.
Considering this project for a kindergarten school activity. How much time should I expect for significant drying before the 5 years old walk off with them?
Glass ornaments are very fragile. Mke sure they have a box with tissue paper so it doesn’t shatter on the way home.
Please help me! I like these, but after I made some, I gave 1 to a friend and all the glitter fell off the ornament to the bottom. What am I doing wrong?