Hey folks! It’s Friday, woot! I hope your week has been well, and that you have fantastic plans for the weekend. I wanted to bring you another jewelry post, something that is a little more advanced in my book. I have a habit of making jewelry inspired by an outfit that I’ve planned to wear in the near future, usually for an event like a wedding, or a work party, or a date with my BF. These earrings were inspired by my aunt, who made a version of these and I loved them so much I ran with the design. You can find her beautiful jewelry at Anicka Designs.
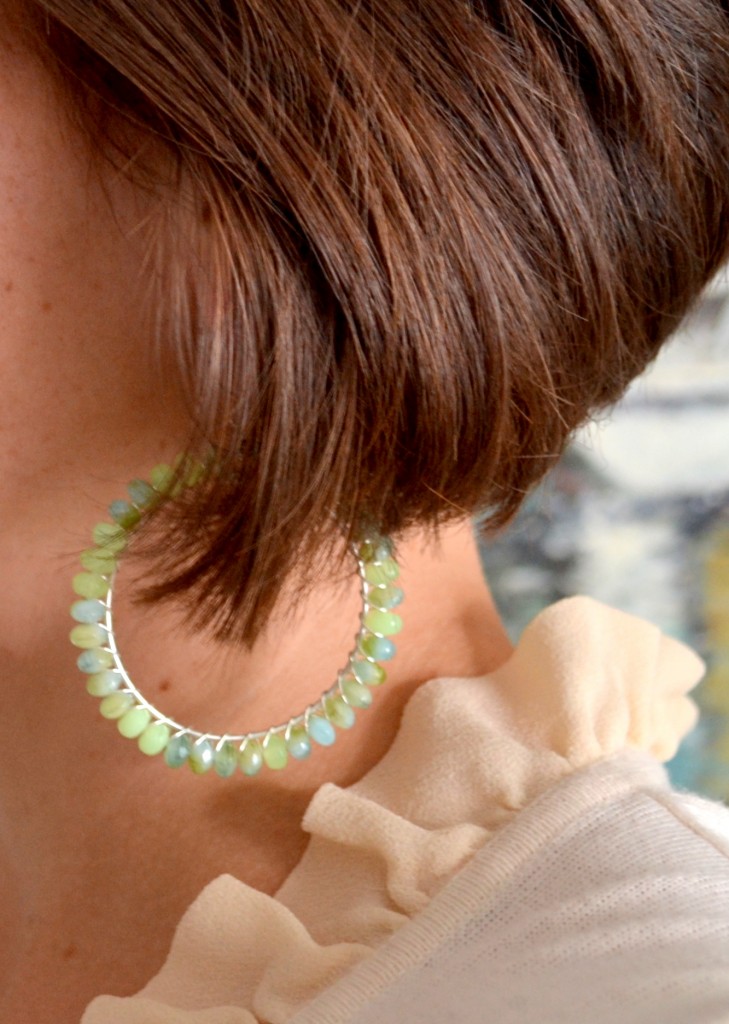
Aqua? you ask. Yes, I know it’s fall, and Aqua is not a color of fall, but it was such a gorgeous day when I decided to make these that the colors of autumn were not on my mind. You can say I’m prepping for my spring line…
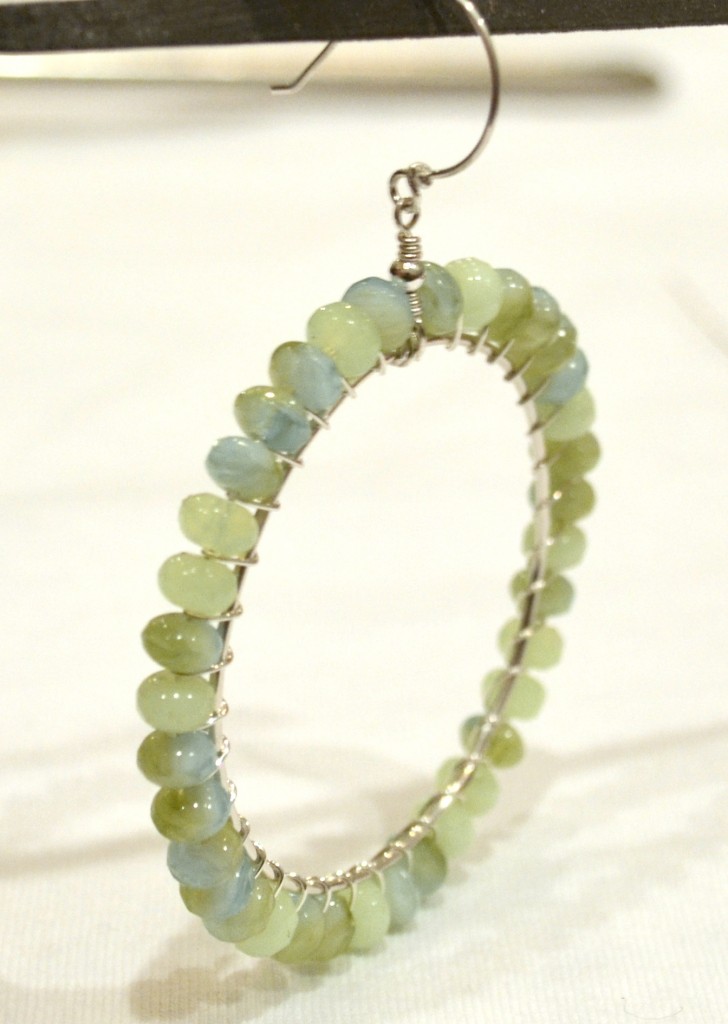
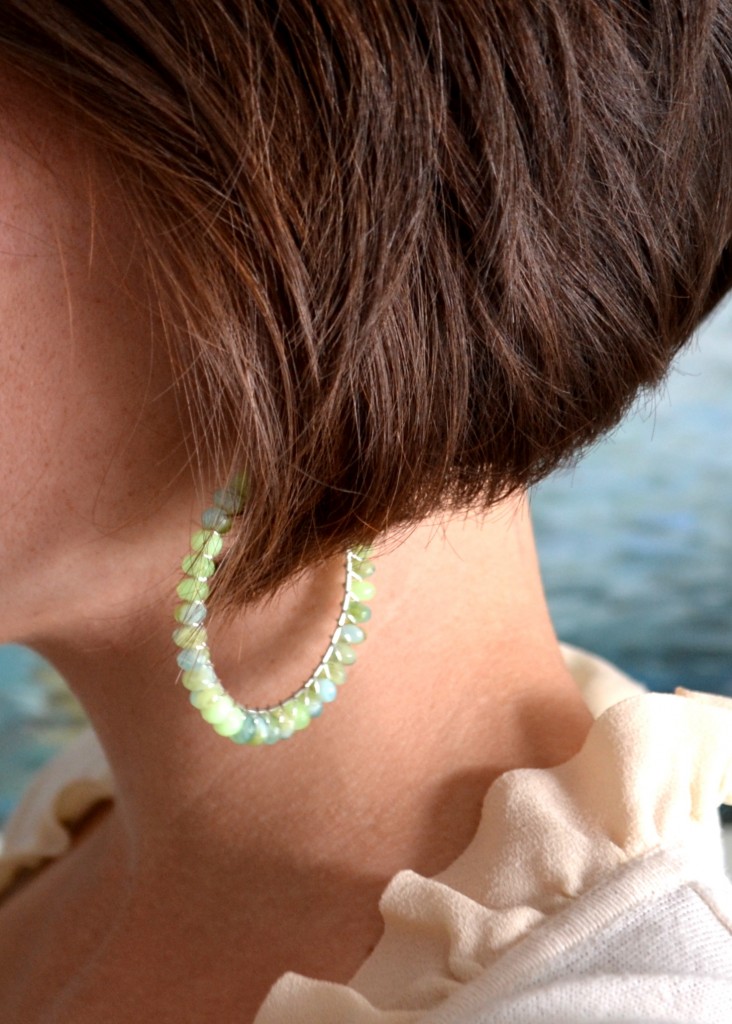
Here’s a peak at the earrings:
Boy have you gotten a lot of pictures of me this week! Unfortunately my sisters and family aren’t around to be models for my blog when I need them.
Like I mentioned earlier, this is a bit of an advanced piece. It requires wire wrapping, which I explained in detail when I showed you how to make the a chandelier necklace. I tend to wire wrap, A LOT. I like it, it makes a piece look clean and elegant. Let’s just dive in, before I get too carried away…
Here’s how I made these aqua loop earrings:
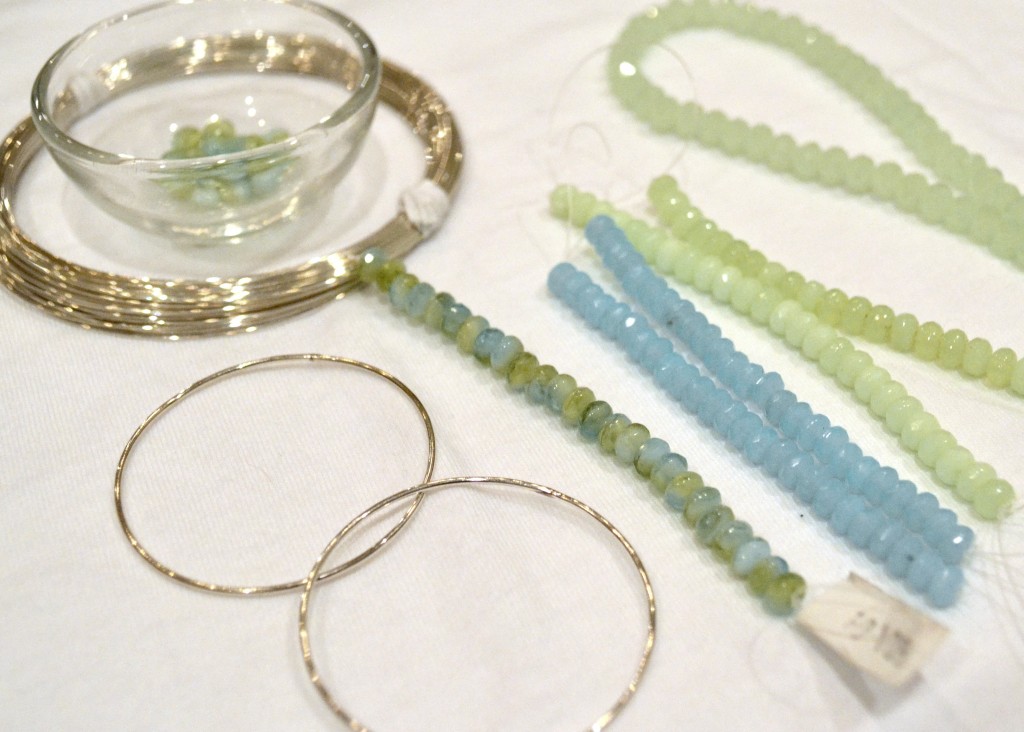
First, I gathered my materials:
- 2 x 33.8 mm silver loop
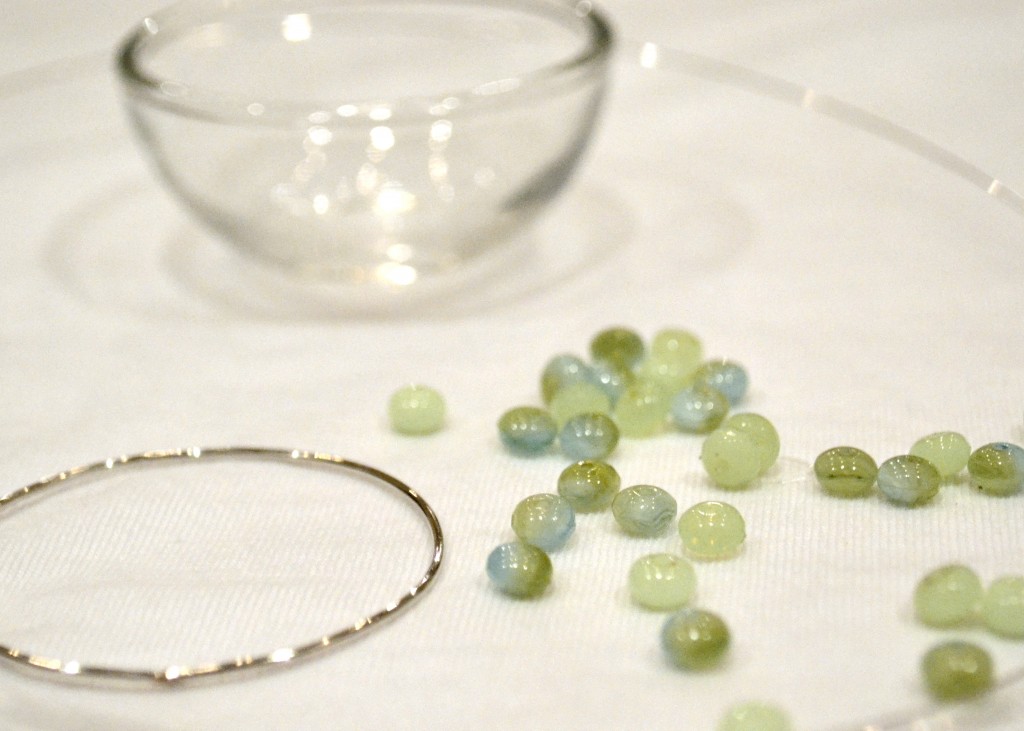
- beads of choice, faceted or smooth rondelle shaped beads are preferred for this piece
- 26 g silver wire, about 5 ft
- tools (flat nosed pliers, round nosed pliers, wire cutters) – (not pictured, see link)
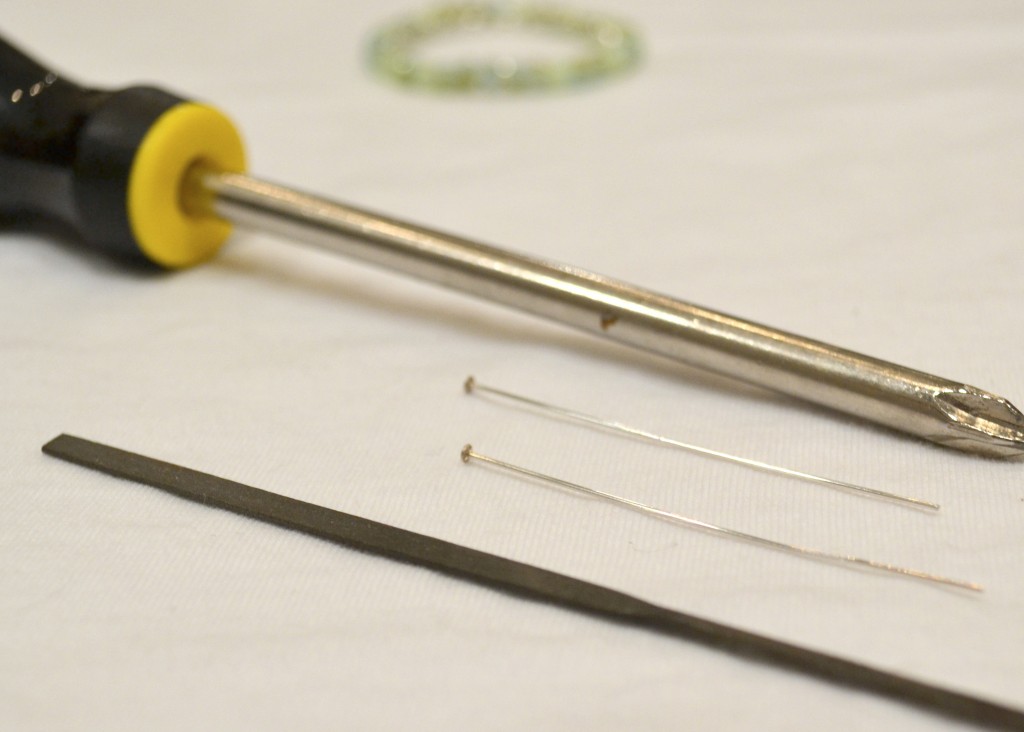
- flat needle file – (pictured at bottom)
- 2 x 24 g or 22 g headpins – (pictured at bottom)
Then decided which combination of aqua blues I wanted to use, and went to town.
I bought these silver loops from Metalliferous, which is perhaps the most amazing jewelry and silver supplier ever. Their prices and selection are fantastic. The site is a little bland, and you have to order off their PDF catalogue, but their selection is legit. Here’s the page where you can order these silver loops. I think I used the 33.8 mm loop.
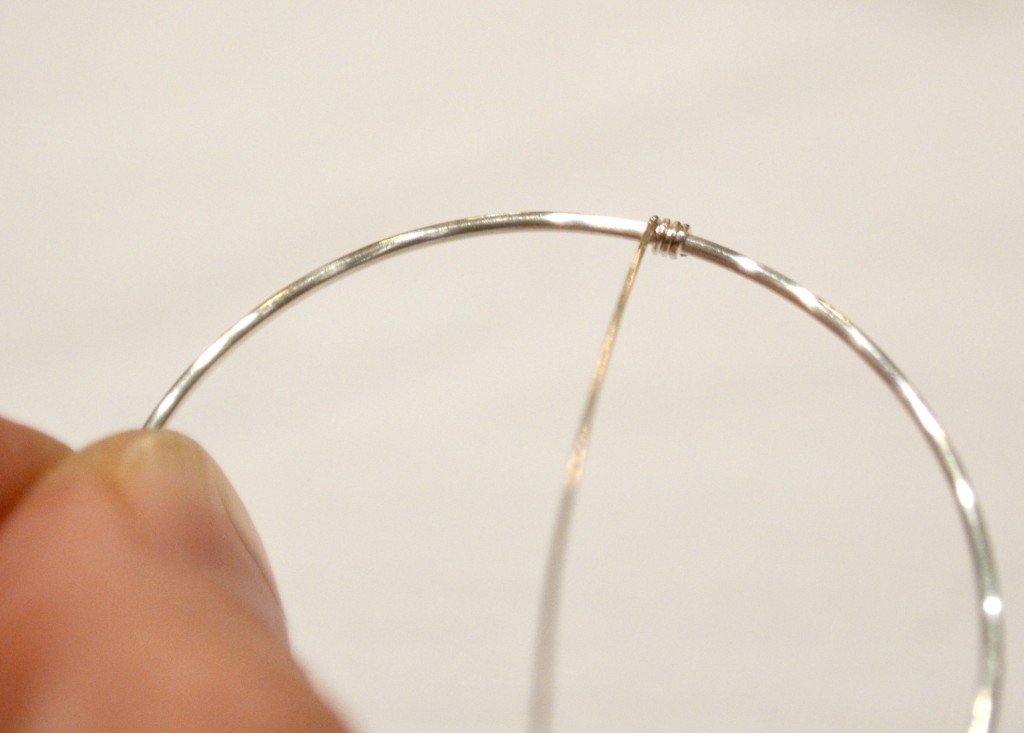
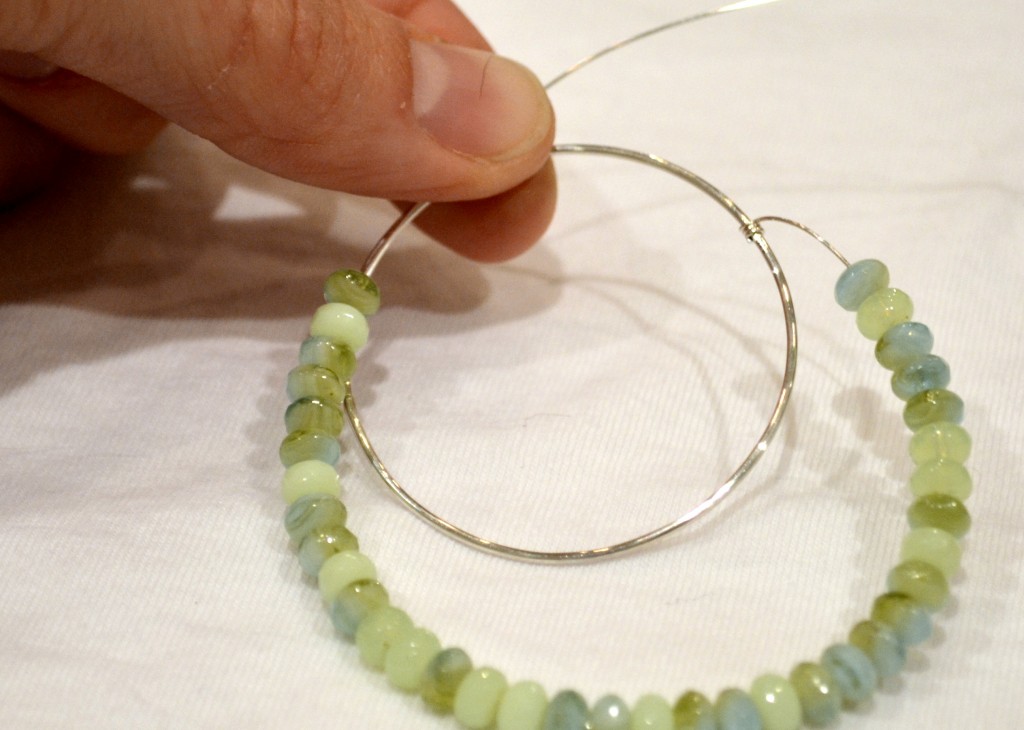
Next, cut yourself a long piece of 26 g wire, about 2-1/2 ~ 3 feet. It may seem like a lot, but for this piece it’s better to have more wire available then run out before you’re done. Wrap the end of the wire around the silver loop, tightly, at least 3 times around.
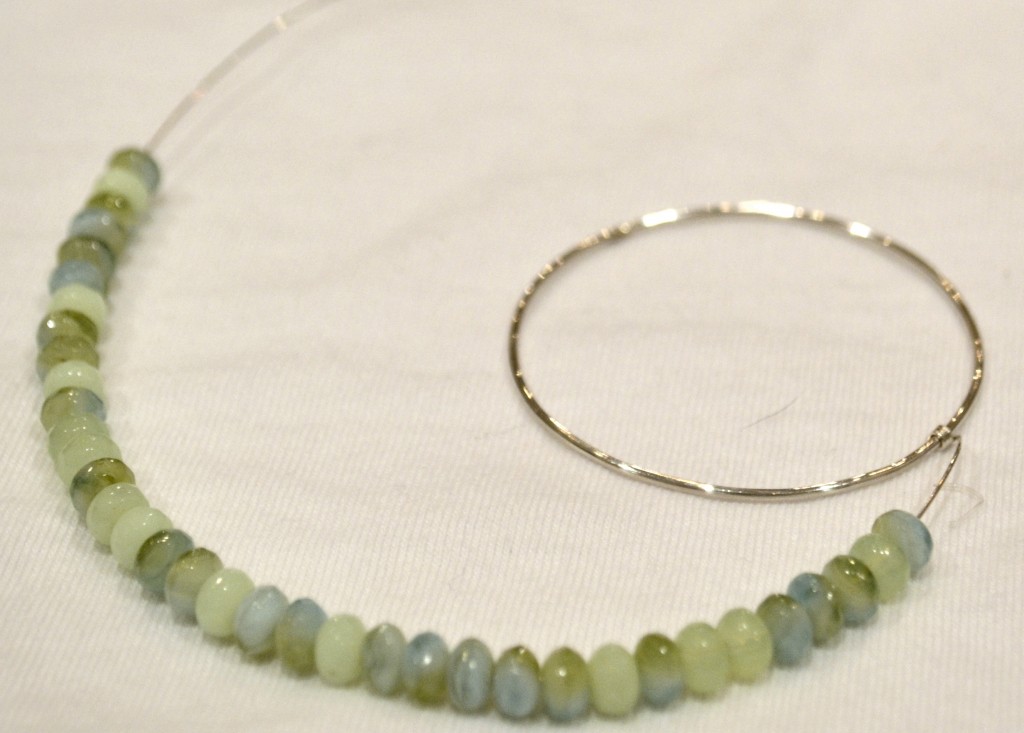
Thread your beads on the wire, I needed 36 beads on each loop
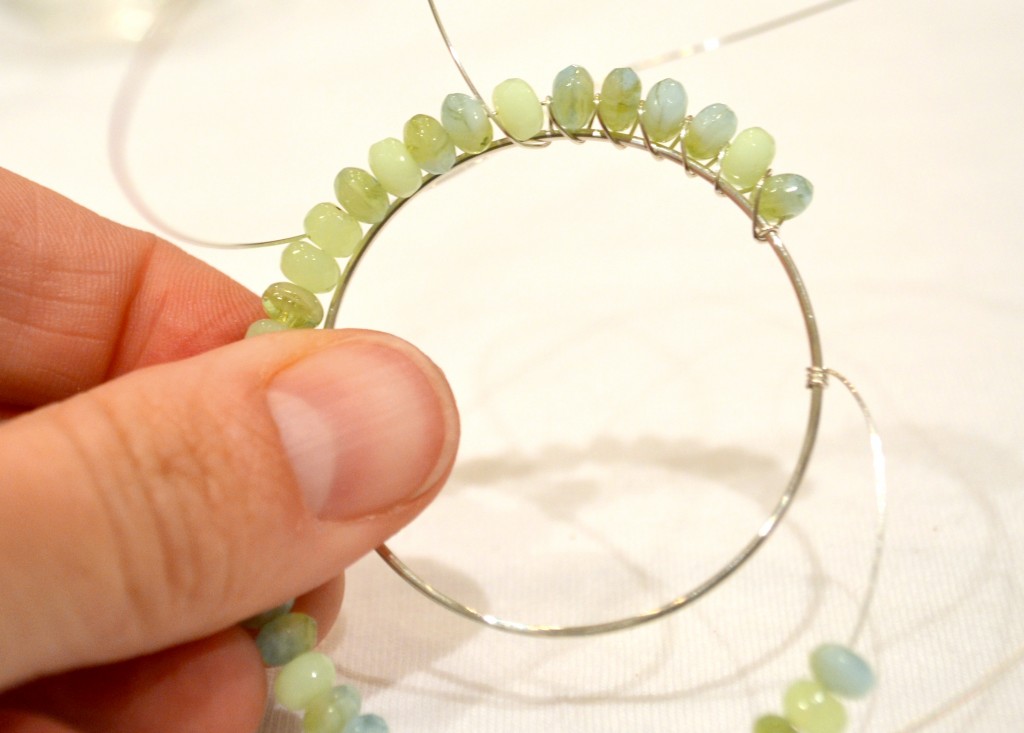
The next step is important, pinch the wire about an 1.5 inches above the end of the beads. You want excess wire available for when you circle the wire back through the beads.
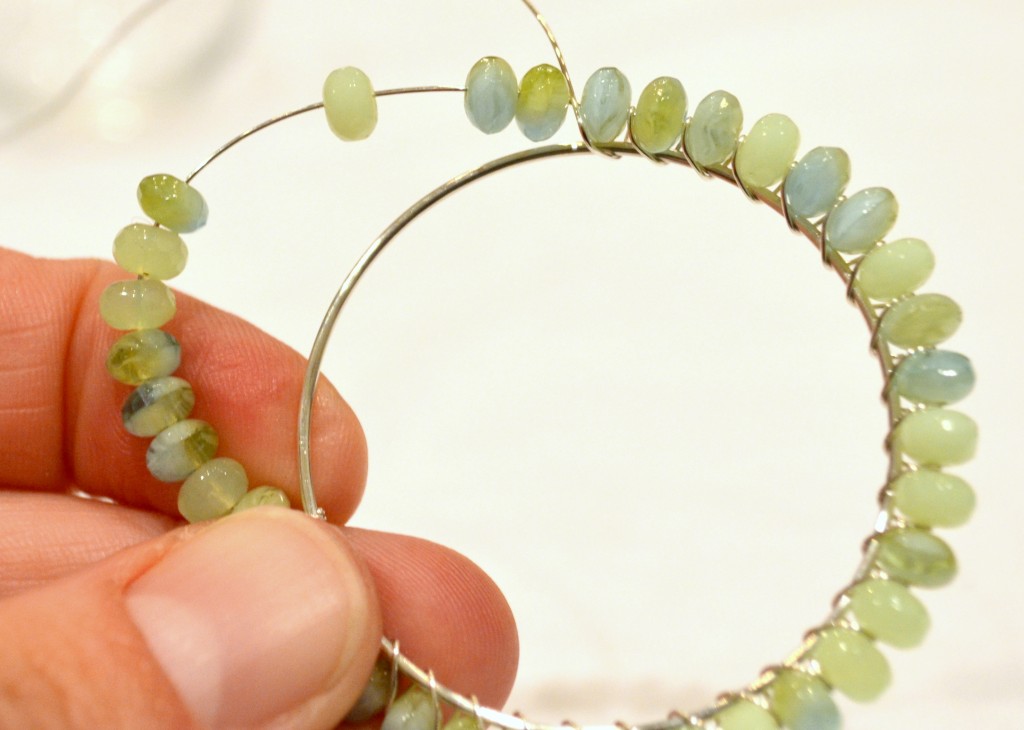
Wrap the pinched end of the wire around the loop, once or twice, then begin circling the wire back through the beads, towards the starting side
Keep the beads tight together when circling the wire back through by pushing the beads together with your thumb and finger
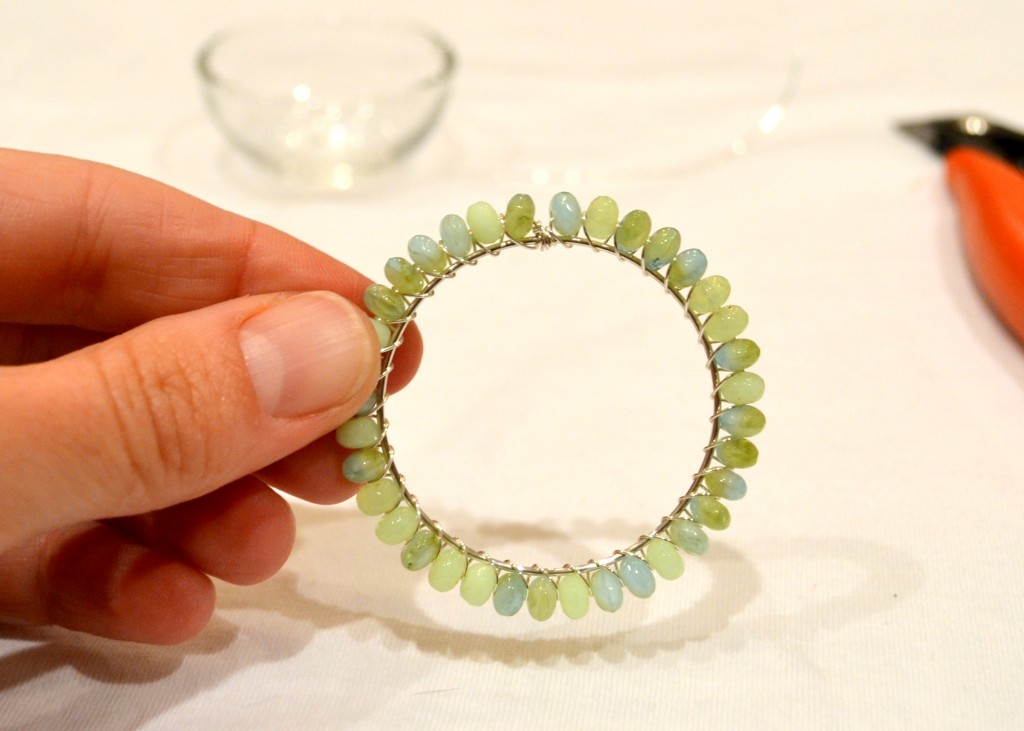
You may have to adjust the wire wrap at the end once you’ve circled back around all the beads. It’ll look like this when done. See where the ends meet, right there at the top center? This is where we’re going to add the ear wire.
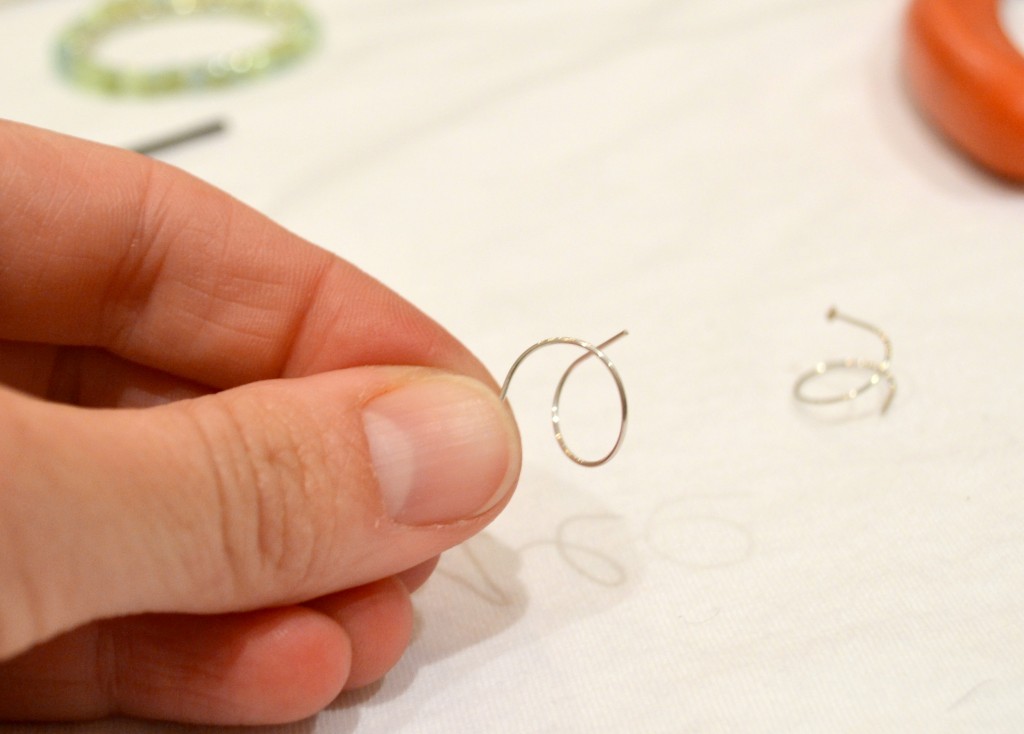
I usually make my own ear wires, it’s cheaper than buying pre-made wires, and I can design them differently if I feel like it. To make a quick ear wire, take your 24 g or 22 g headpins, curl them around something circular, like a sharpie pen (I used the head of a screw driver).
I prefer 22 g ear wires, they’re slightly thicker and more durable than 24 g. You don’t want to go thicker than 22 g, otherwise the ear wire won’t fit in your average pierced ear.
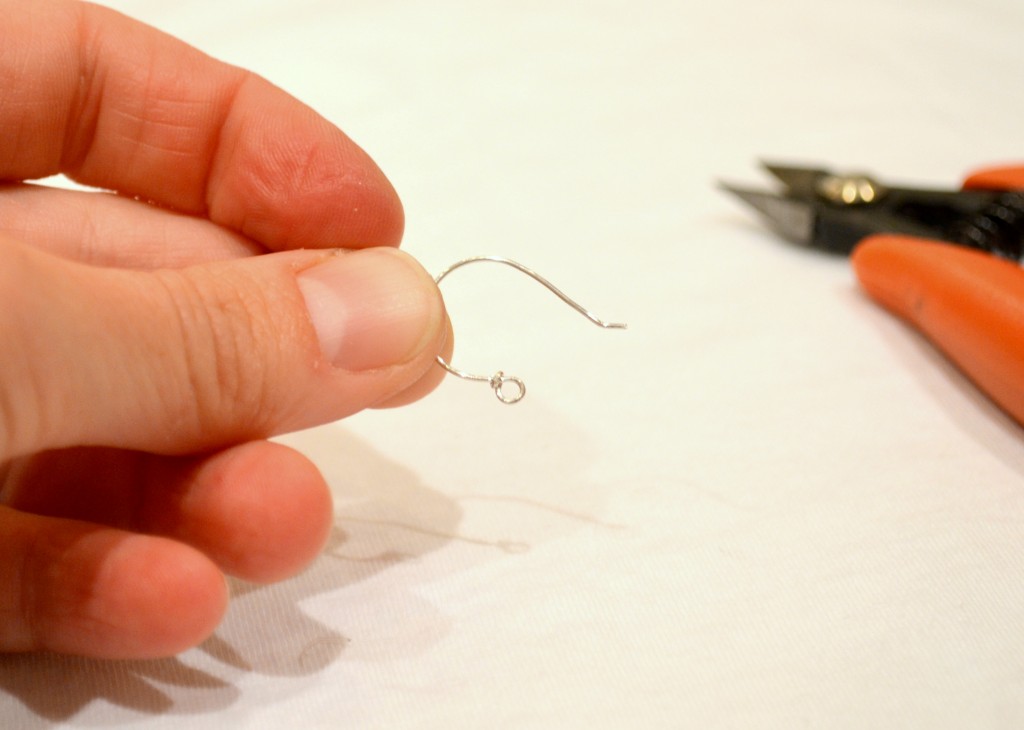
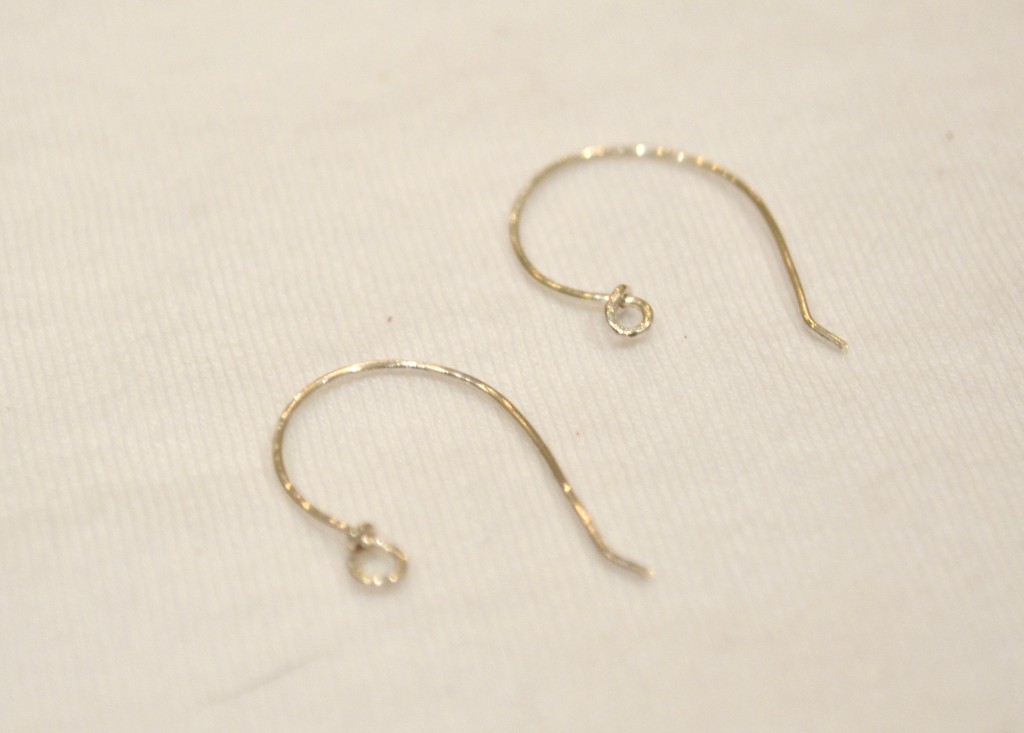
With your wire cutters, cut off the end of the headpin. Then, take your round nosed pliers and wire wrap the bottom of the ear wire to make a closed loop.
Do the same for the second head pin, to make the second ear wire
Finally, to attach the aqua beaded loop to the ear wire, make one last wire wrap link between the ear wire and the beaded loop
Repeat the process for the second earring… and you’ve got yourself a pretty set of aqua blue loop earrings!
Earrings are so fun. Everyone sees them when you wear a pair, unlike a bracelet or a ring – not everyone looks at your wrists or hands, but everyone sees your face! I like my earrings to make a statement, and I wouldn’t pair these earrings with a necklace because you want bold earrings like these to be the main piece. Adding more jewelry up top would definitely take away from this piece.
Check back soon, I plan to be building my winter jewelry line for you all to see!
)
)


These are so nice. How come you didn’t just thread them on though?
Hey Ellie! The silver hoops are actually one solid soldered piece of silver. There’s no opening to thread them thru.
Brittany!
Thanks so much for featuring me on your blog! I’ve been browsing around here and LOVE these earrings, but don’t see them in your shop. :( Would you consider making them for me? Thanks again, so glad to ‘meet’ you!