I think you’ll agree with me when I say, plaid rocks. It never goes out of style. Ask the Scottish or Welsh! Come on, I know you secretly have a section of plaid shirts in your closet, and you wiped away tears when the trend went away in the 90’s. Plaid was hated for a bit after its overuse in the 90’s, but deep inside we were all waiting for an excuse to break out our secret stash of flannel.
No? You don’t wear flannel? Lies! I bet you sleep on flannel sheets.
Something I love more than plaid? Infinity scarves. I have a moderate collection of infinity scarves, mostly knitted solid prints like black, grey, and mustard yellow. Infinity scarves are expensive too, J. Crew sells them for $45, Gap for about $30, and American Apparel for $28. I just think this is too much money for something I could make myself.
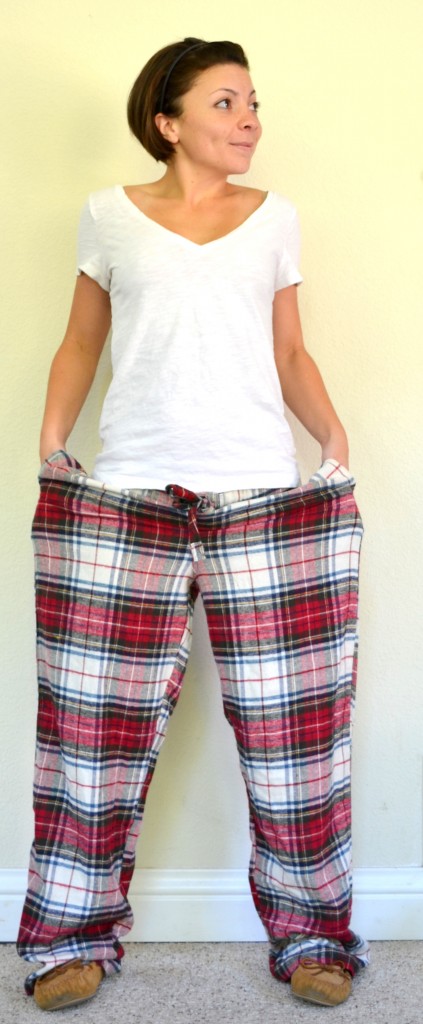
The other day I started wishing for a plaid infinity scarf. I thought to myself, where could I find one? Better yet, let’s just get some fabric and make my own and blog about it! I went to my local JoAnne’s, found some plaid prints that were cute enough, and went to the service counter to get the fabric measured. I completely forgot it was the Friday before Halloween…I walked into a swarm people waiting in line. The line was 40 people deep, no joke. I put my fabric down and walked out. No way do I have the patience to stand in line for 2 hours to get 1 yard of fabric cut. By this time I was really jones-ing for a plaid circle scarf, so I got to thinking… my BF has a bunch of plaid PJs he never wears… I can save a buck, cut them up and sew my own infinity scarf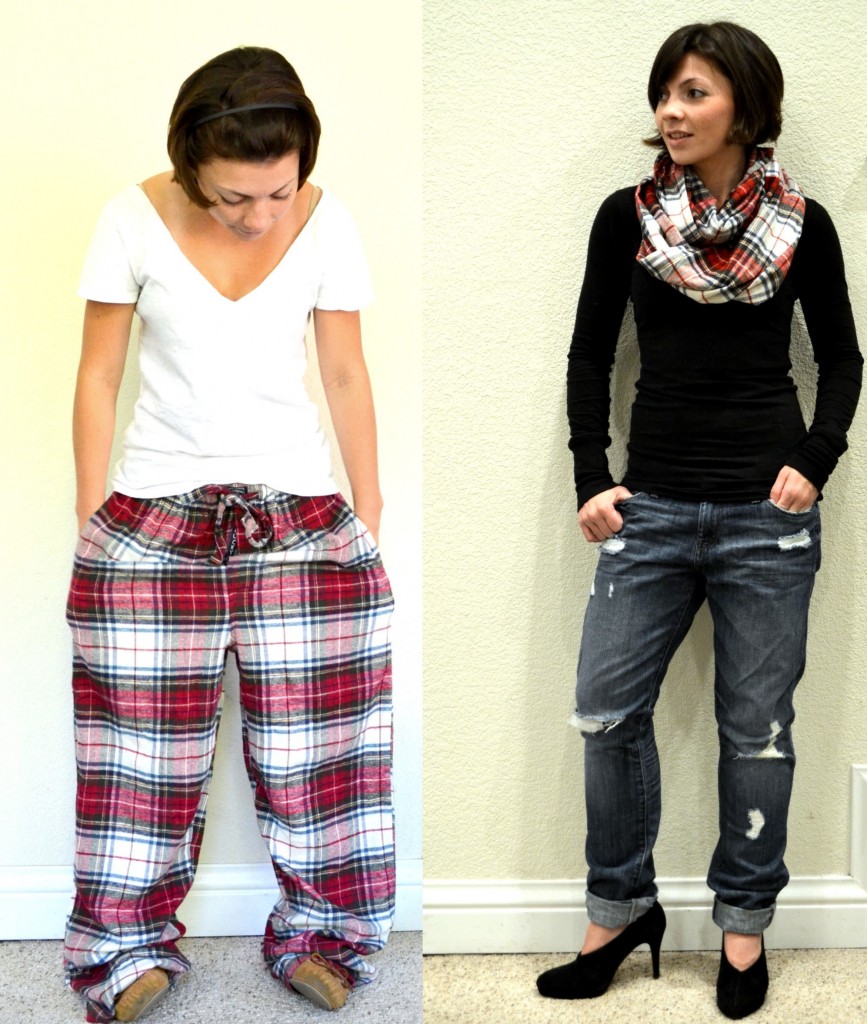
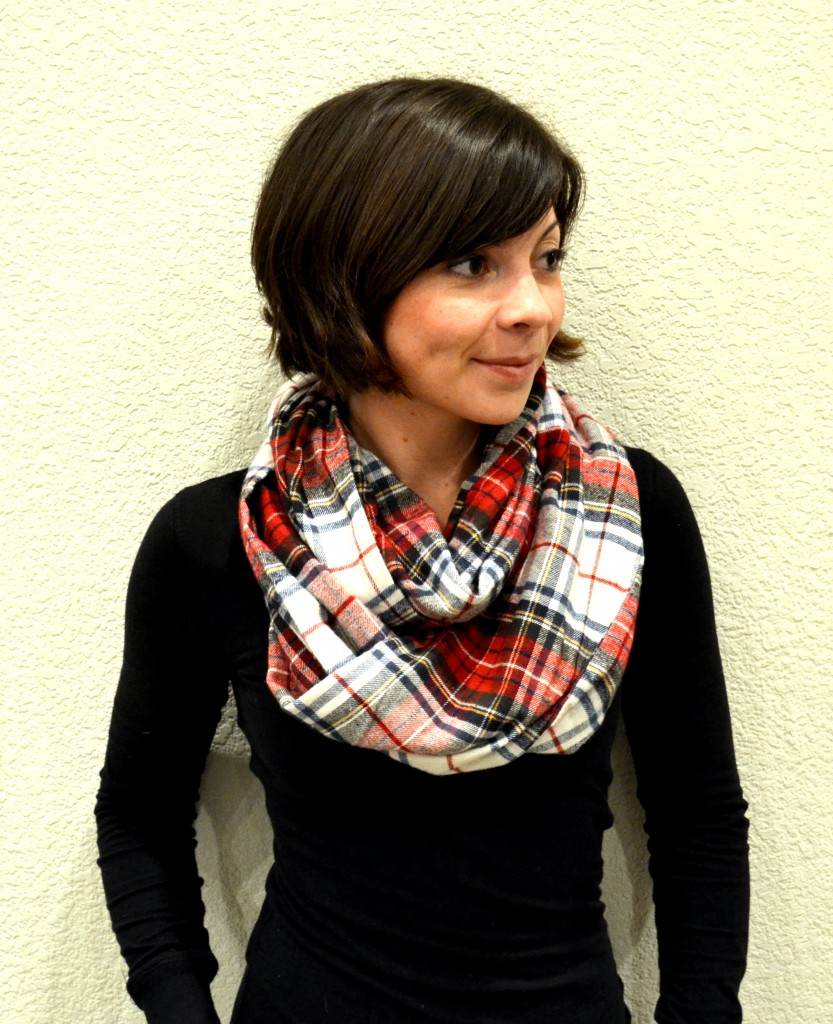
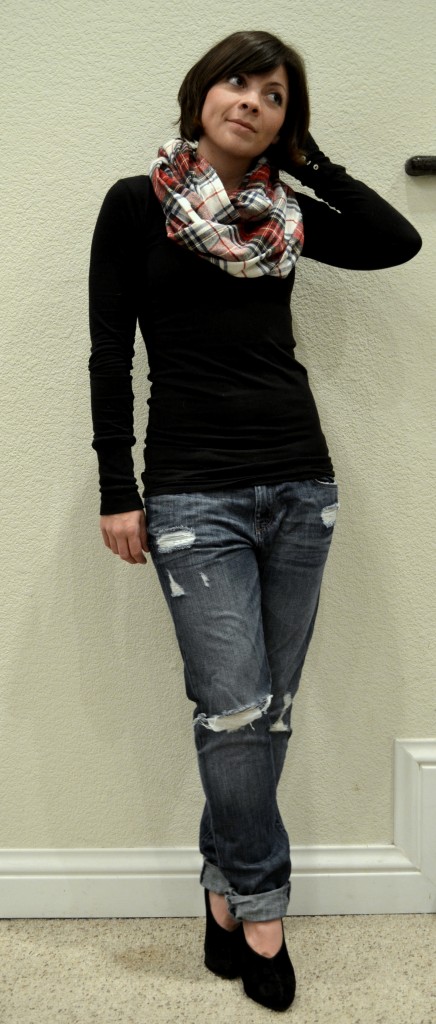
Genius! Take your man’s tired out plaid PJs, and fashion yourself a circle scarf! (I hope you don’t mind the pictures of myself. My BF was playing photographer, telling me how its done!)
You can make yourself a circle scarf in about an hour, here’s how:
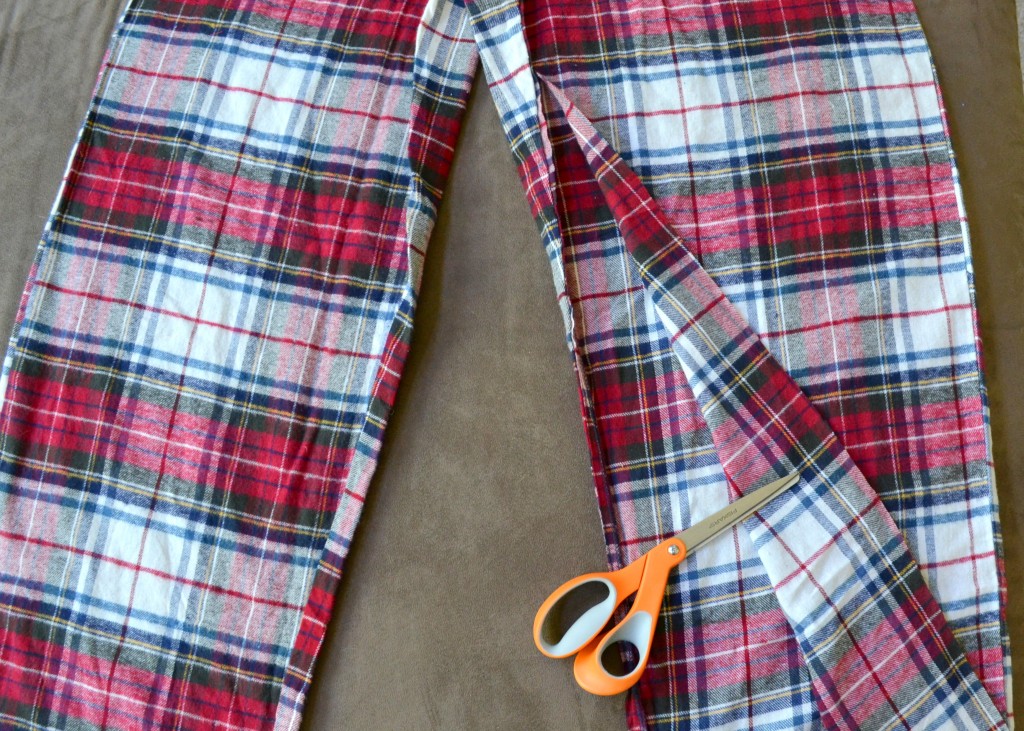
First, take the PJ pants, and cut up the inseam.
Open up the pant leg and cut the leg off at the top of the inseam. Do this for both legs.
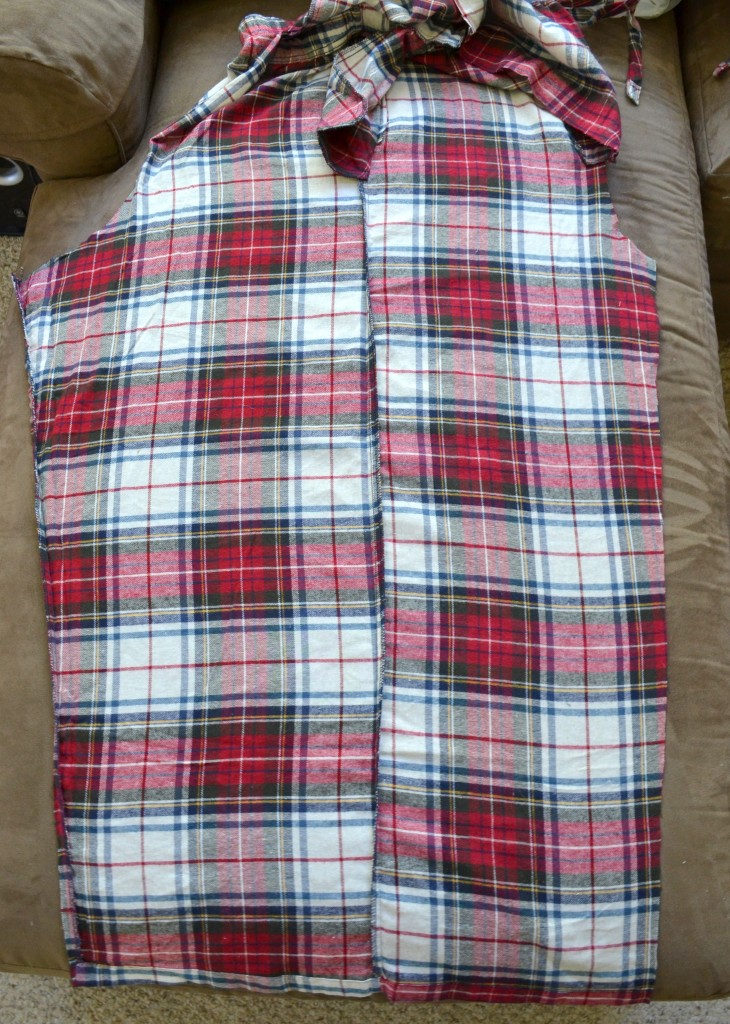
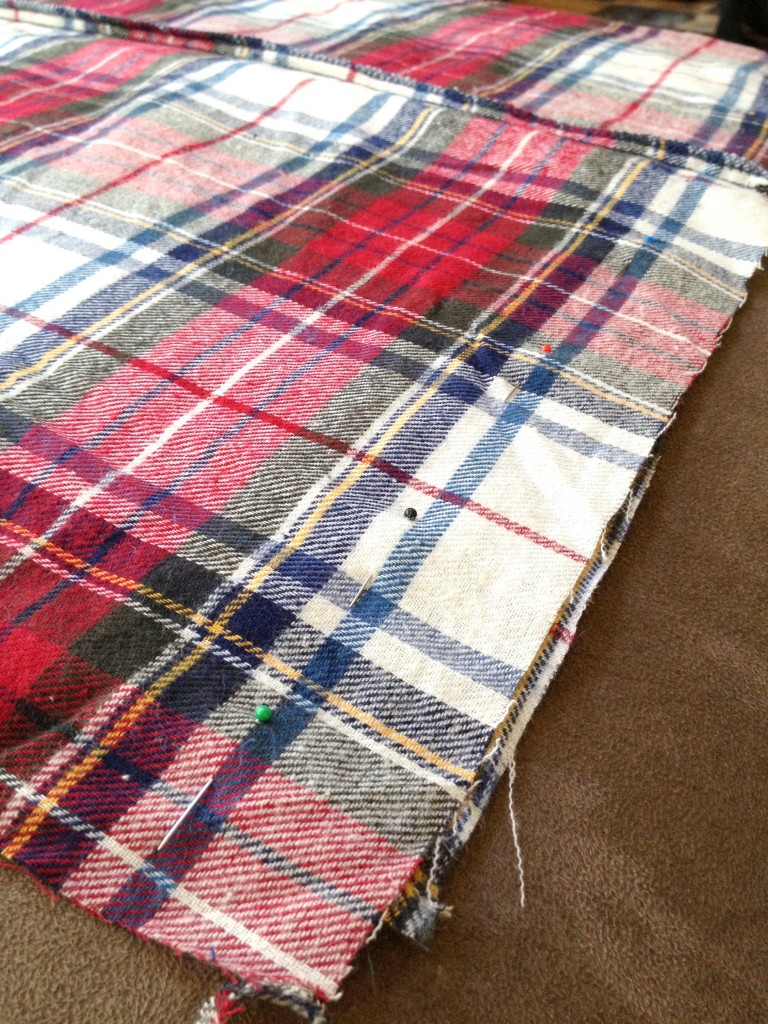
Both legs should be of equal size. Lay the two legs on top of each other, wrong-side out (the outer seams from the original pants should be facing out)
like this:
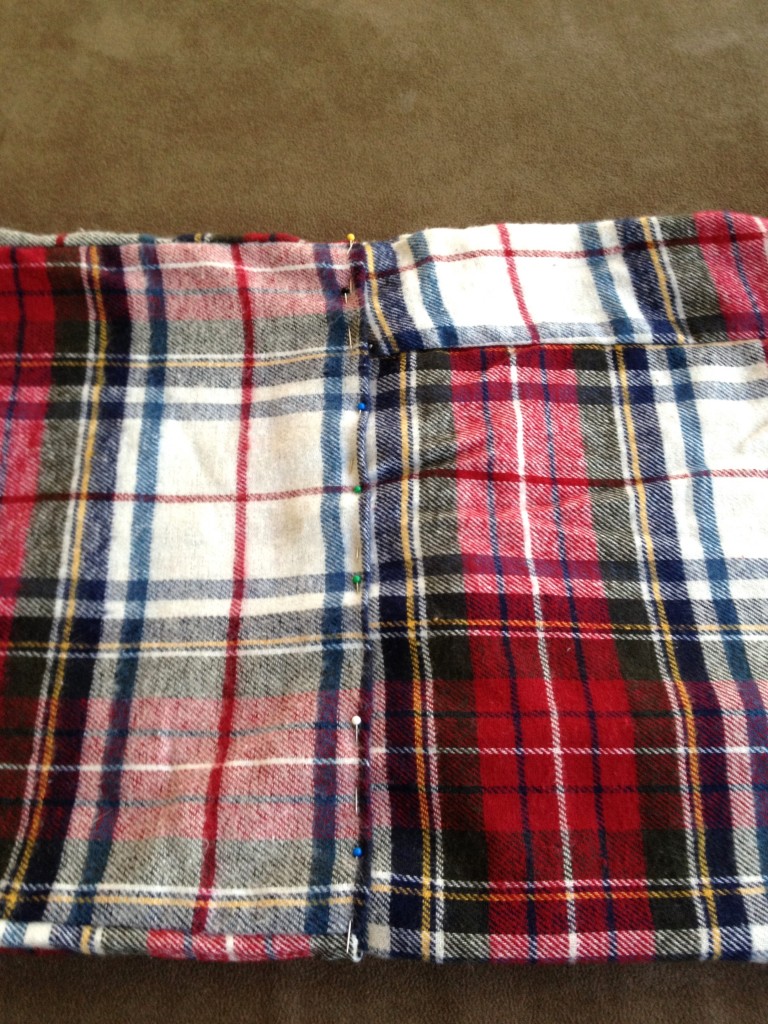
Pin the bottom end together
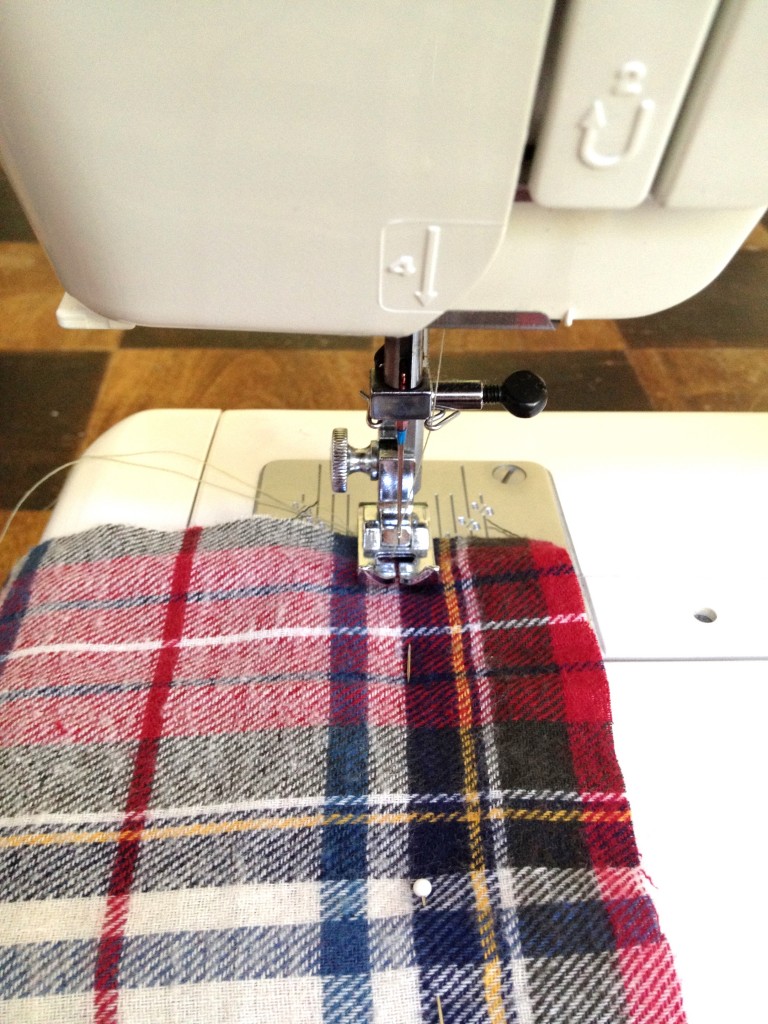
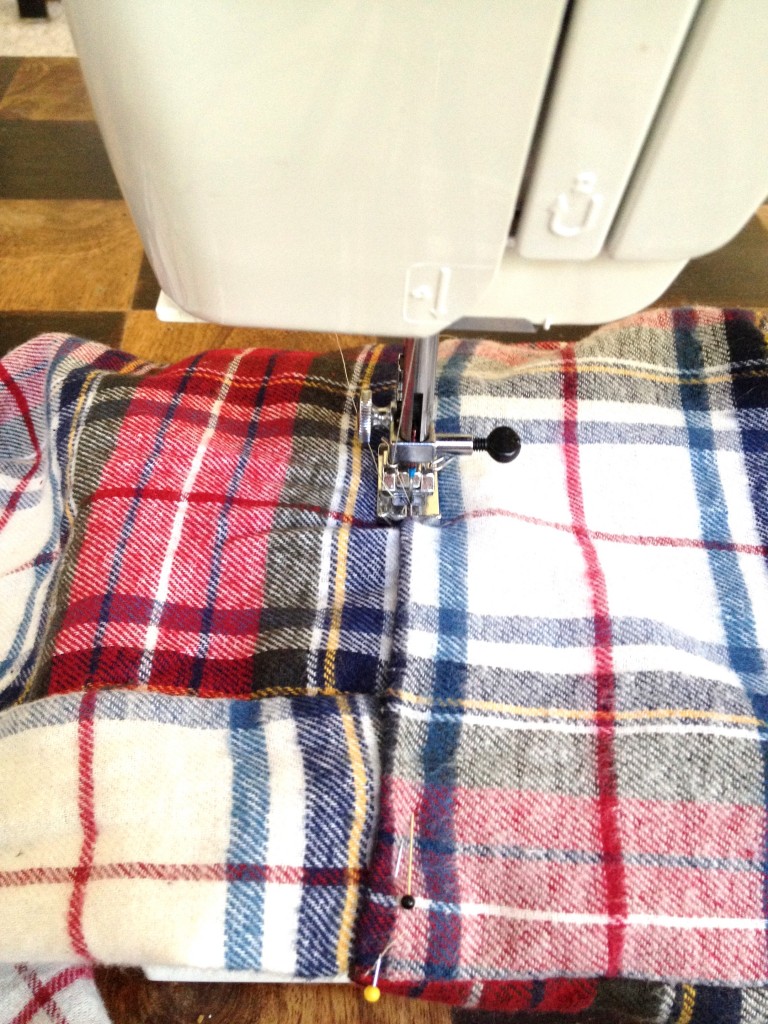
Sew the bottom. Your fabric will now be twice as long.
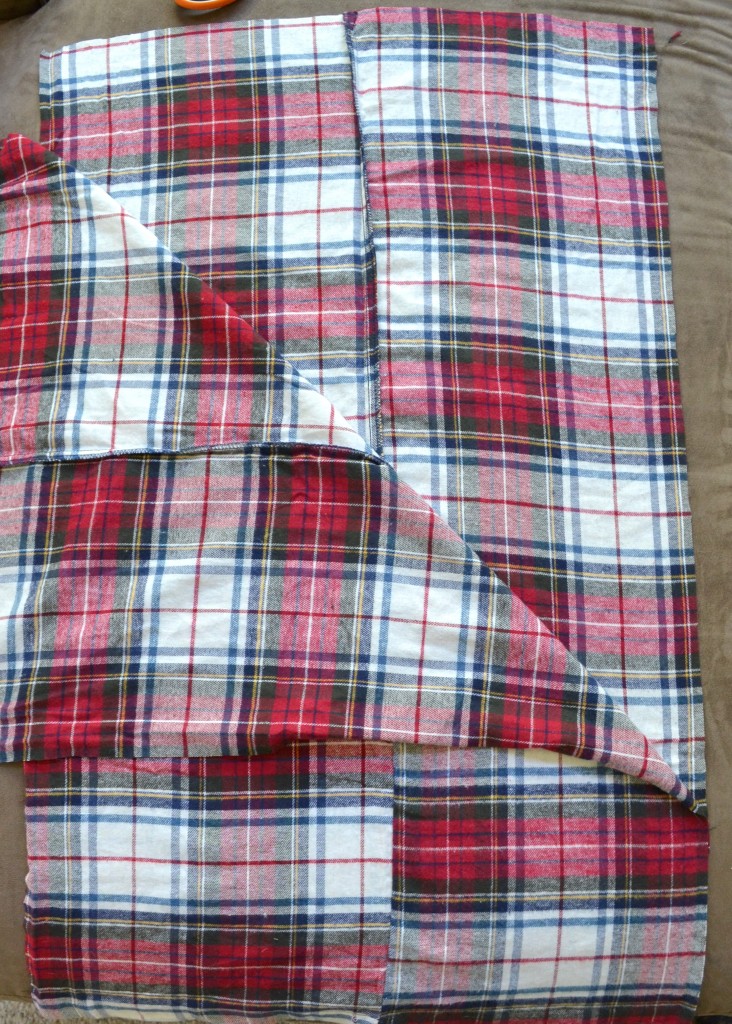
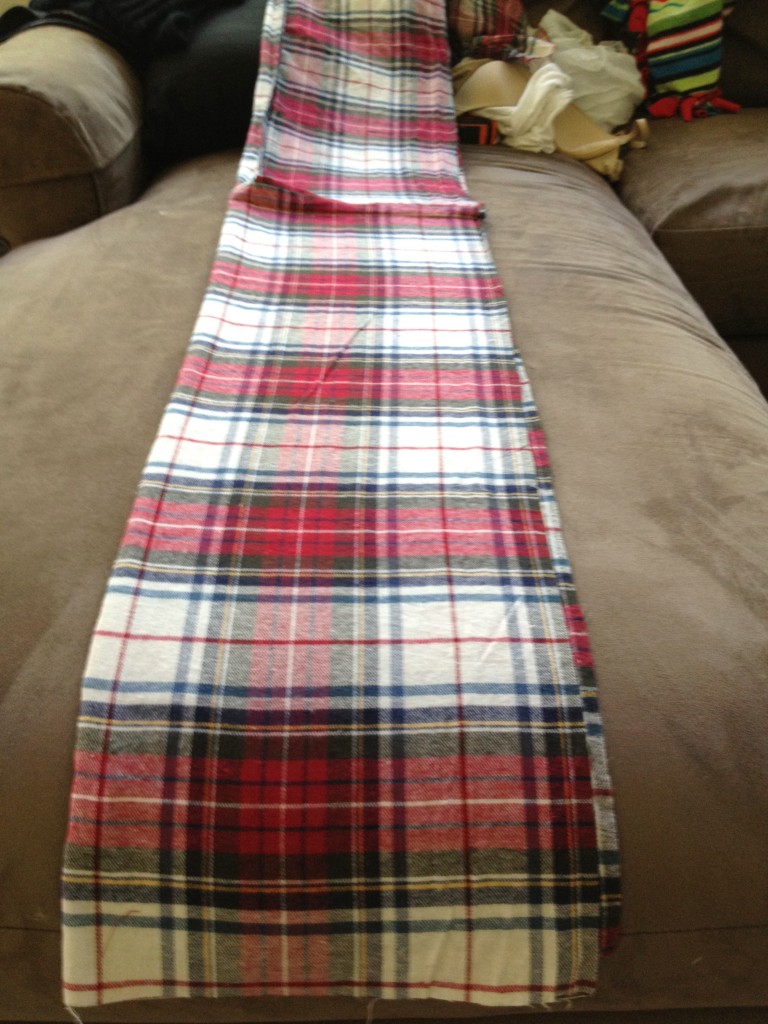
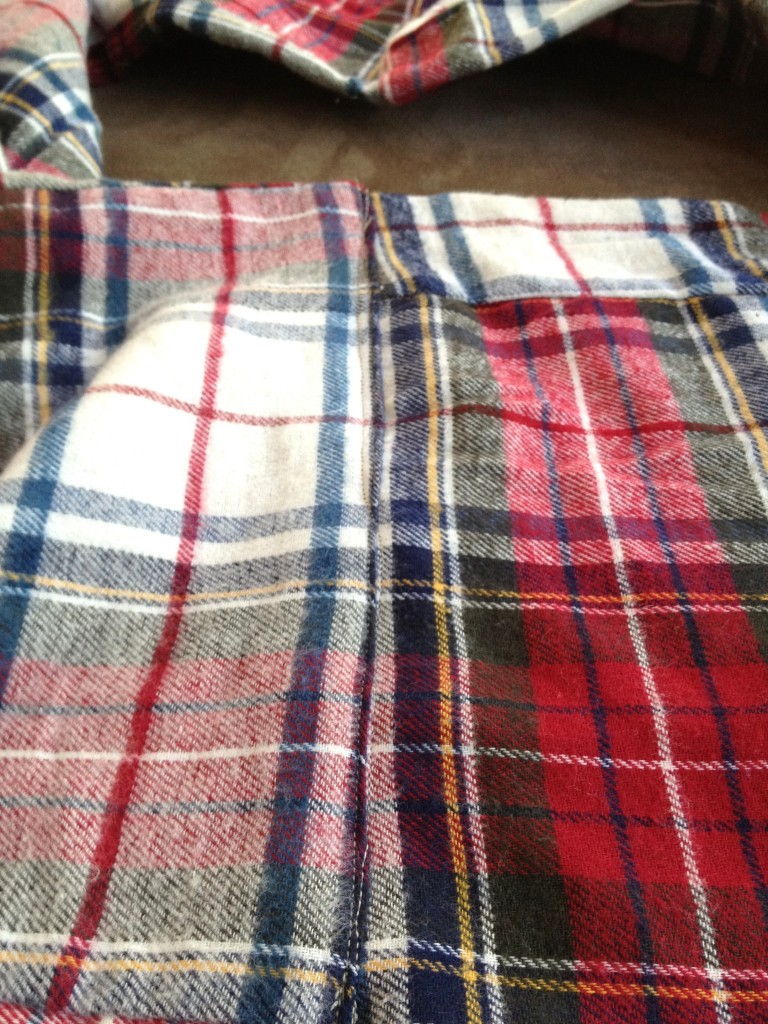
Now, fold your fabric long ways, seams still wrong-side out, pin then sew. Once the long side is sewn shut, it will look like this (sorry, this is a bad pic):
Turn the fabric right-side out, then fold in half so the two ends are facing each other
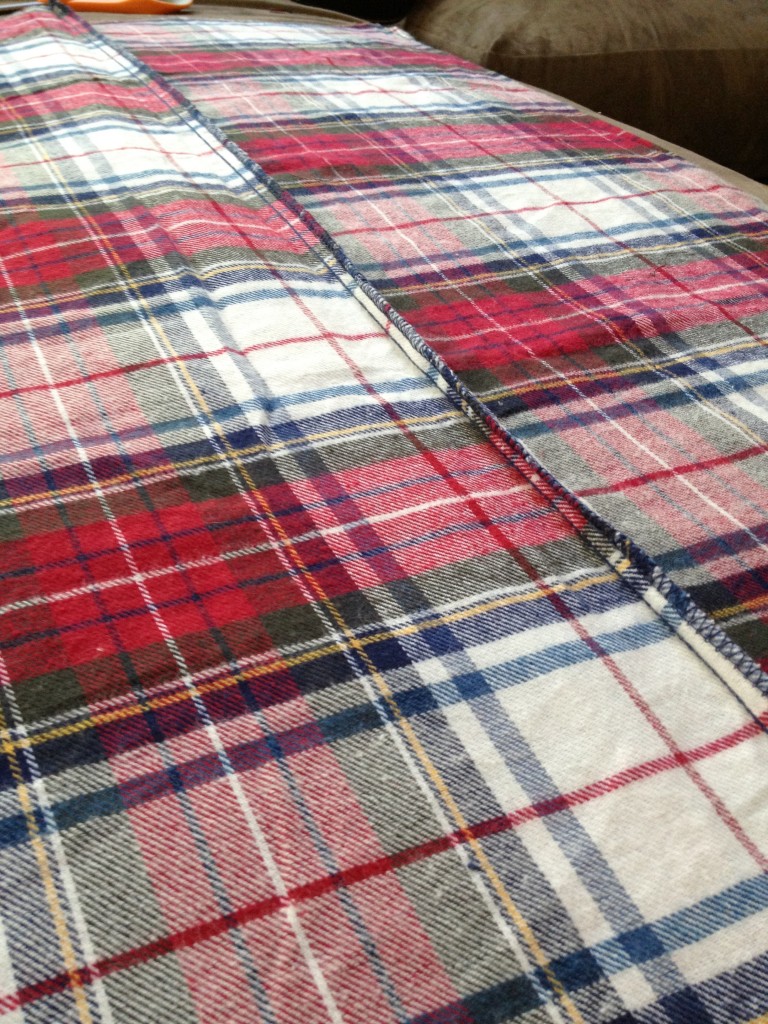
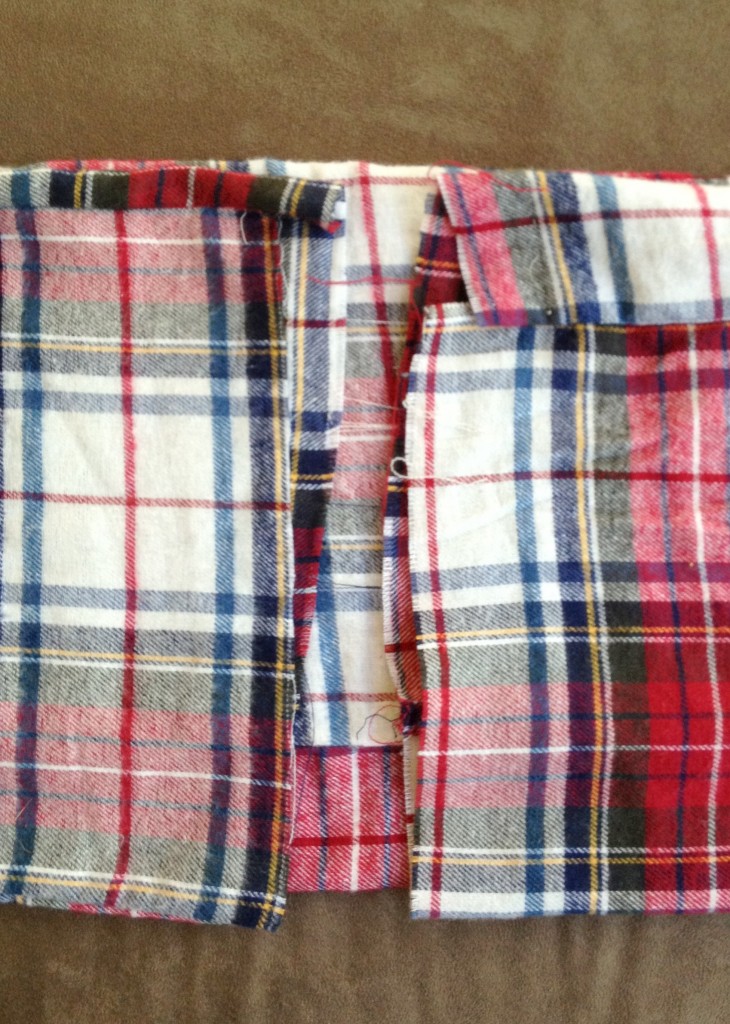
Fold the edge of the left side inside itself, about a 1/4 inch, and pin. Then tuck the right side inside the left, and sew shut. The purpose of folding in the left side,before tucking the right side, is to give you a clean seam once you sew the scarf shut.
See? Clean seam!
I love it, if you can’t tell.
The before:
The after:
My infinity scarf was sewn like a tube. You can make infinity scarves, or circle scarves, out of jersey, which don’t necessarily require sewing the ends together. Jersey material typically rolls in on itself when washed, which hides the raw edges. I think I’m going to make a few jersey scarves next, after I raid the rest of my BF’s PJ drawer, whoa ha ha ha ha! (that’s my tribute Halloween laugh for ya)
I’m excited to be sharing this post on The Pinterest Challenge, hosted by Katie of Bower Power, Sherry of Young House Love, Ana of Ana-White.com, and Erin of House of Earnest
Check out the hundreds of other Pinterest inspired projects by checking out each of these lovely sites!
What is the Pinterest Challenge? Erin explains it here, and Katie also explains it here.
)
)



Adorable!!
I love your scarf, creativity, photos – and YOU!
Love this! Found it on Pinterest. I love infinity scarves too and I’m always shocked at the price! Thanks I think my hubby has some pj pants he doessn’t wear anymore.
And here in Fresno, my Joanne’s is always packed. Sometimes it’s a 20 min wait at the fabric table… Bummer!
Megan
Cute! I did this with t-shirts but not pj pants, but now I can’t wait to try it!
This turned out great! Thanks for linking up!!
I just did this and loved it but next time I’ll know not to use my old PJ’s, Im on the sort side and it didnt come out as long as I hoped. Just a heads up for the shorter ladies out there.
I made this last night from a pink plaid :) Soooo easy! Thanks for the awesome tutorial!
bahahaha, I have sooooo many of these huge flannel pajama bottoms around the house that need to disappear. Thank you for the perfect solution!
good point! I’m only 5’3″ and i can imagine if i had used my old PJs it wouldn’t have come out so well.
Hello Brittany, I’m certain that using both legs of your pajamas, your scarf would be plenty long enough. I am only 5′ and mine are :).
Marie
Found this on Stumbleupon! Fantastic idea! My DH doesn’t have PJ’s, but I have some fun sets. I’ll try some scarves. Thanks for sharing this gem!!
How cool! I found a pic of your scarf on pinterest, and the first thing I thought was PJs would be perfect fabric! It’s a perfect dose of cozy flannel without looking like a lumberjack. Excited to explore your other projects!
Erin
Thank you! I’m honored you even stumbled upon my blog! And you’re exactly right, flannel is so cozy, but it’s a fine line between cozy and a lumberjack…
If you didn’t use PJ’s how much material would you buy?
Hi Kayleen – I would recommend 1.5 yds, 2 yds to be safe. I would say the rectangle I cut from the pant leg was about 12″x24″, and I used 4 of these rectangles – 2 from each leg (front and back). The size is generally up to you. If you bought fabric by the yard, you could make the panels wider than a pant leg, which would give you a fluffier/fuller scarf. Hope this helps!
I looked at the fabric then I looked at PJs at Walmart and the new pjs were cheaper. Thank you for posting the width of the panels. Some of the legs are somewhat tapered and I didn’t know what to do with that. Fun project.
Great Idea! I’m adding this to my book marks! I believe there are some Guitar Hero pants at home that are going to sacrificed to the cause!
How did you do it with a shirt??
I have flannel shirts from my grandpa who just recently passed and I wanted to make one for my mom and grandma
Any help would be appreciated.
Thank you!!
Hi Laura, I haven’t made one out of flannel shirts yet, but I expect the process to be quite similar. One flannel shirt may not yield enough fabric, but you can patch together 2 shirts with similar color/patterns to make the scarf a little funky. Kind of like patching together a quilt. I mentioned below to Kayleen, the rectangles I cut from the pant legs were about 12″x24″, and I used 4 of these rectangles. Essentially you need to cut the longest and widest sections of the shirt, which would be the left and right sides of the front, and the entire back side of the shirt. Trim off the bottom hem, trim off the button closures at the front, trim off the sleeves and trim off the top at the collar. depending on how big the shirt is, most likely you can make two 12″x24″ rectangle pieces from 1 shirt. I love your idea of re-purposing your grandpa’s shirts as gifts, hopefully this helps!
I LOVE this! It is so adorable! I’d love to make one :)
I love this, and you are darn adorable!
I love this! Great job!
Thank you so much for posting this! I couldn’t find flannel pj pants, so I went to Hobby Lobby and bought flannel and cut it to size myself. It took me a minute to get the correct dimensions, but I have found that 70 in by 9 in give or take works the best. I bought about 1.25 yards of fabric. It only cost me $5 to make each scarf and about 20 minutes! I also bought flannel and polka-dot fabric to make a multi-colored scarf! I am obsessed! Thanks so much again!!
Wow! 20 mins! That’s impressive! I love circle scarfs, and it seems a lot of people love them too! I like your idea of a multi-colored scarf, I should do that next! :)
Seriously fabulous. Especially since I’m currently drowning in flannel. Not that that’s a bad thing, necessarily, but plaid is an awesome thing and must be shared with all. Ha!
Hey, totally LOVE this idea! Only problem is, I’m having trouble understanding the seam part:
“Fold the edge of the left side inside itself, about a 1/4 inch, and pin. Then tuck the right side inside the left, and sew shut. The purpose of folding in the left side,before tucking the right side, is to give you a clean seam once you sew the scarf shut.”
I’m afraid I don’t quite understand what this means? If you fold the left side inwards & pin it, then put the right side into the left & sew, surely you’d still end up with visible seams? Maybe I’m just reading it wrong, but I don’t understand how you’d get a clean seam from that- someone please reply, since I’d REALLY want to make this scarf soon! =D
Super cute scarf, but where did you get your jeans?!
Hey! I can see where the instructions may be confusing. The seam is not invisible, as one would hope. There may be other methods in making the seam invisible, but in this case the seam visible, but it’s flat and clean, it does not stick up or protrude.
Hey Lindsay! I scored those raggedy jeans at Banana Republic in the sale section for $12. I think they’re boyfriend jeans. Some people hate them since they’re baggy, but they’re really comfortable!
I just finished my scarf. It took me ALL DAY. NOT, I hasten to add, because it is difficult, but because I was born without the sewing gene. I read the comments too late and thus discovered, too late, that I didn’t have enough fabric. Oh, well, I’ll have a scarf to wear with my winter coat. I have two questions, though: were your existing seams straight and did you cut off the hems?
Hi Ree! Don’t feel bad about it taking a long time! I also was not born with the sewing gene, it takes me much longer to sew than it should, even in a straight line! To answer your question, I cut off the hems and cut the legs into equal rectangle shapes – so I cut the weird inner leg seam off. Let me know if that makes sense.
Flannel is a material not a pattern. That’s plaid.
luckily this scarf is both flannel AND plaid!
I shared your tutorial on my blog. I find it amazing!
Greetings from Spain!
This is soooooooooooooo cute, I have been looking at scarves, but not buying because they are soooo expensive!!! But I will be wearing a new one this weekend!! Love it.
This is such a creative idea! And so cute too!
Hey Brittany,
Stangest thing! I just posted on my website today about all the different scarves I have made recently. I made one from pajama pants too but never did a tutorial. So when I searched around the internet for an easy tutorial I found your site. Ironically you posted the DIY scarf almost exactly a year ago. I love your tutorial so I added it into my blog today! Thanks!
Chelsey
It is so kool…….i am going to try this
This is GENIUS!!! Thank you so much for sharing!!
This is fantastic, now I can do something with my old favorite pajama pants that I couldn’t bear to throw away when they started falling apart at the waistband :)
Totally genius! I’ve emailed you…
Brittany, this is awesome. I am scheming how to get some yardage from Joanne Fabrics now…you don’t need to apologize for modeling your own creation. You’re adorable. Rock on, girl!! I’m a felter — just starting out. If you’re so inclined, check me out at facebook.com/redearthwearableart. Happy holidays!
Thank you!!!
http://48138.soobahkdo.es/enlinea-14497/247421-leer-la-doncella-cristiana-o-consejos-y-ejemplos-a-las-jovenes- – More info!..