)
)


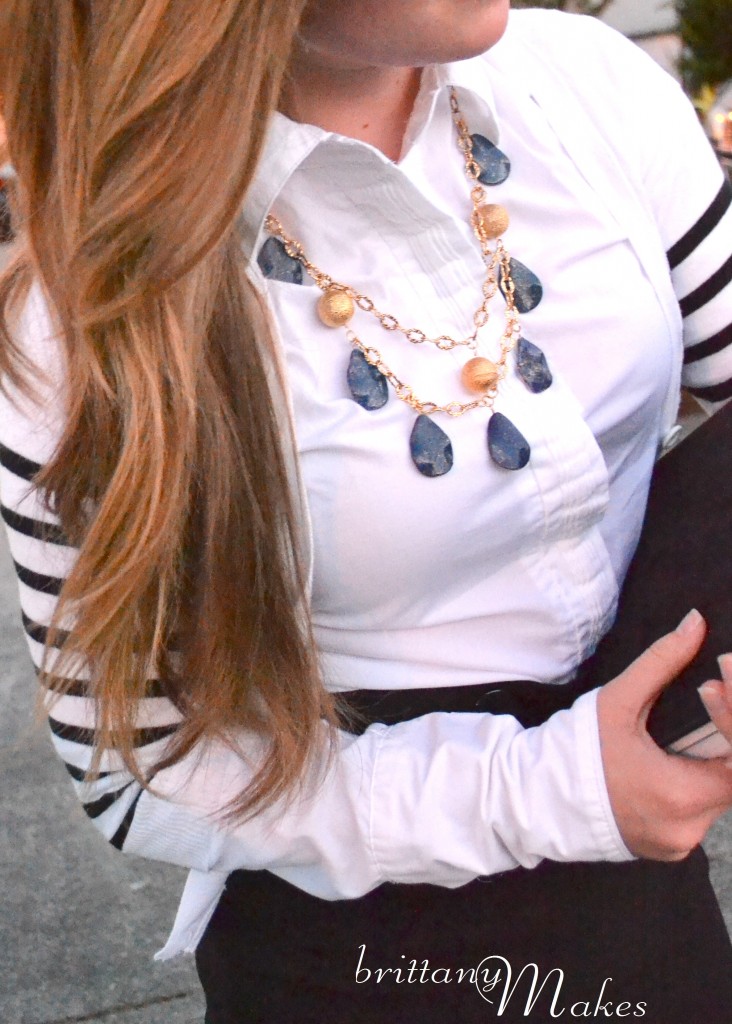
A jewelry post, yay!
I am going to share with you how I made this chandy necklace:

Here’s how I made this necklace:
Step 1 – Gather your materials
First I gathered the beads and chain I had in mind for this necklace. My overall vision included teardrop beads and gold chain, arranged and draped like a chandelier.
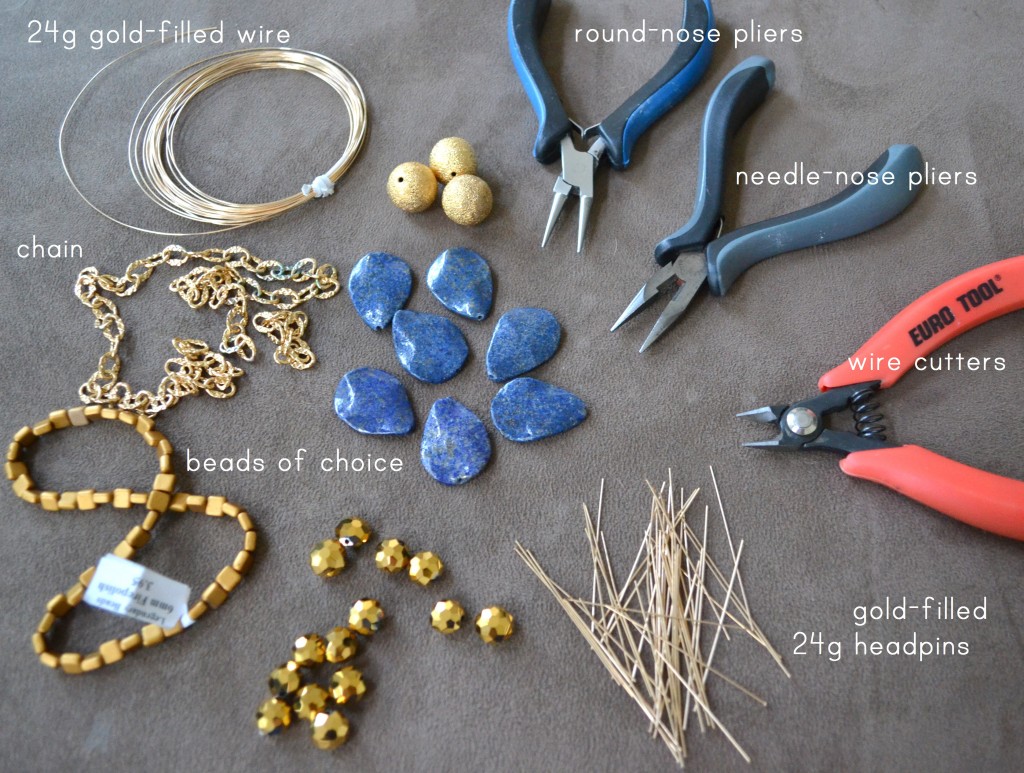
- 24 gauge gold-filled wire
- 24 gauge gold-filled headpins
- round-nose pliers
- needle-nose pliers
- wire cutters
- chain of choice
- beads of choice
- gold-filled jump rings (not pictured)
- gold-filled toggle/clasp (not pictured)
I was not planning to use all the beads I gathered. I grabbed them as extras in case I changed my mind on one type of gold bead over another. Here’s a more clear picture of what a headpin truly looks like:
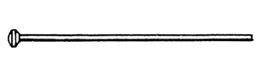
Headpins come in various shapes, thicknesses (gauge), or decorations at the head of the pin. Some are rounded, like this one, and others are flat. I prefer the rounded edge, it gives a cleaner and fancier look to your bead, but for this piece I only had the flat headpins on hand.
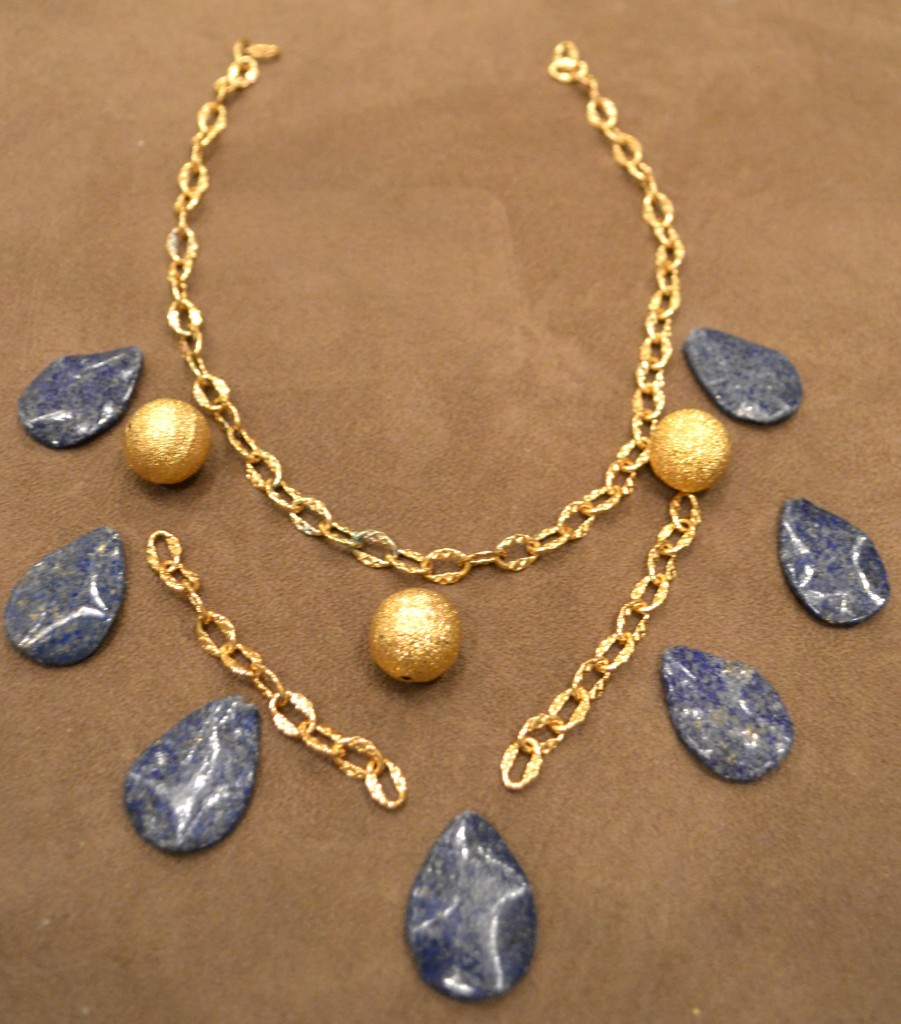
Step 2 – Plan your design
After playing around with the beads, this is what I decided the necklace should look like:
Step 3 – Wire wrap your beads.
Don’t know how to wire wrap?
HOW TO WIRE WRAP
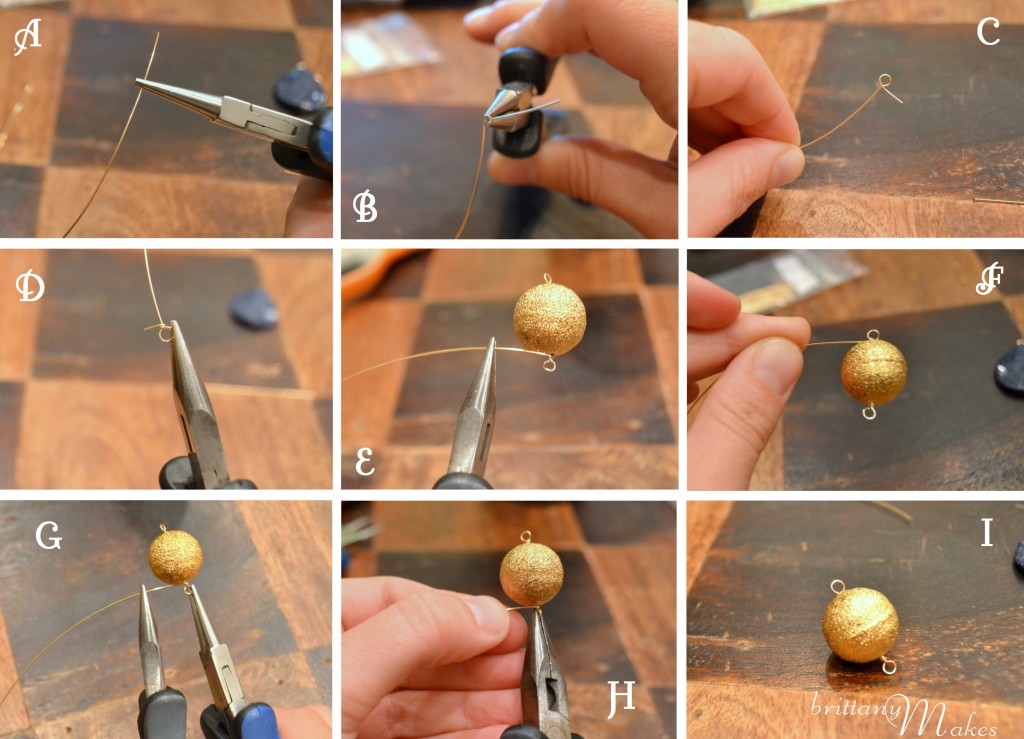
A. Grab your round-nose pliers and your wire, pinch the wire about an inch before the end
B. Bend the wire 90 degrees to the right, remain clamped with the pliers
C. Wrap the wire around the top nose, 360 degrees to the left. Release the pliers from the wire
D. Grab your needle-nose pliers, with the long piece of wire aimed upward, pinch the right side of the loop. Wrap the short end up the wire, tightly, until the wire runs out. The wrap should be stacked, approximately 3 times around. Take a peek at step G and H, you can wrap the short edge up and around with the help of your pliers, or use your thumb nail. I usually use my thumb nail, but beware it roughens-up your nail.
E. Thread the bead and repeat steps A – C
F. Visual only
G. Similar to step C, wrap the wire up towards the bead, you can use your pliers for help or use your thumb like in image H
H. Similar to step C, this is the option using your thumb nail to wrap the wire
I. Clip off the end with your wire cutters, tuck in the end of the wire so it doesn’t stick out
Step 4 – Wire wrap the tear-drop beads
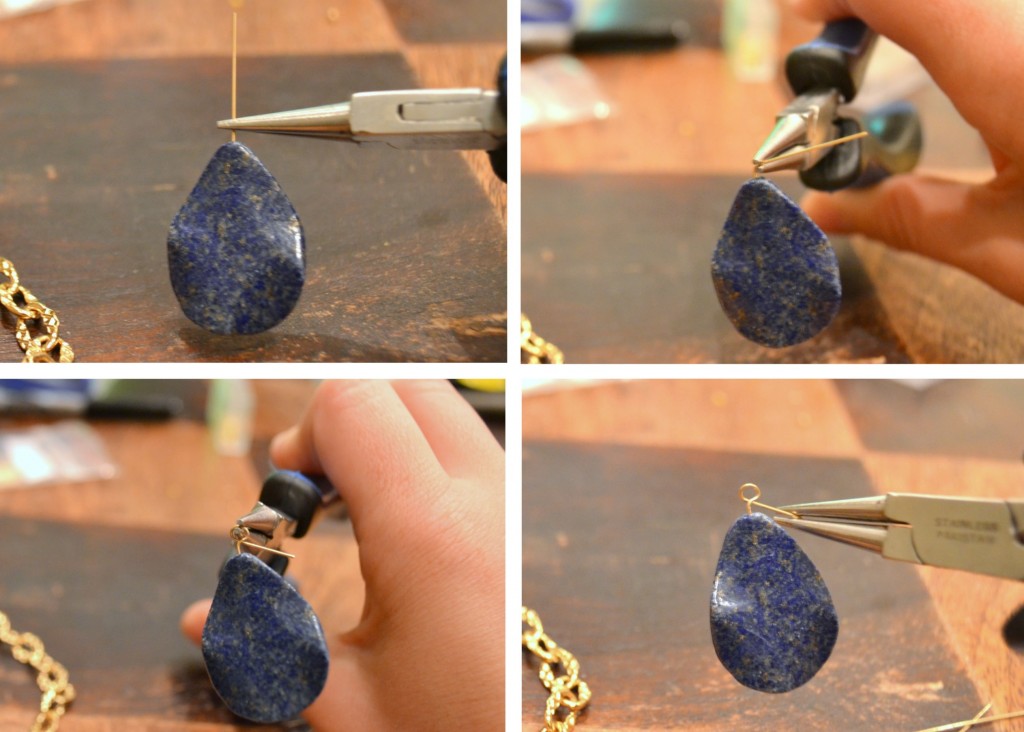
Repeat steps G-I to close the loop
Step 5 – Assemble the necklace
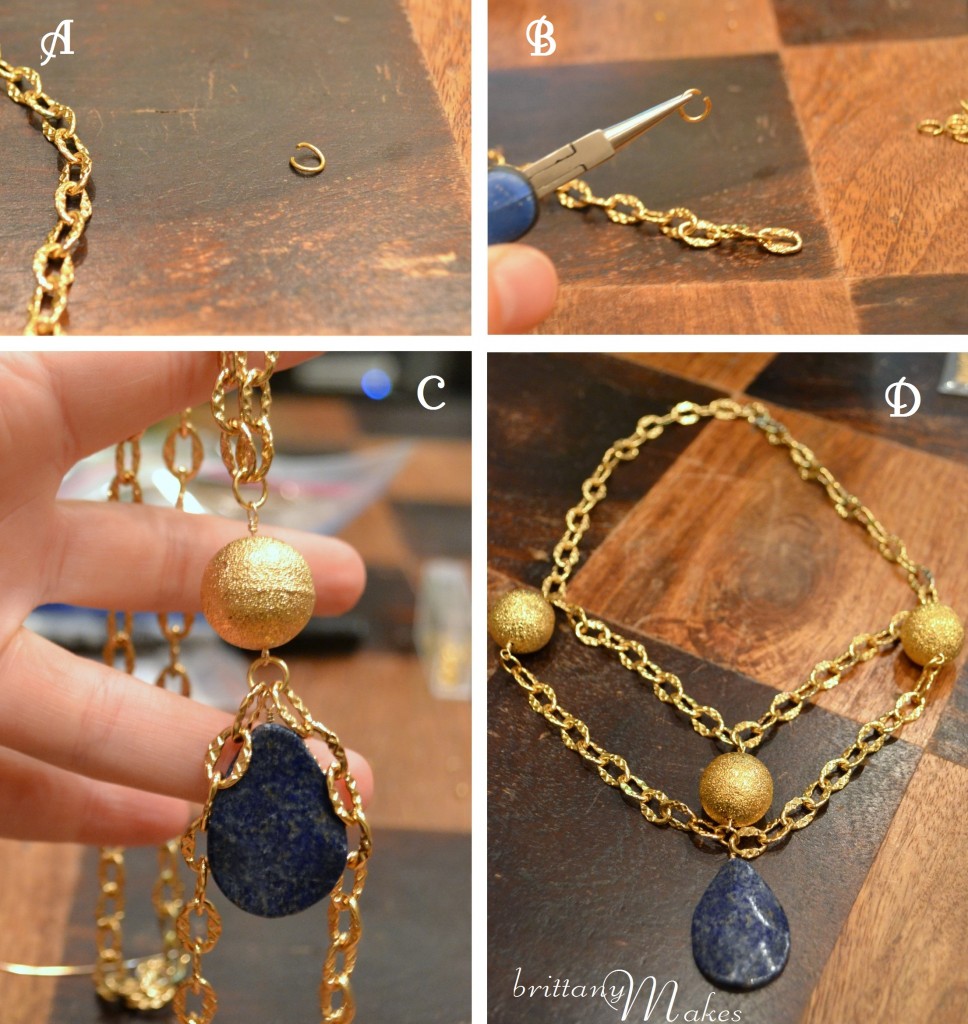
A. Grab your jump rings
B. Hold a jump ring with your pliers, and begin assembling your necklace as you had planned in step 2 above. Close the jump rings using your other set of pliers
C. Continue assembling using jump rings
D. You’ll see your necklace take form
Step 6 – Almost done!
You can really see how the jump rings are used to bring the pieces together. Once all the pieces have been linked, finish the necklace by adding the clasp or toggle to the ends of the necklace using jump rings.
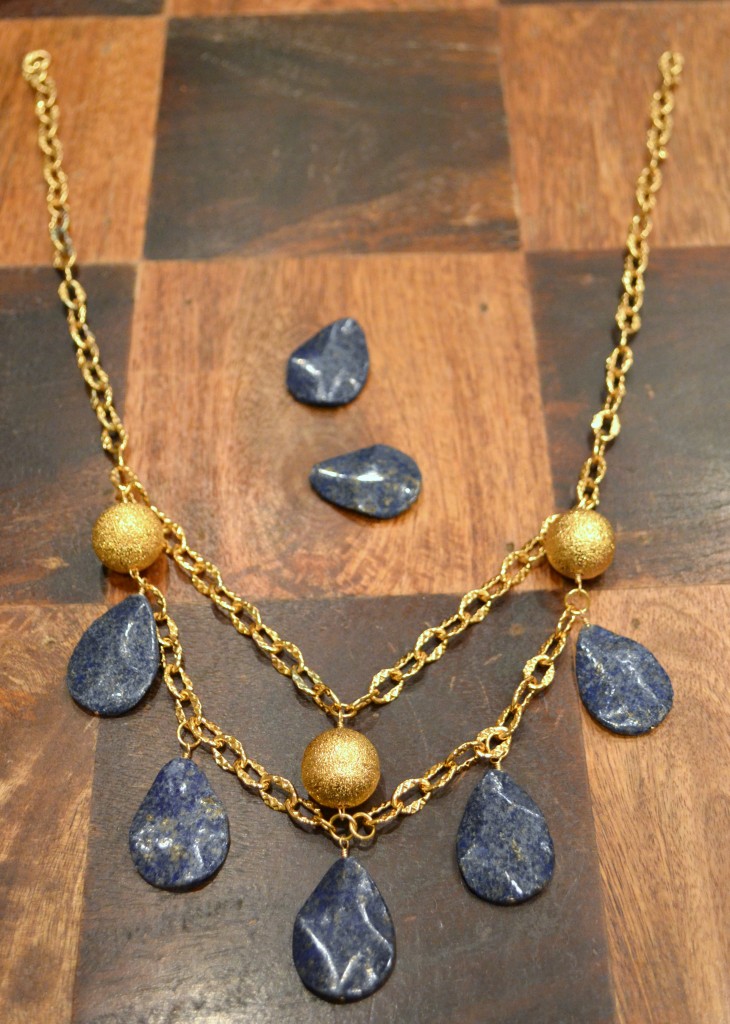
Tutto fatto!
Gorgeous!
Making jewelry is so easy, creative, and fun. Once you get the basics down, such as wire wrapping, you can easily design necklaces, bracelets, earrings of all shapes, sizes, colors, and lengths. I hope I can teach my readers how to make their own statement jewelry, so they can show it off. The compliments will come pouring in, and then you’ll be hooked!

This post has been shared here:


What a great tutorial! I love this necklace. I’ve always wanted to learn how to make jewelry!